
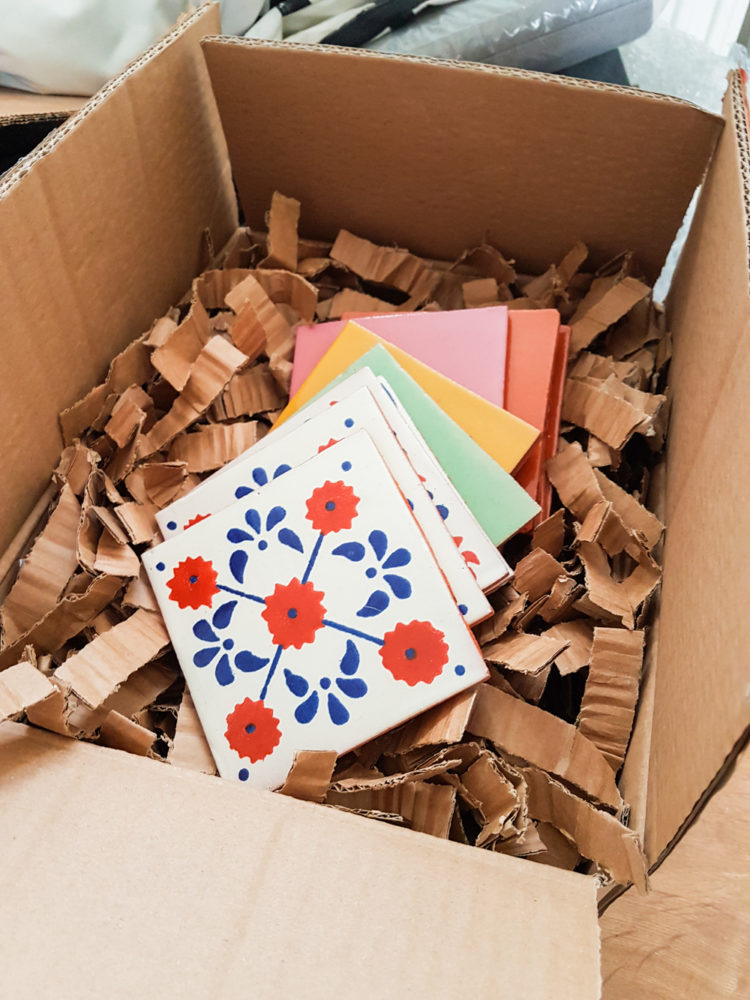
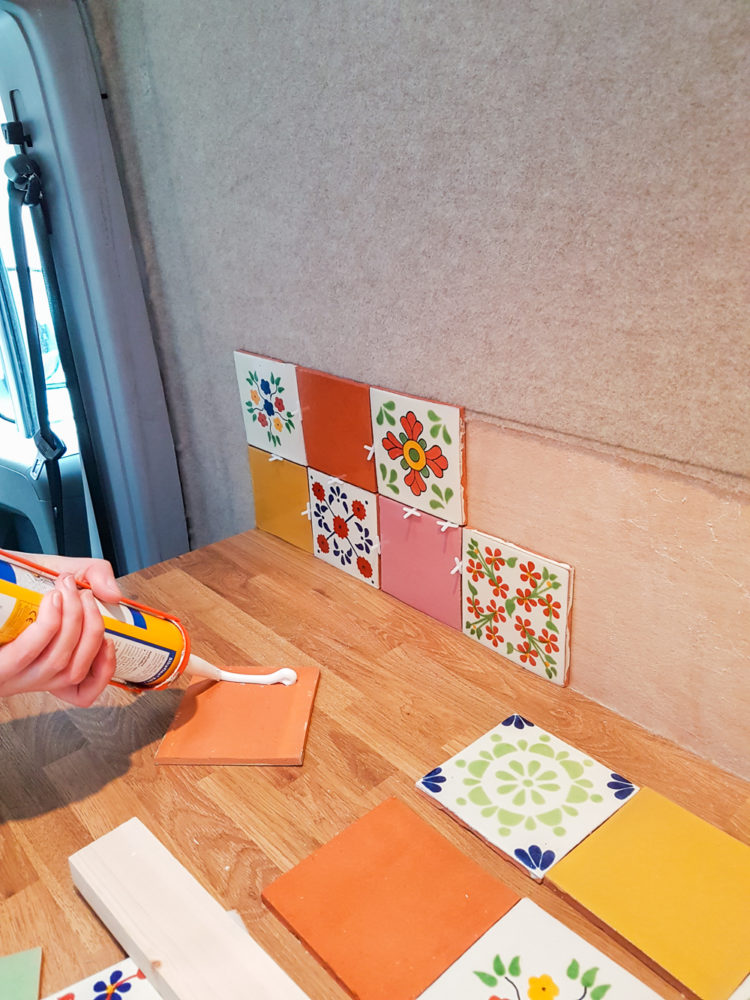
Getting the tiles installed in our kitchen area of the van was one of the things that I was most excited to get done in the van. We spent ages choosing tiles, as we didn’t want something plain, but we also had to make sure that they’d go with our wall carpet. We ended up getting these handmade Mexican ones from Milagros – a shop on Columbia Road in London (don’t worry they do delivery).
We needed to make sure that they didn’t just fall off or crack with all of the driving and sometimes bumpy roads that we’d be going on. We didn’t want to spend all that money for them to fall off as we go over a speed bump and shatter on the floor! So we did loads of research and asked others who had installed tiles in their van and so far so good!

Installing Tiles in a Campervan
We came to the conclusion that using flexi grout was a must, to be able to cope with the constant movement and possible expansion with extreme hot and cold temperatures throughout the seasons. As for the adhesive, there was a mix of people who used Sikaflex (affiliate link), or flexi tile adhesive. We decided on the flexi adhesive option, but when we saw the price of a bag, and the fact that we’d need probably an 8th of that, we decided to go the Sikaflex route instead.
What You’ll Need
* Tiles
* Sikaflex (or flexi tile adhesive) (affiliate link)
* Flexi Grout (affiliate link)
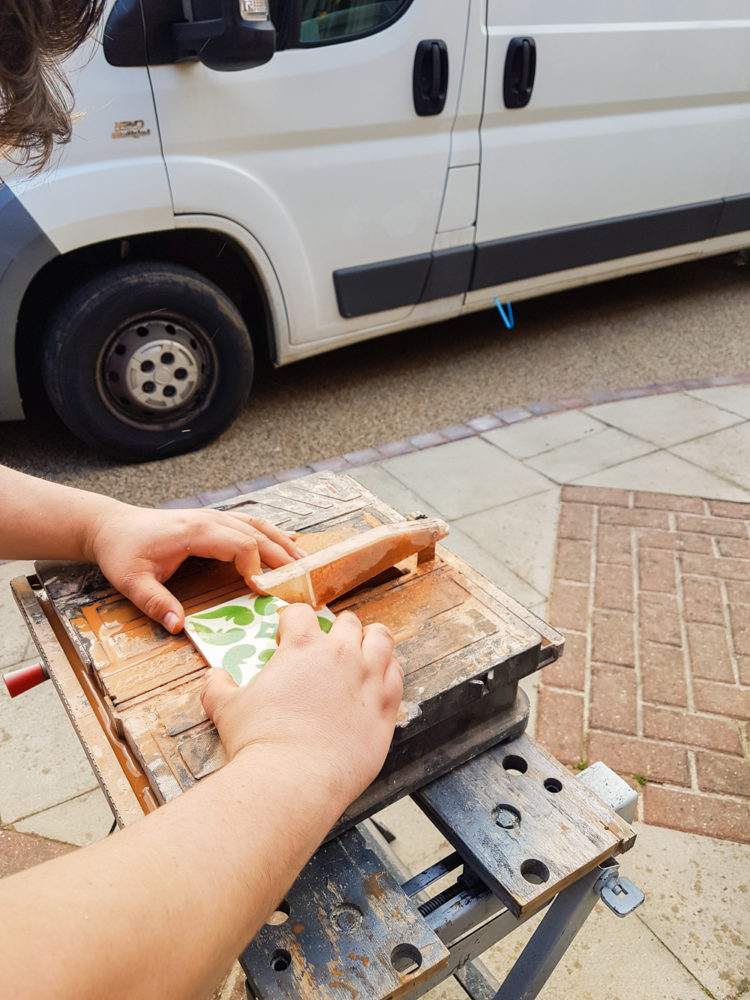
* Tile Cutter
* Tile Spacers
* Grout Spreader
* Sponge + Water Bucket
* Sealant
Step One – Arranging the Tiles and Preparing the Surface
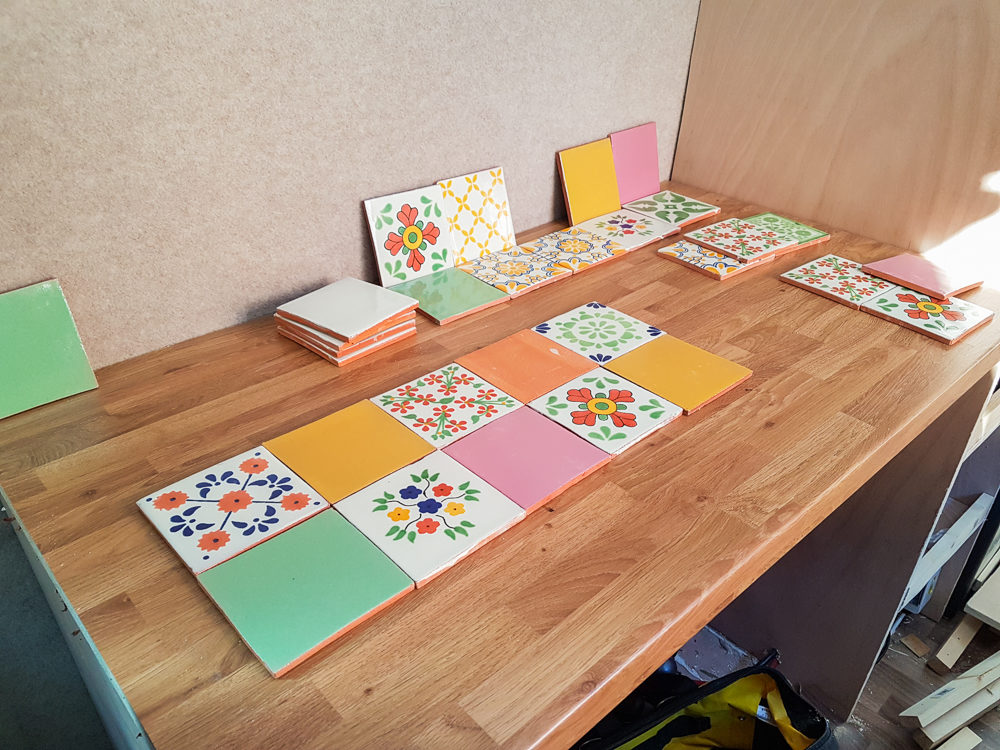
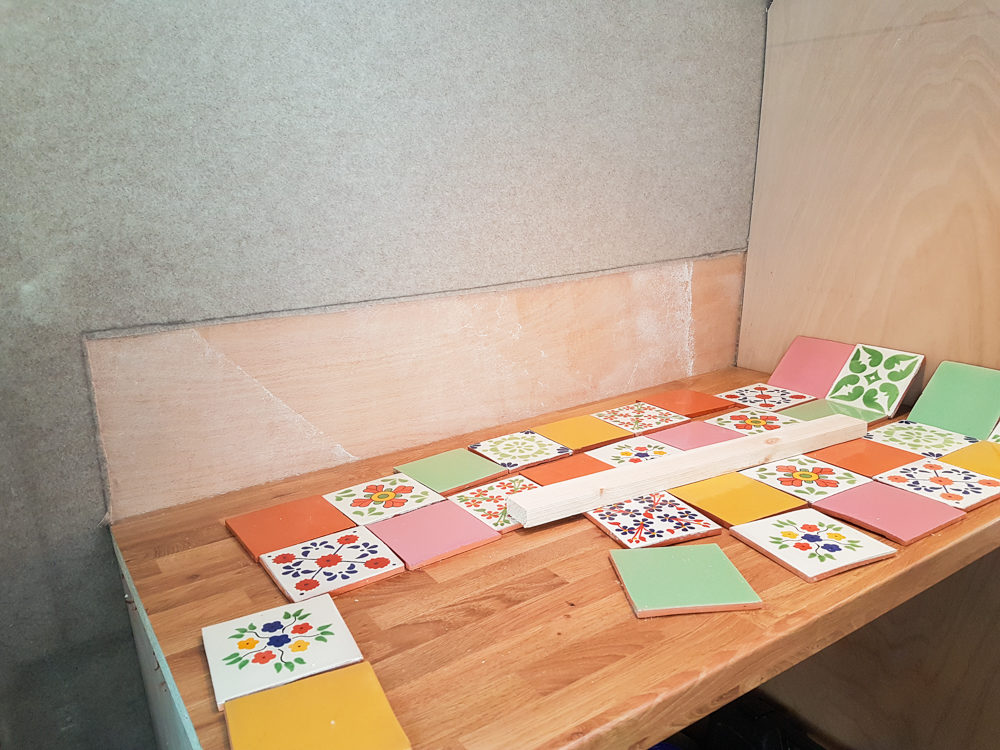
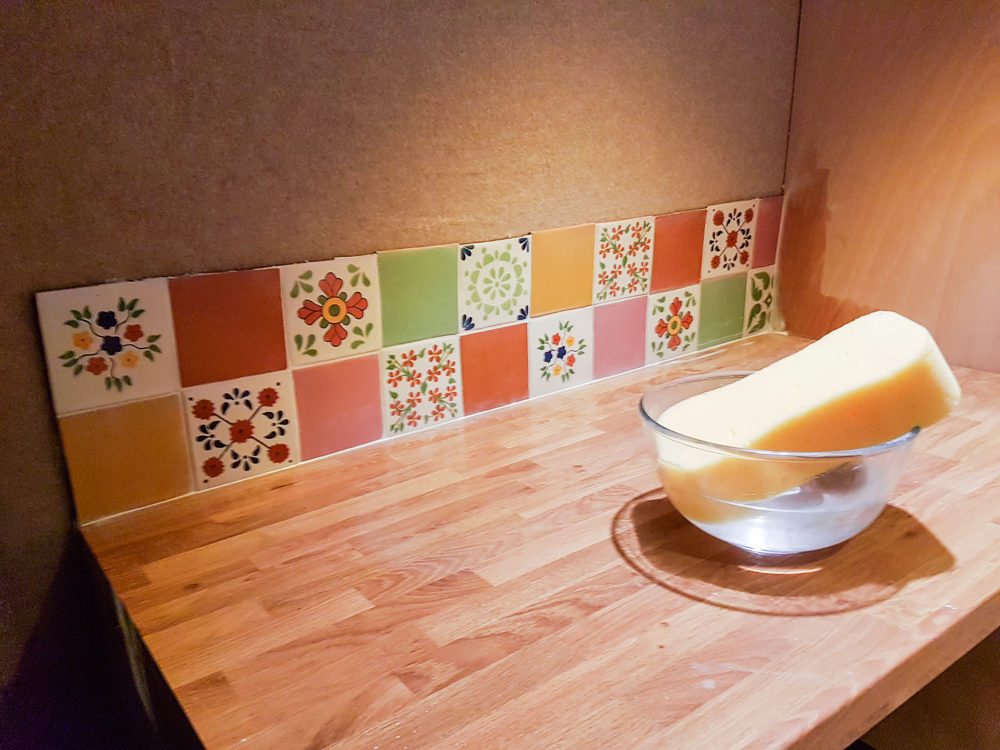
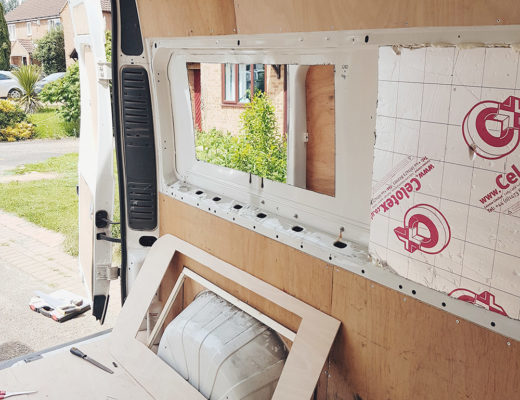
It’s best to start by arranging the tiles in the position you want them nearby, so you can just grab them as you go along. We spent ages arranging the tiles to make sure we were happy with the pattern we wanted. We went for alternate block colour and patterned tiles, so we made sure there weren’t similar colours together. Once we’d done this and arranged the tiles infront of the area to be installed, we cut out the carpet from the wall where the tiles would be stuck down. With the carpet, we made sure to cut a little lower than the tiles so that they’d seamlessly meet with the carpet, rather than having the potential to cut away too much and have plywood showing.
If you’re sticking them to plain plywood or whatever else, just give them a dry wipedown to remove any excess dust and dirt.
Step Two – Putting the Tiles on
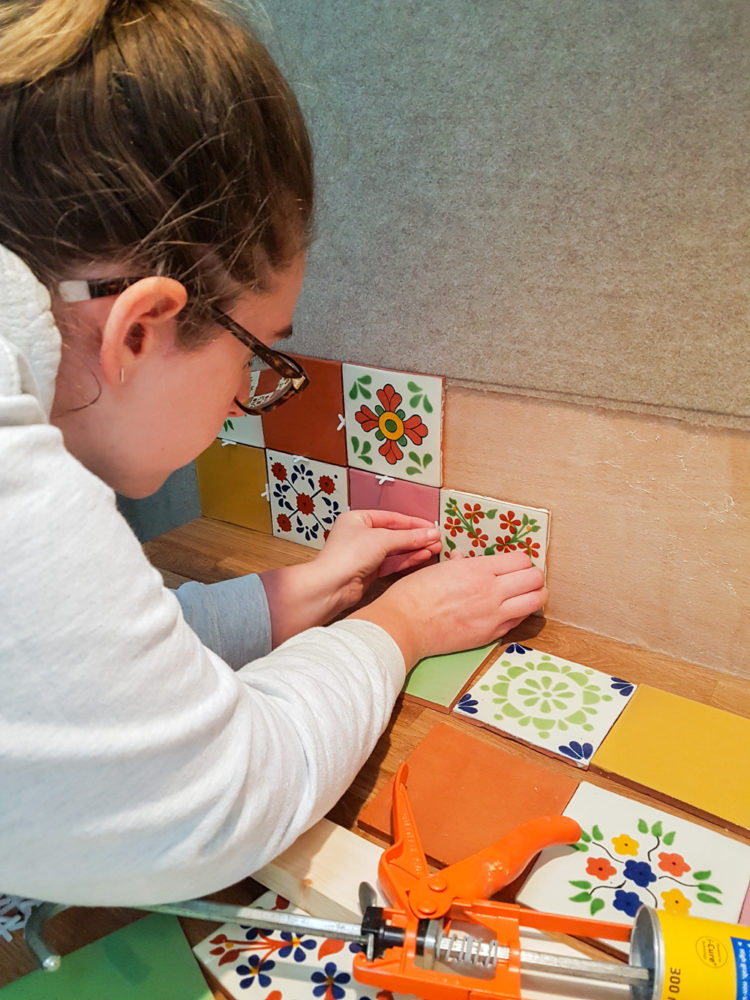
I used a little Sikaflex pumped around the edge of the tiles a couple cm from the edge, then placed it onto the wall making sure to put pressure on and edge it up to the spacers. You’ll want to put spacers at the gap between the worktop and the first tile and then around the edges of each tile so that they’re evenly spaced. Once in position, repeat with the rest of the tiles, repositioning if needed – ours moved around a bit while positioning the other tiles beside it.
If you need to cut any tiles, do this as you go along, rather than batch cutting them and if you’re unsure, then always cut a little less than you think you need to cut off, as you can always go back and cut any extra off.
Step Three – Grouting the Tiles
We planned to grout the tiles the same day, but after a few hours of sitting with the spacers in, we found when we removed them that the tiles started sliding with a little bit of pressure, so we left them overnight (ideally 24hrs) with the spacers still in to fully set.
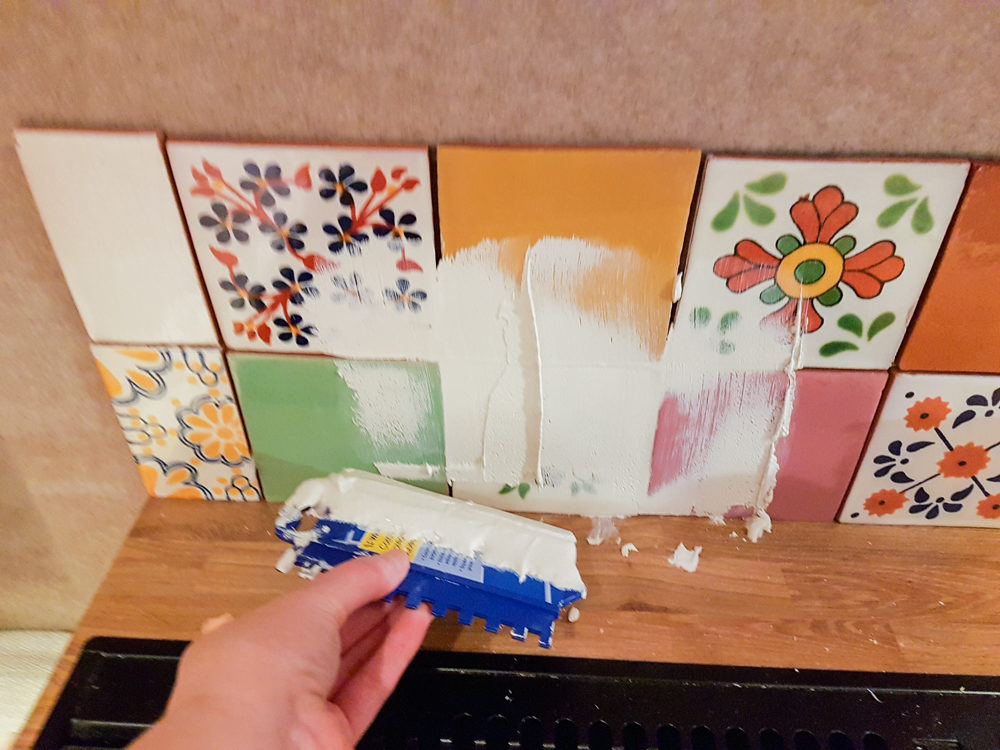
Once the tiles have set in place, remove all of the spacers and mix up the grout as per the instructions on the packet. We used BAL Micromax2 which is a flexible grout and also provides protection against mould. Using the grout spreader, in light layers but working quickly, spread the grout across the tiles. We worked from the bottom up, then went back over from side to side until all the gaps were filled. Make sure you use an even pressure, keeping it quite lighthanded as you smooth it across the tiles, removing any excess grout until the tiles are lightly covered with the grout.
Step 4 – Cleaning and Finishing the Tiles
After you’ve applied the grout, you’ll want to leave it to set for about 15-20 minutes before wiping any excess off with a large sponge. It’s not recommended to use a cloth to remove any grout as you might remove a little too much whereas the sponge keeps things nice and light and even.
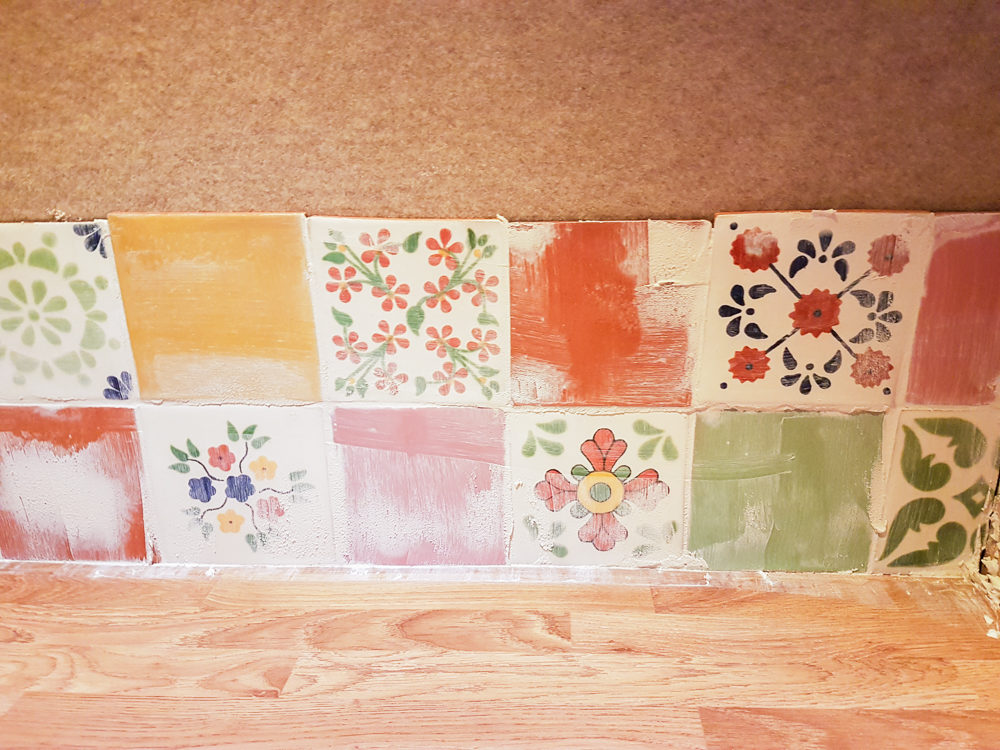
Wring the sponge out of any excess water, then gently wipe the grout off. We did one wipe, left it another 15-20 minutes then did another wipe and by that point most of the excess grout was gone. The next morning we cleaned them up with a little rougher clean around the edges or where there was an excessive amount of grout.
Once the grouting has been finished, you’ll want to add sealant to the bottom edge of the tiles at the gap with the worktop and at any edges where they meet any other cabinets, as we found that our grout cracked there after driving with all the excess movement (though it was fine through the rest of the tiled area). And that’s it – done!
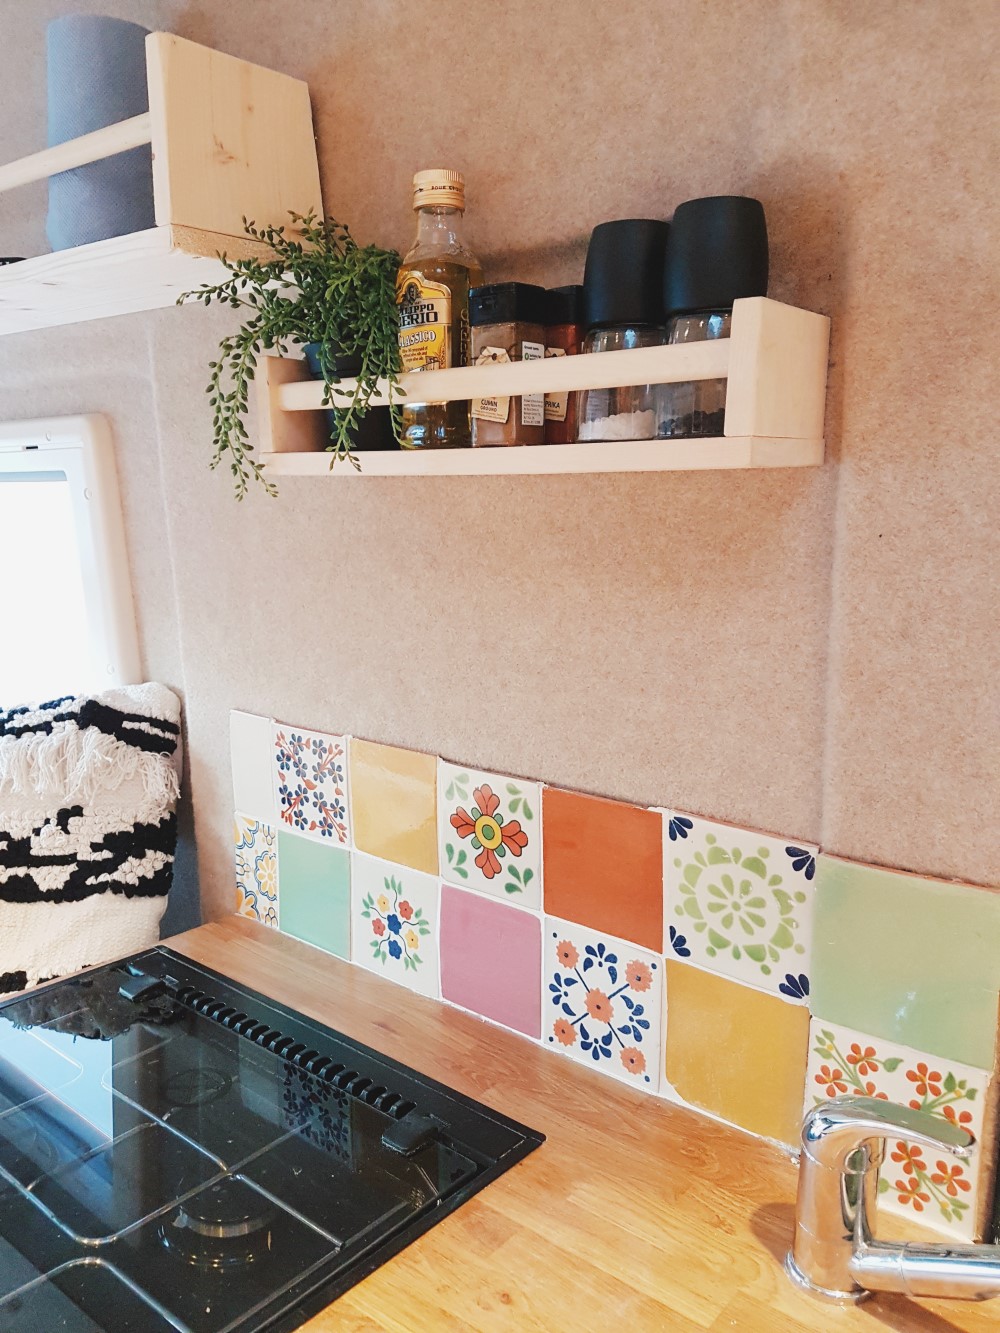
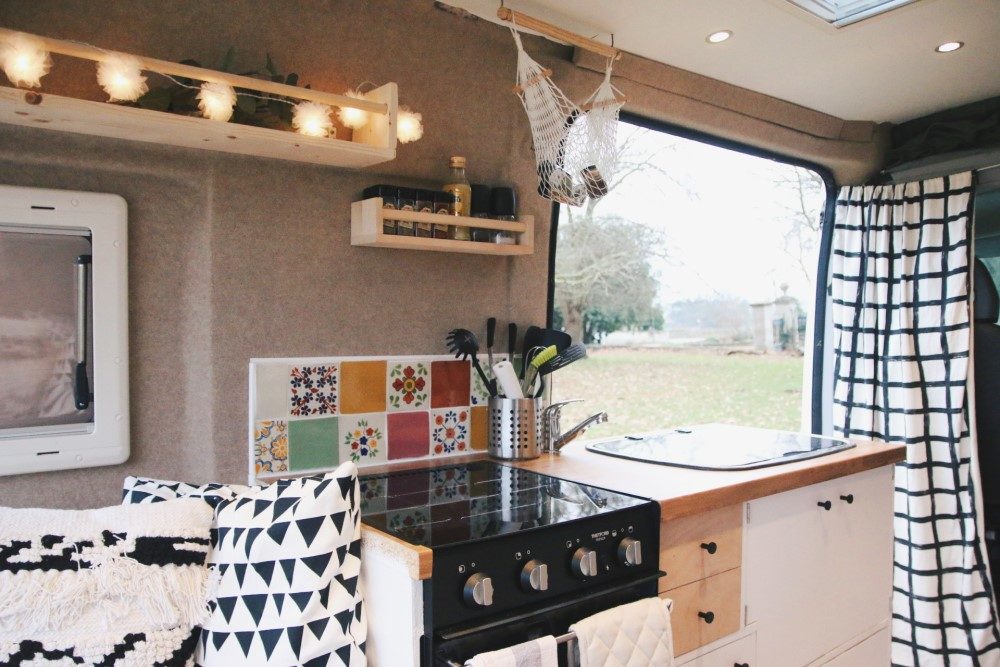
We love the tiles and the way it makes the van kitchen look a lot more homely! It also helps being in the kitchen area to keep any splashes from the cooker or sink from getting on the carpet and turning the plywood underneath the carpet mouldy over time with too much water. We can wipe them down after cooking and it just adds so much more colour and brightness to the van now.
Honestly, it was so easy to do and took us a couple hours over the course of a weekend to complete. I (April) even did it all by myself with no help from Shane – although he did all the finishing with the sealant. I’m not patient enough for that level of detail haha!
Would you install tiles in your van?
Don’t forget to follow us on instagram for daily updates – you can find us at @adventuresinacamper
Shop The Post


4 Comments
Alex
July 12, 2020 at 6:12 pmThank you for this awesome article and bringing Milagros into my life! Exactly what I was looking for
Shane
July 12, 2020 at 6:17 pmThanks! glad it was helpful. Good luck, with your conversion!
Alexandra
July 18, 2020 at 12:19 pmAre they still holding up well? I keep getting told that you can’t have tiles in a micro but would love to add a small area behind my sink. In fact, I was wondering about doing some tiling around the sink on the worktop. Yours looks great!
Shane
July 18, 2020 at 12:43 pmThanks, none of them have cracked and they have been on for a couple years now, we have driven on quite a few bad roads as well. The only issue we have is the worktops have a bit of movement so the sealent along the bottom of the tiles where it meets the work top has split, but this just needs the worktop to be re-inforced against movement. Adding titles into a van is perfectly do-able, we have manged it!