
It’s been a while since we’ve shared any conversion posts on the blog, as we’ve been busy posting about our roadtrip through Europe this summer. We made so much progress on the actual build just before we set off in May, so I thought it was about time we shared the beginning stages of our kitchen area.
We’ve done a lot more since these photos were taken back then, but we’re hoping that now the winter is here, that we’ll get caught up with posting more often. But here’s where we started!
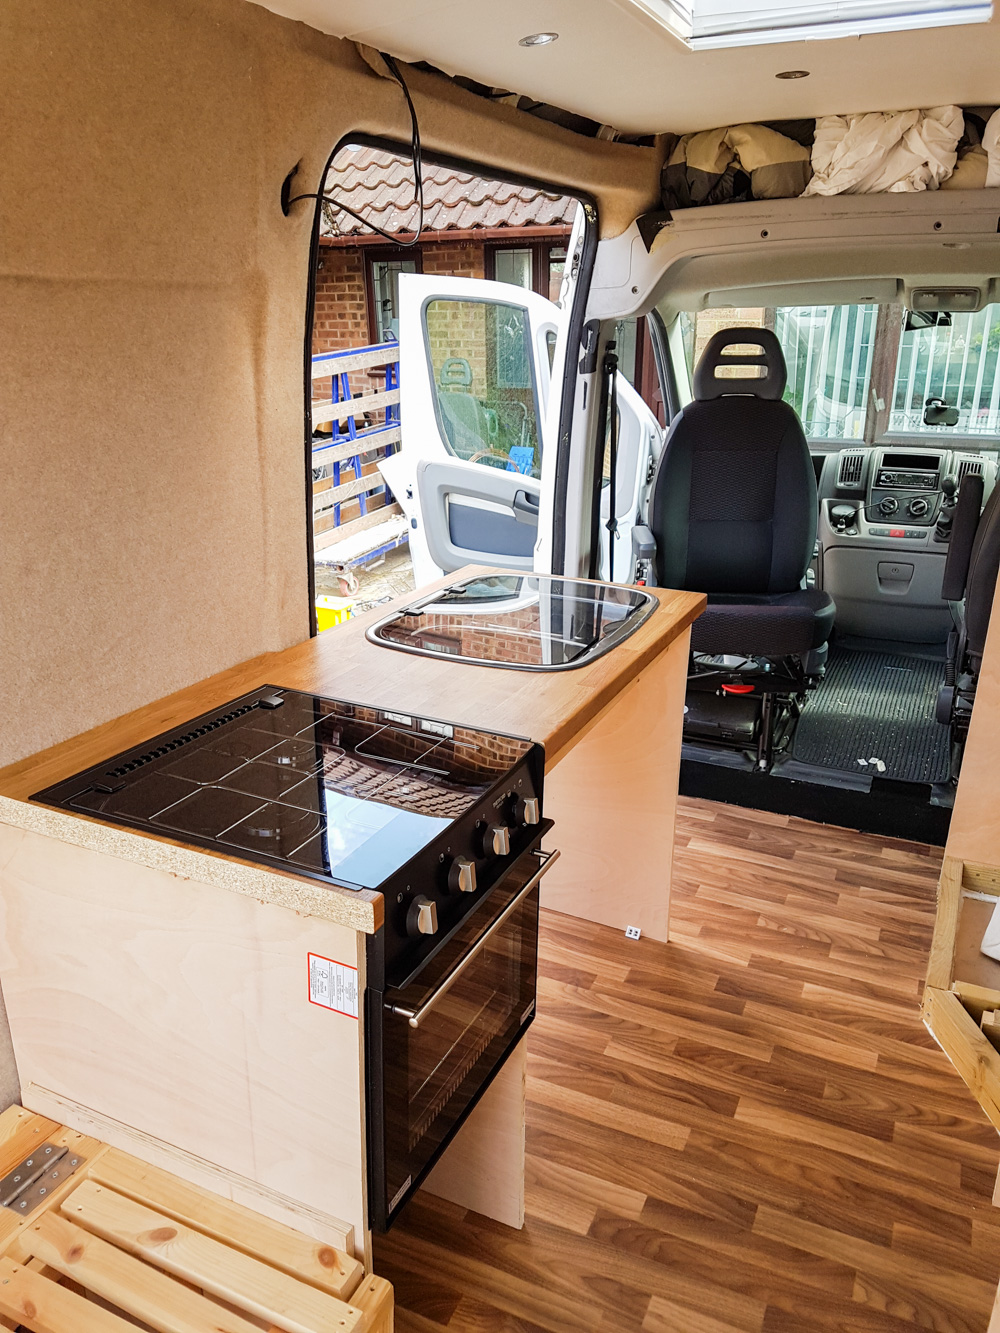
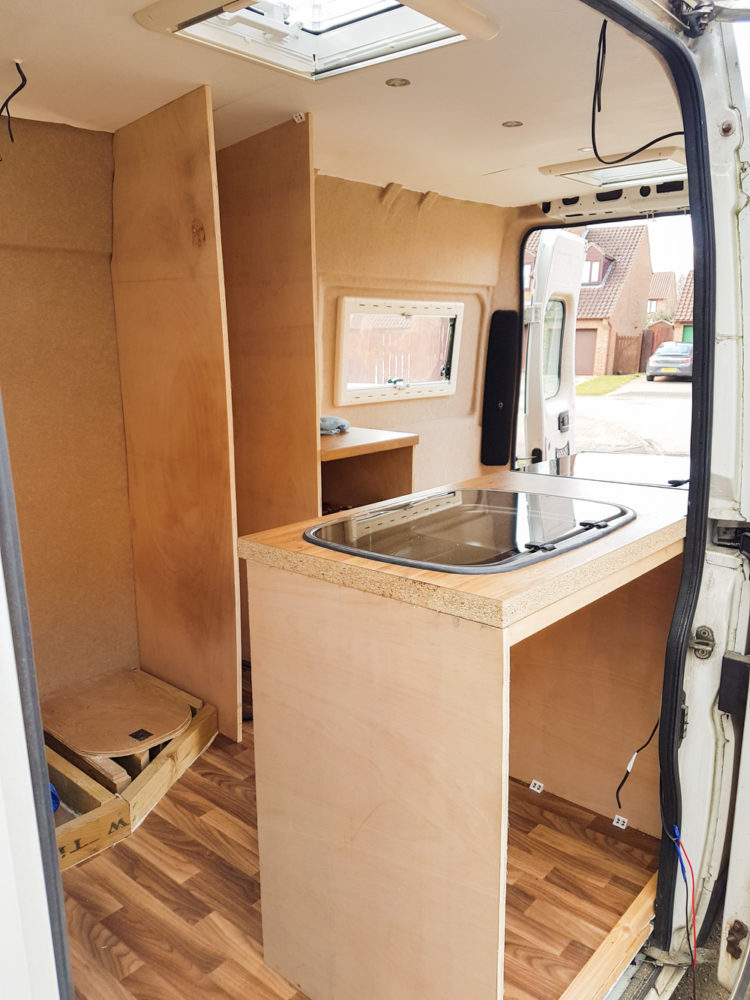
It really made the van feel a lot closer to being finished after we added the kitchen, and although it wasn’t fully fitted and plugged in with gas, electric and water, appearance wise, it made such a change in the van! I think the majority of the side where we’ve got the cooker and sink was done in one weekend. The fridge took a while longer, just because of all the vents we had to cut and gas lines that had to be taken from one side of the van to the other, but we got there eventually.
We’ve still got the shelves, drawers and cupboard doors to fit, but we’re so close to having the van be finished now!
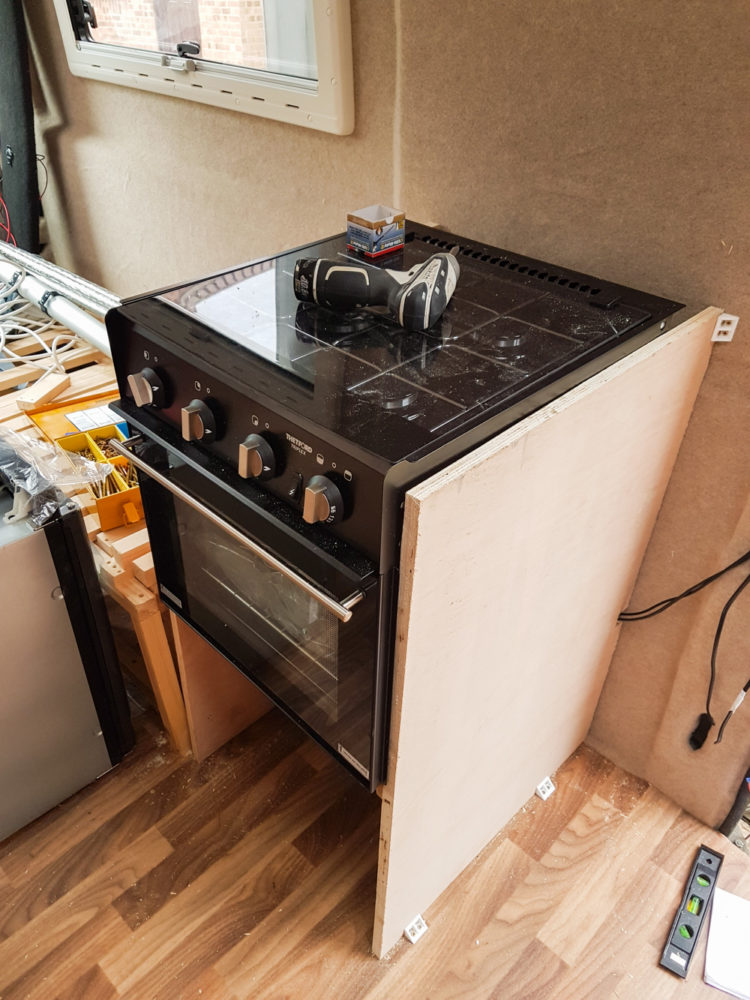
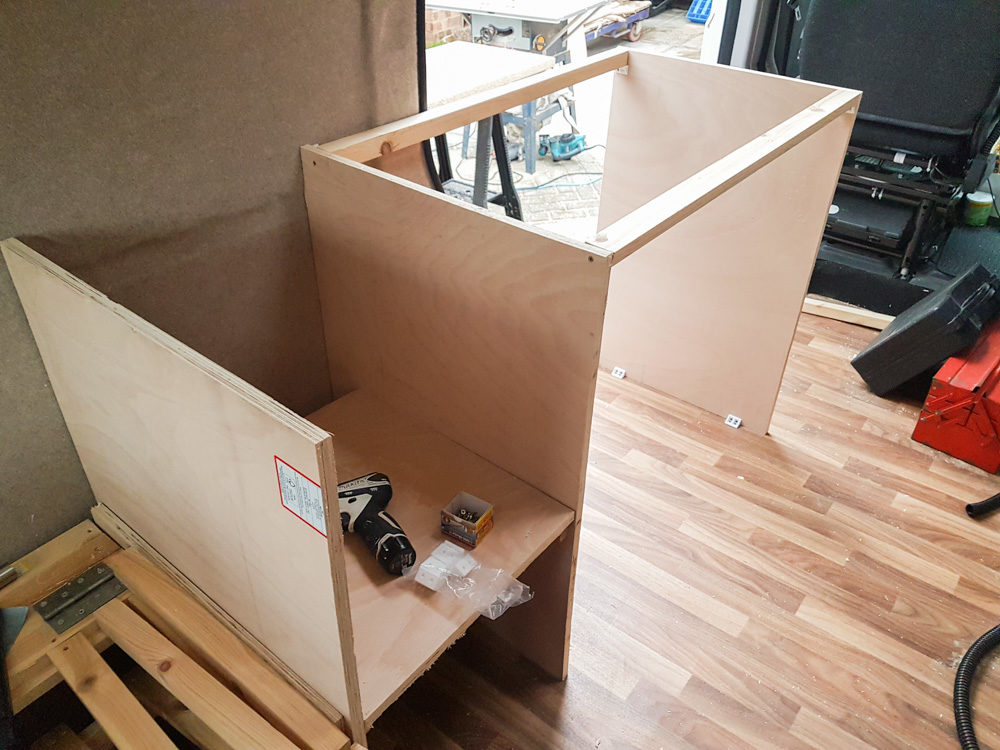
The first thing we started with was building the frame for the cooker. We decided to put the cooker next to the bed so that during the summer if we’re cooking and the sliding door is wide open, the breeze doesn’t affect the gas hob. It also gives us a nicer view while washing up that way haha!
We’ve got a huge storage cupboard underneath the cooker that will most likely be for pots and pans once it’s finished, but we’ll see. We’ve changed so much already who knows what it will end up as. Currently, it’s where our porta-potti lives haha!
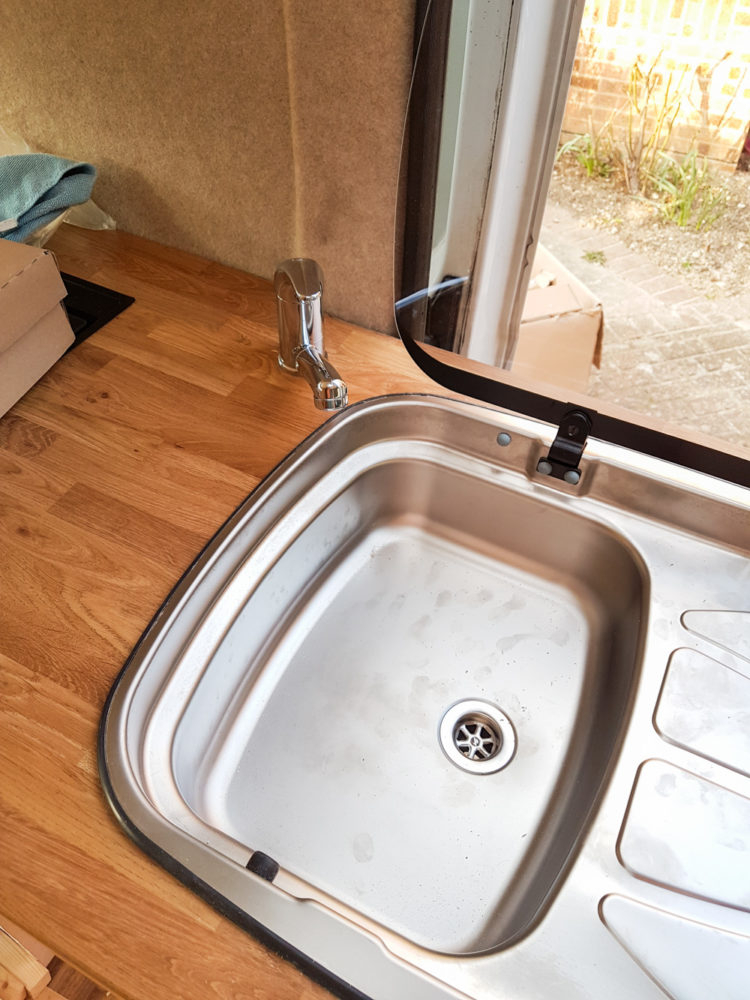
Once the frame for the oven was made, it was extended to the sink area. We wanted enough room to be able to easily get in and out of the van, but enough space so that we could cook and have space for chopping etc, in between the sink and cooker. It’s not too spacious, but the sink has a lid for when it’s not in use so it doubles up as extra worktop room.
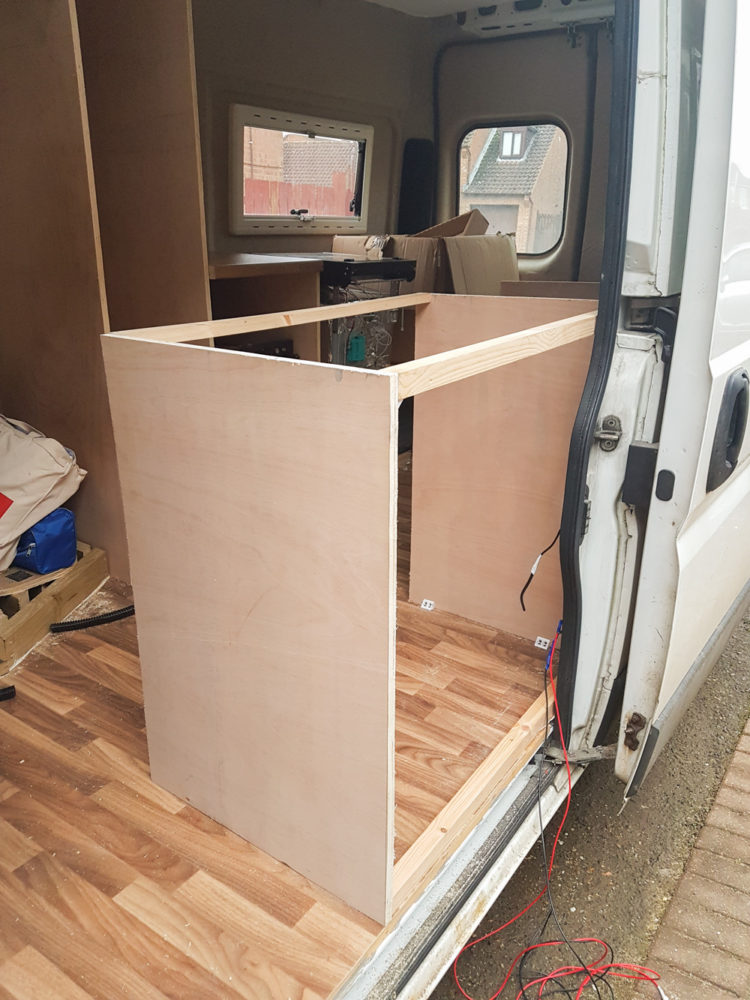
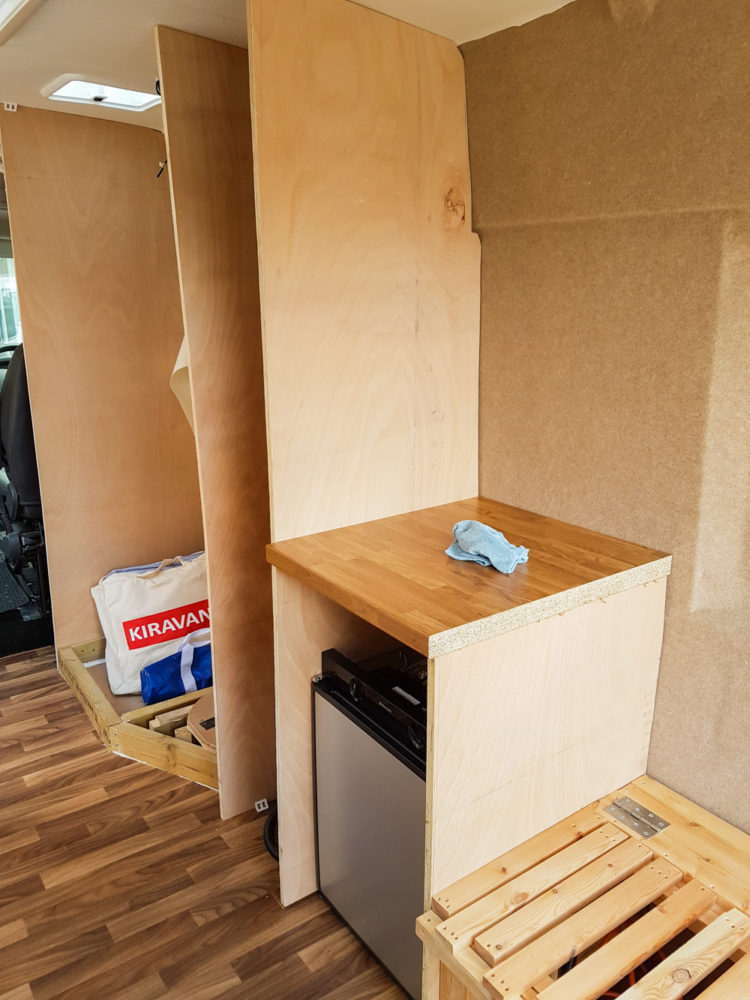
And then opposite the cooker is the fridge, with space for two drawers above it for things like cutlery! That was the hardest part!
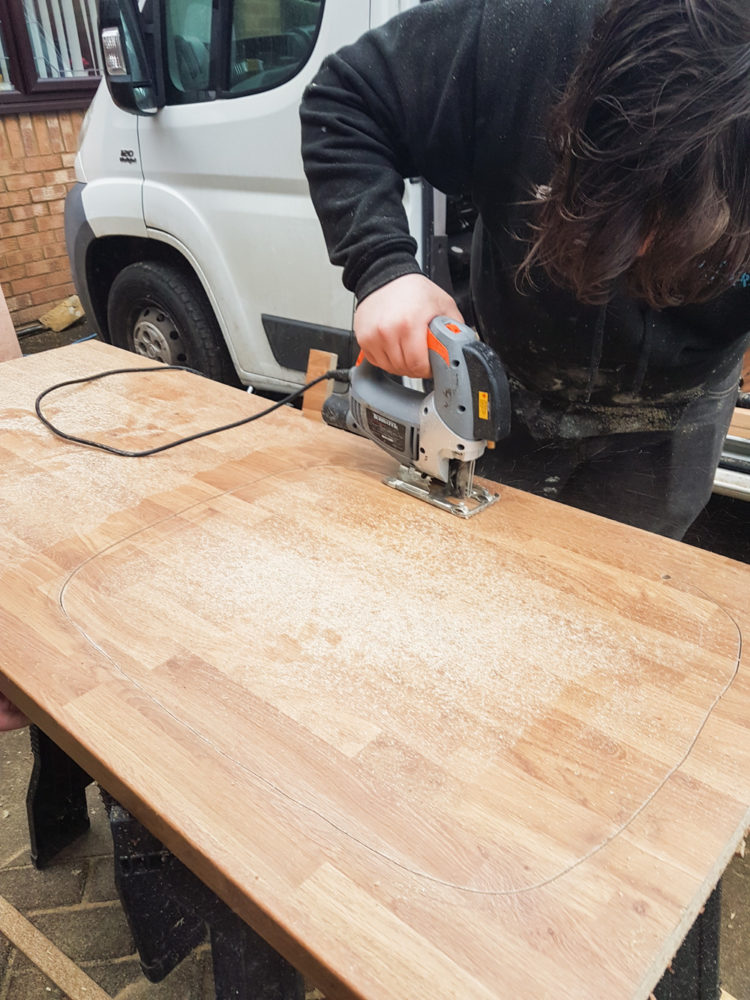
We bought the worktop from B&Q and I think it was somewhere between £60-100 (Shane says it was around £60, but I think it was closer to £100). It did all of the worktop room above the fridge, along the cooker/sink area and then on the opposite side where we’ve taken out the bathroom and replaced that with extra kitchen/storage area.
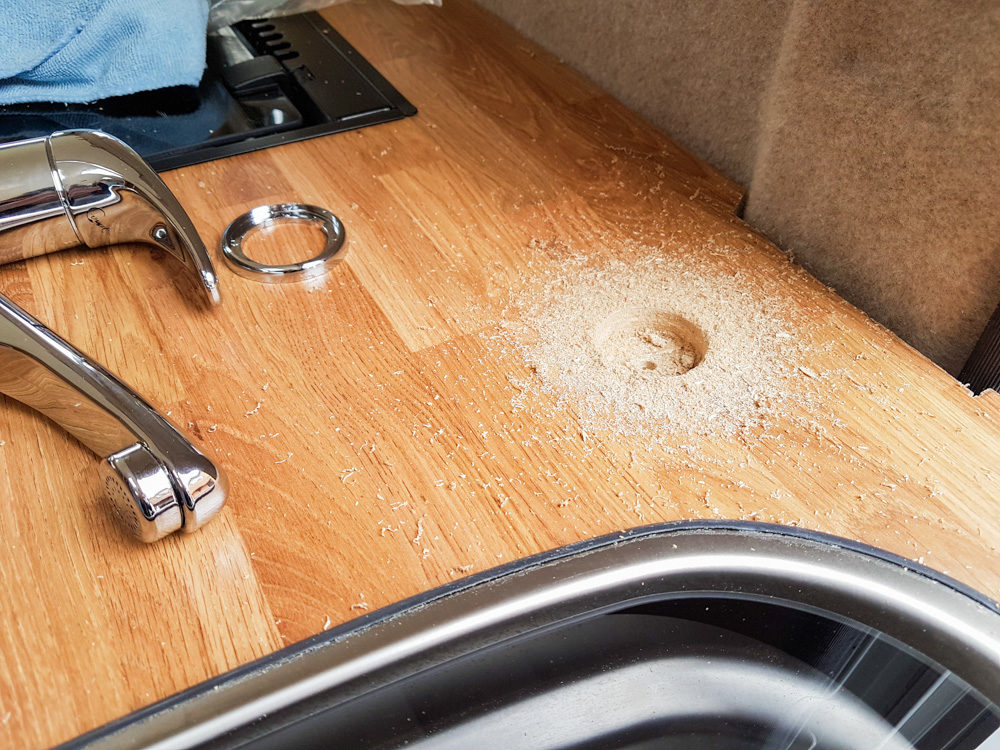
We cut the templates around the sink and had it fitted super quick. This was probably the easiest part of the kitchen! Shane put on the edging strip along the side of the worktop as you get in and out of the van, but forgot to put it on the back and the other parts near the bed, so we’ve still got that to do too.
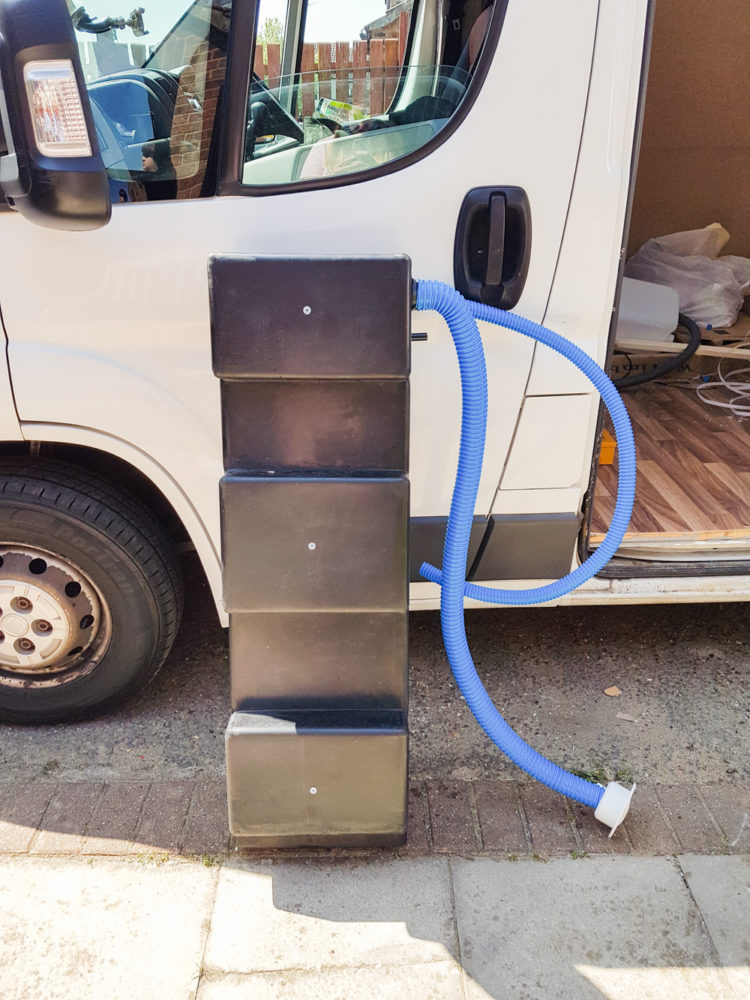
As for water tanks, we’ve got a fresh water tank secured underneath the van, which is made specifically to fit the long wheelbase Fiat Ducatos and is so much easier than having to fill aquarolls or tanks of water inside the van. We thought we ordered a set, but we double checked after it was delivered and turns out we only ordered a fresh tank, so we just ordered the waste tank so that we can get that fitted so that we can stop lugging the stinky tank inside the van around with us. That was not fun in 40c heat in Europe sloshing around behind us haha!
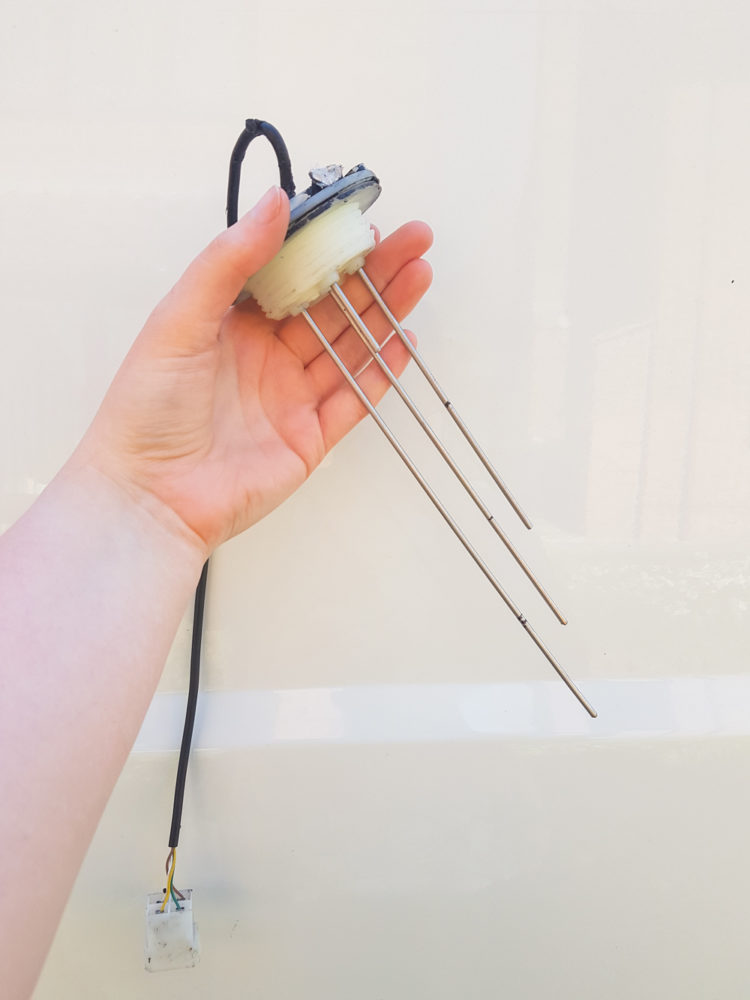
We also have a water level gauge inside the tank which displays on our little light switches, along with the battery power gauge. It’s so handy becuase we have no idea how much water is in there.
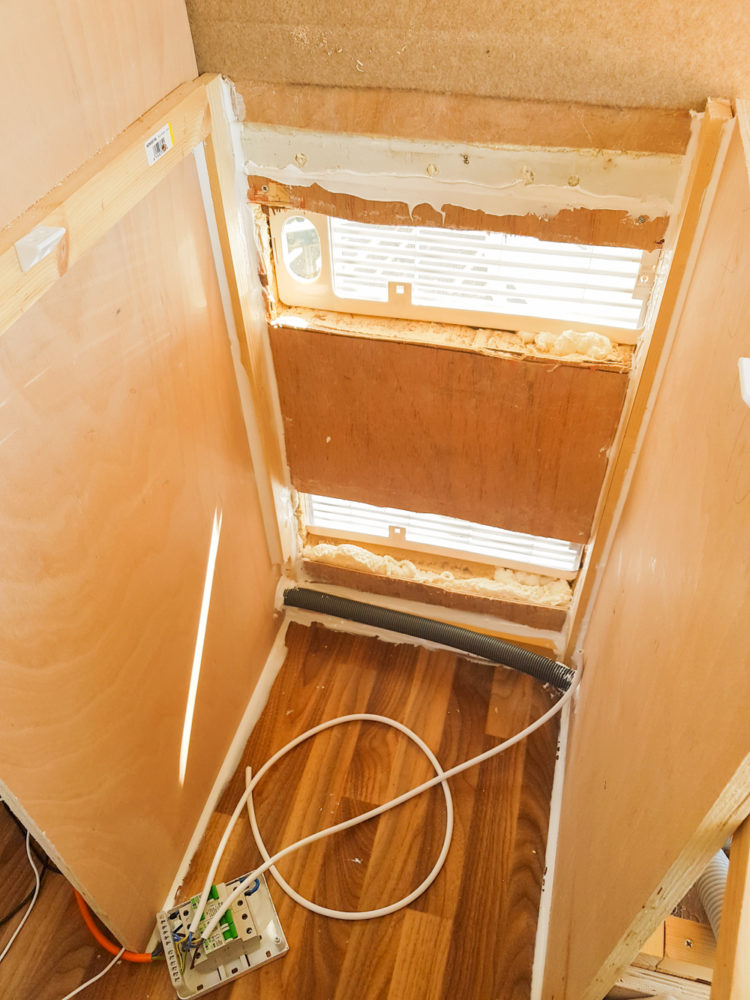
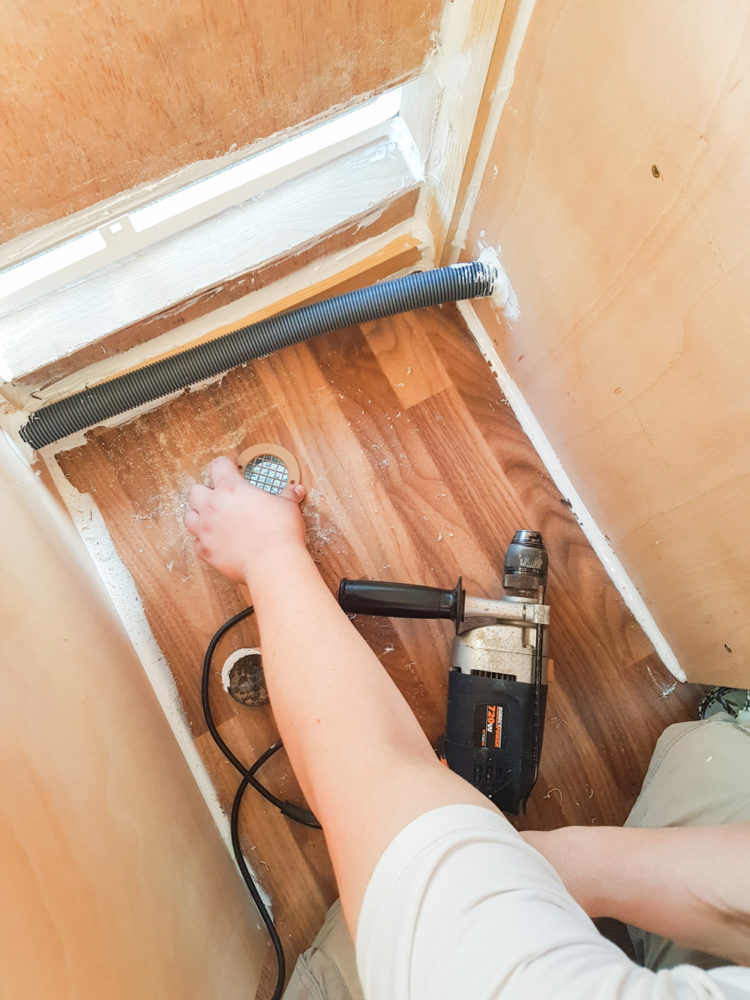
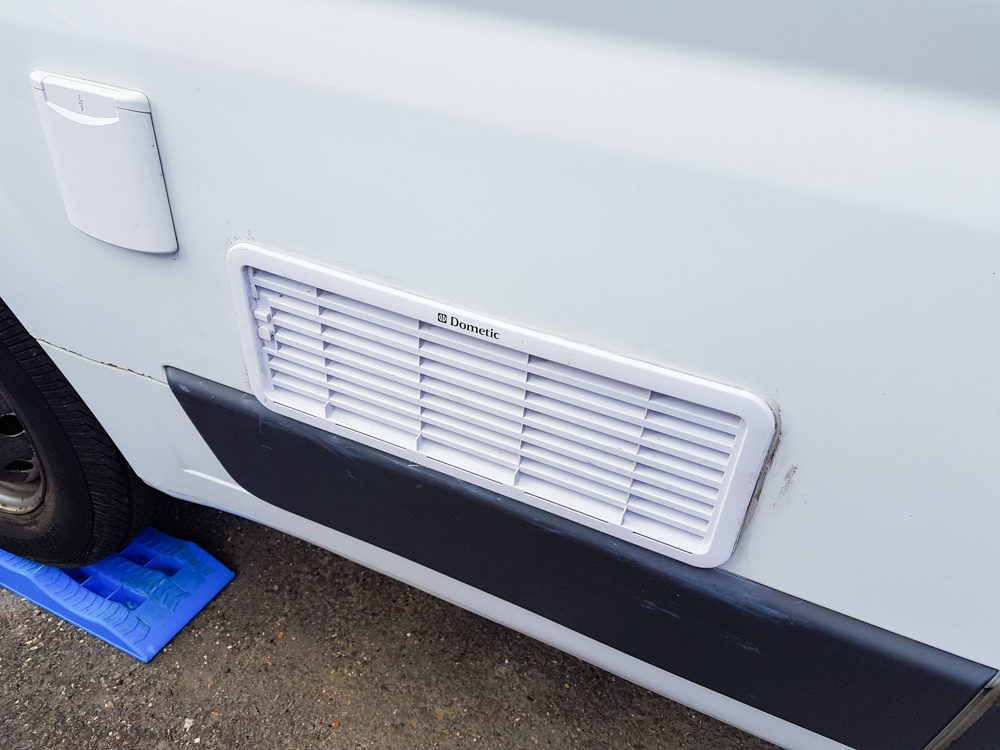
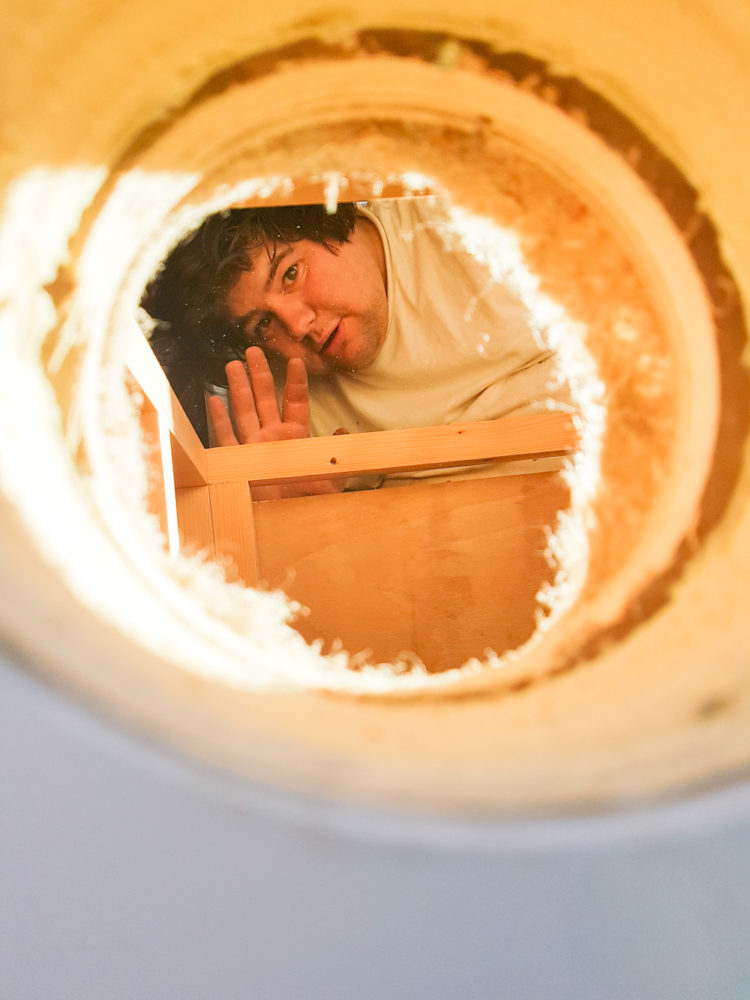
Fitting the vents for the fridge was the hardest part of the whole kitchen build. They hit right at the part where there’s a huge thick horizontal truss across the van, but due to where the vents needed to be placed for optimal ventilation for the fridge to work properly, they had to be there. We tried as best as we could to work around it, but we just couldn’t. We got there eventually though, even if the insulation did almost catch on fire at one point!
We need to sort out the area around the fridge though, as because there’s so many vents around there both in the wall and the floor, we’ve noticed the cold air is seeping down the sides and underneath the fridge and it’s not good when we’re trying to heat the van in the winter!
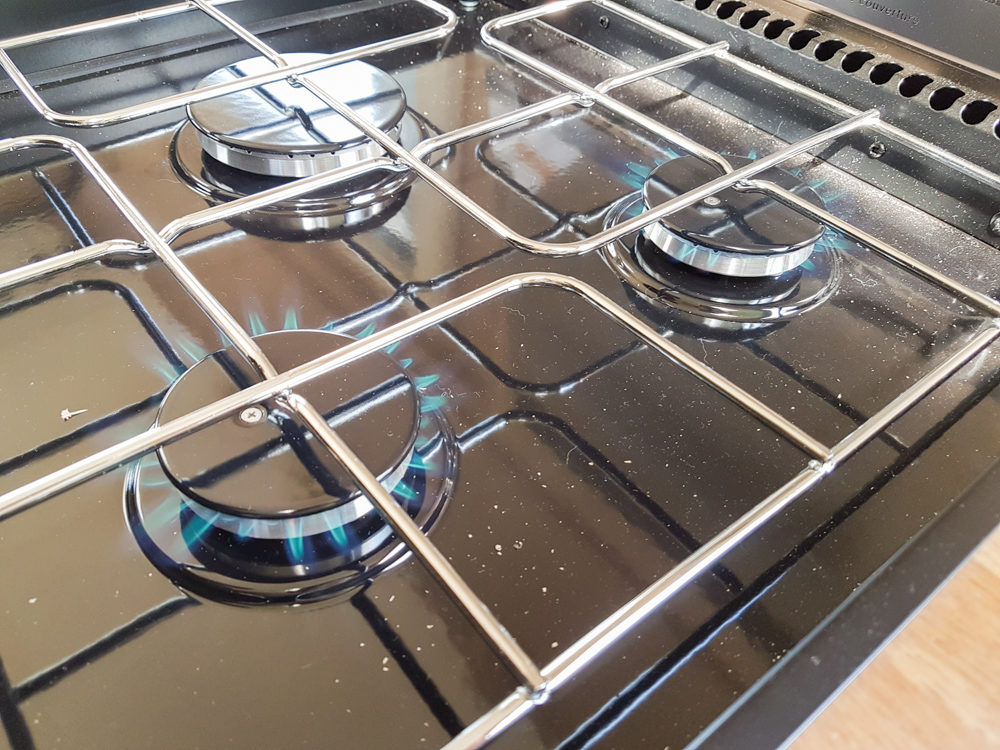
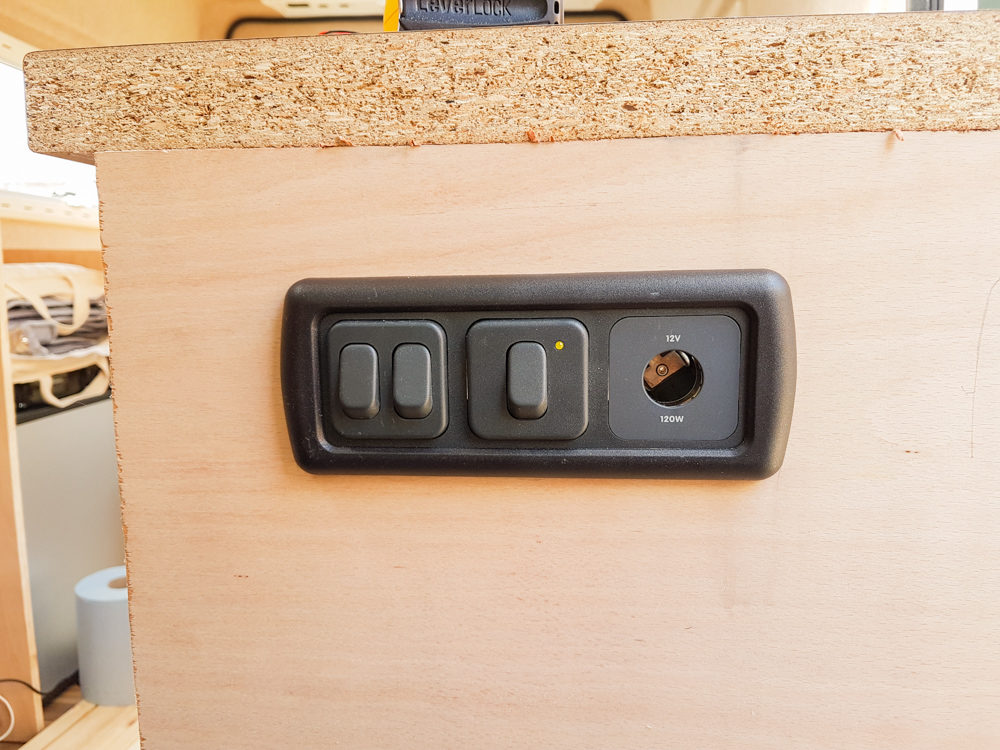
And that’s it! You can see our mini control panel for the lights, awning light, water gauge and battery level gauge, along with the first time the gas was turned on! I was so scared it was going to explode, but it all worked out ok and there’s no leaks! We celebrated by cooking a pizza in the oven to test it out. It’s pretty good!
So yeah, since these photos were taken back in the summer, we’ve added a whole new section the other side of the tall unit next to the fridge (where the bathroom was supposed to be), tiled behind the cooker/sink and the new section, painted part of it and built a little cubby for the gas bottle to be sectioned off with it’s vents. Oh, and two drawers above the fridge.
I’m so excited for it to be finished!
Don’t forget to follow us on instagram for daily updates – you can find us at @adventuresinacamper

1 Comment
Bel
July 4, 2022 at 10:28 amHiya, what cooker have you got please? I’m trying to find one for our van but struggling! Thanks 🙂