
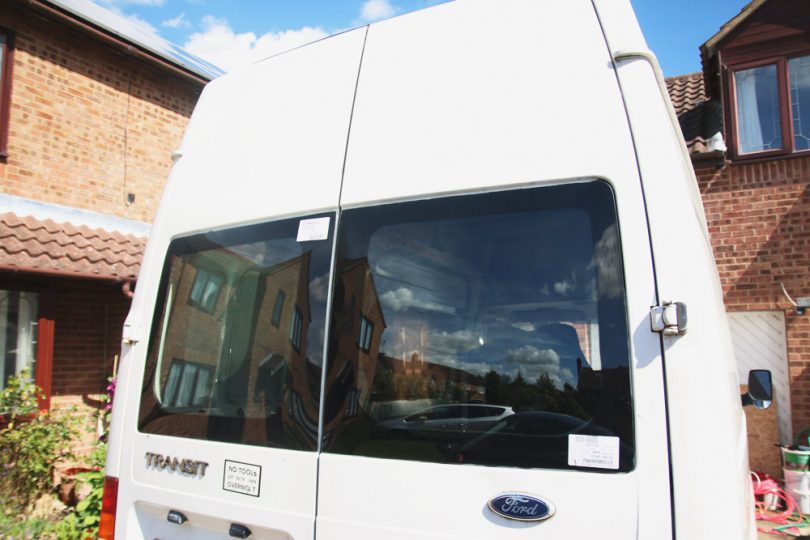
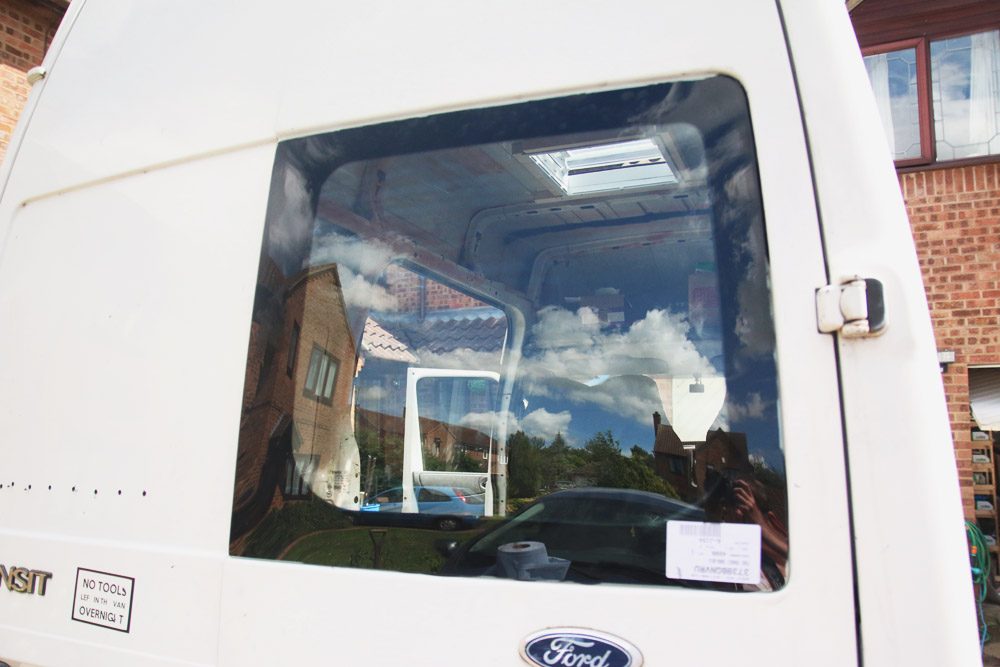
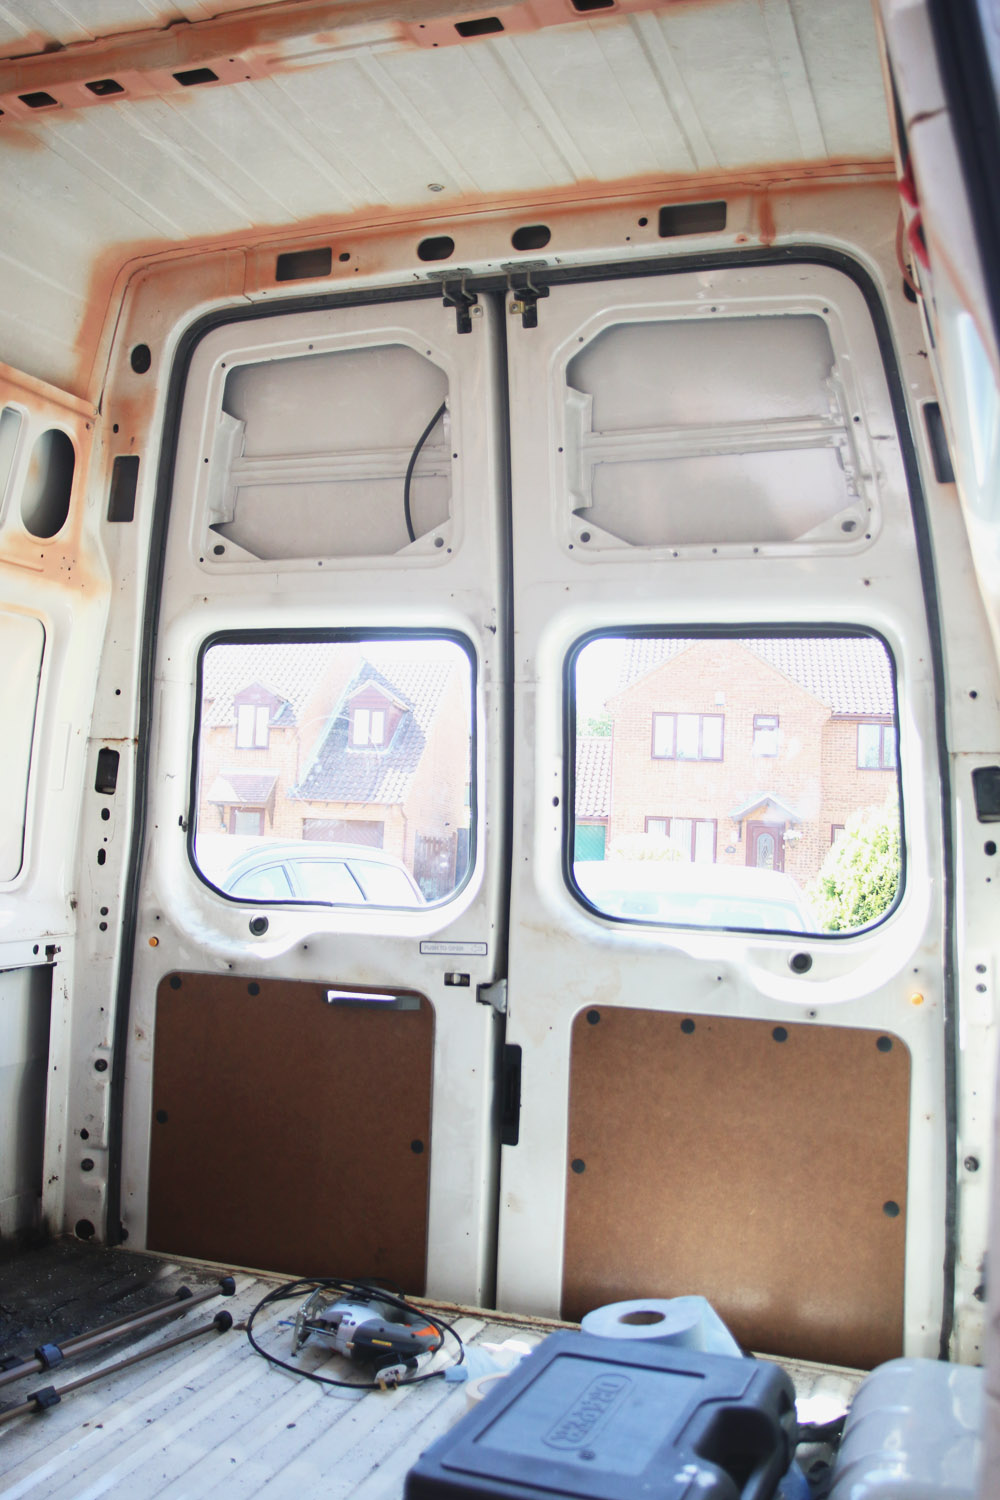
After installing our roof vent, the next job was to install the two rear windows! We decided to go for bonded rear windows as we don’t really need to open them since we’re having openable side windows, and if we need any extra ventilation, then we can just open up the back doors instead. Since the side windows aren’t going to be blacked out, we went for the green windows, which is the standard glass colour.
The Supplies
* Two rear bonded glass windows
* U-Profile edge trim in black
* TotalSeal 5033 Polyurethane Adhesive
* TotalSeal 7016 Cleaner & Activator
* TotalSeal 5028 Primer in black
* Jigsaw with metal blade
* Drill with metal drillbit
* Glass suction lifter
* Silicone/Caulking gun
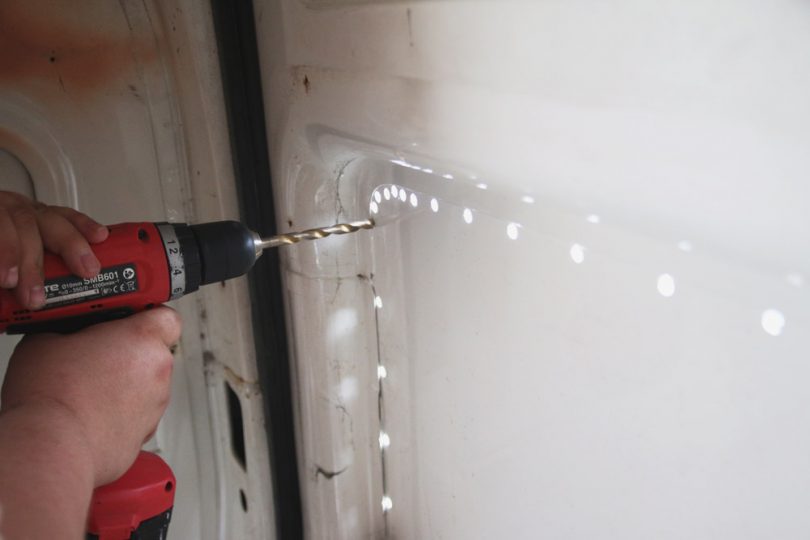
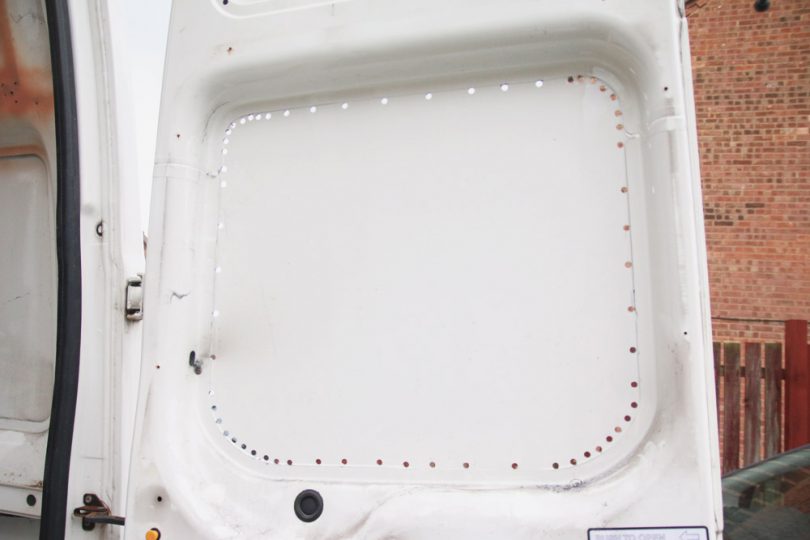
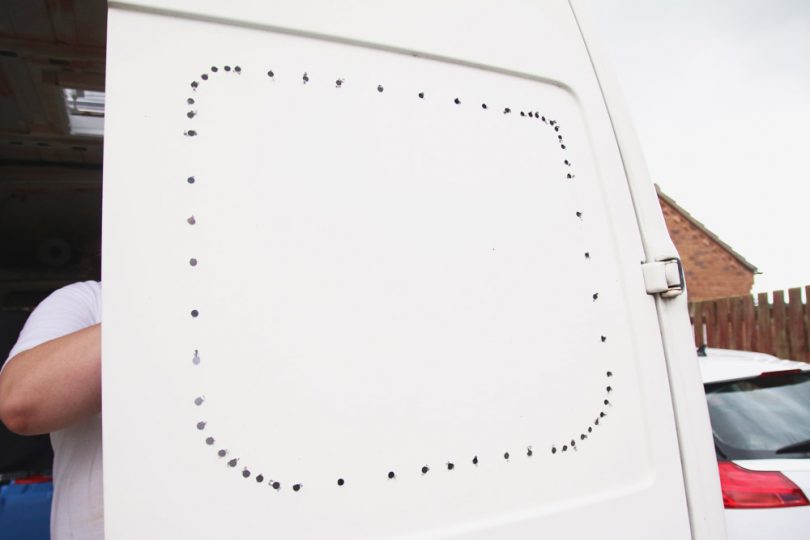
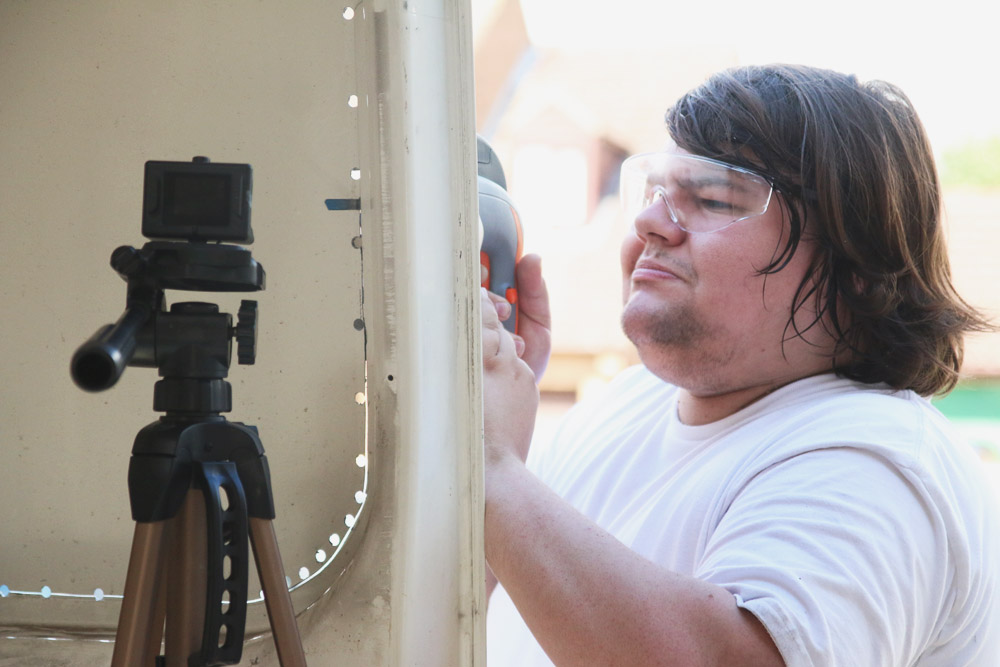

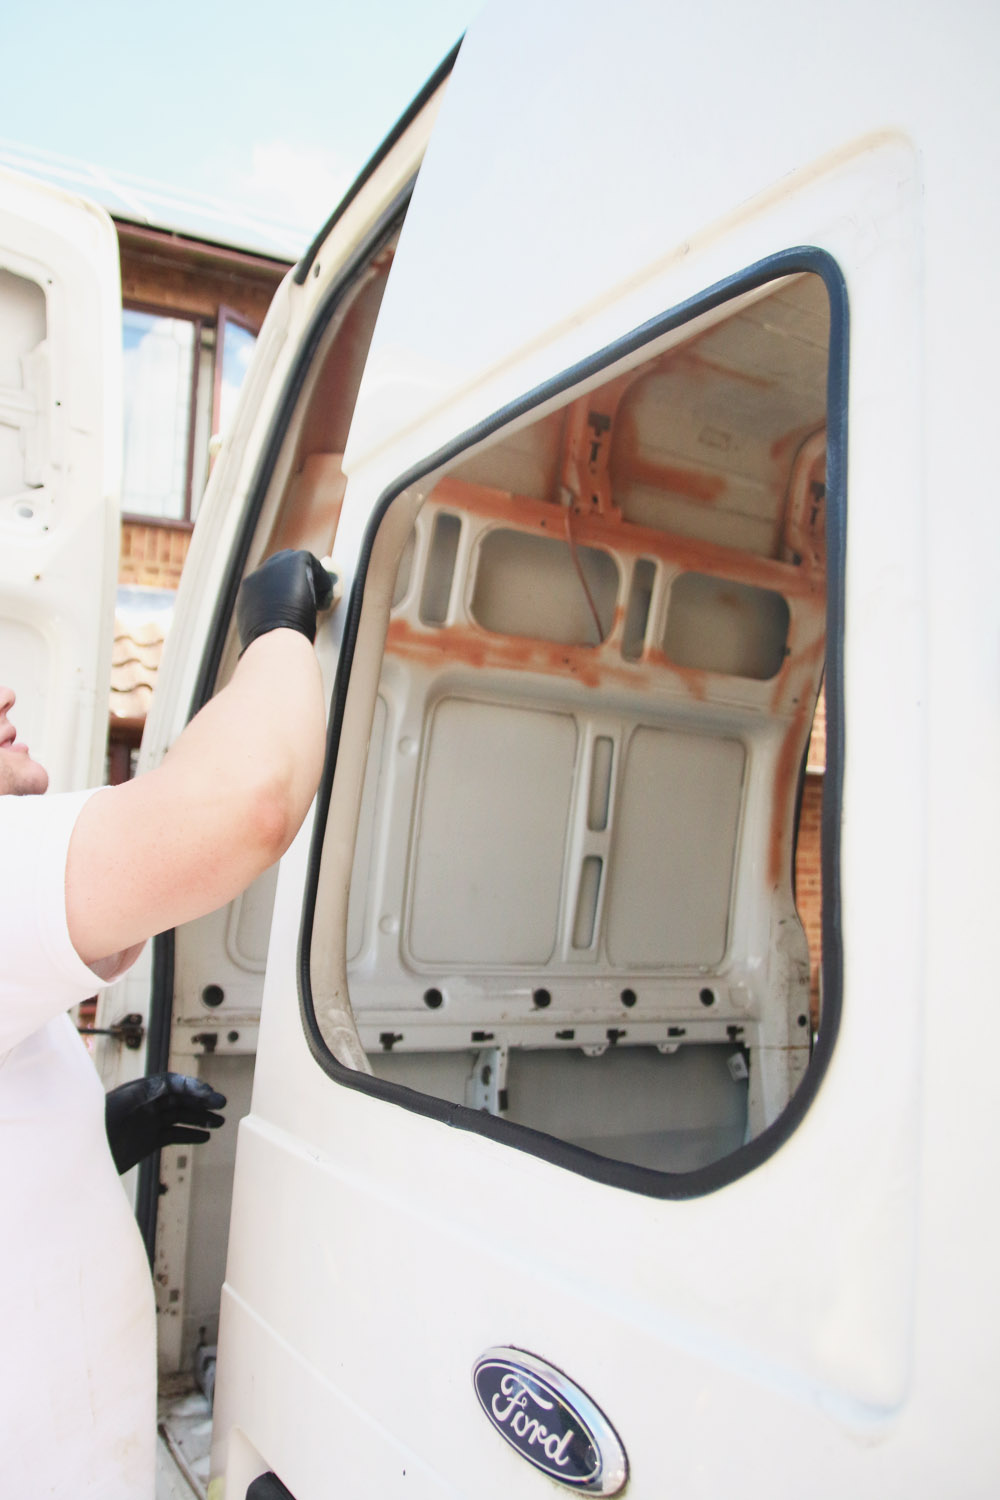
We started by drilling some pilot holes from inside the van around the area that we needed to cut out. Shane made extra pilot holes around the corners to make it a lot easier to cut around. Once the pilot holes were drilled, he cut around the area with the jigsaw to remove the inner panel. We decided to only do one window at a time, just to make sure it was all working.
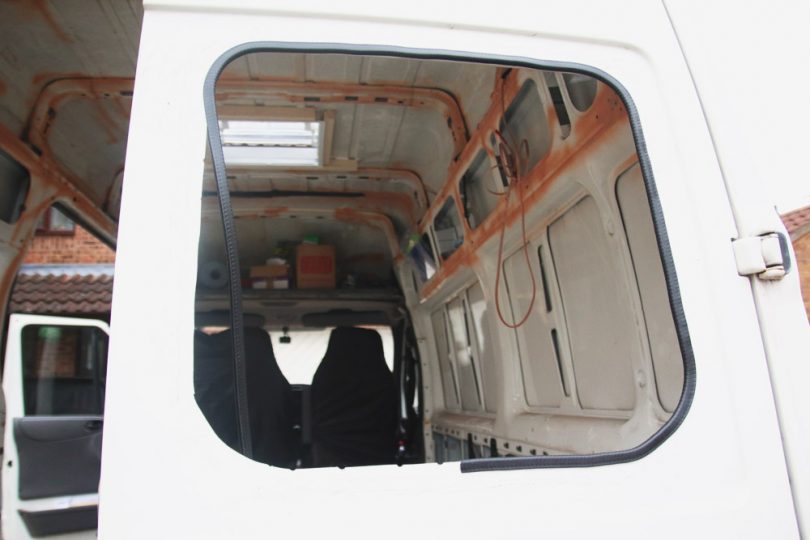
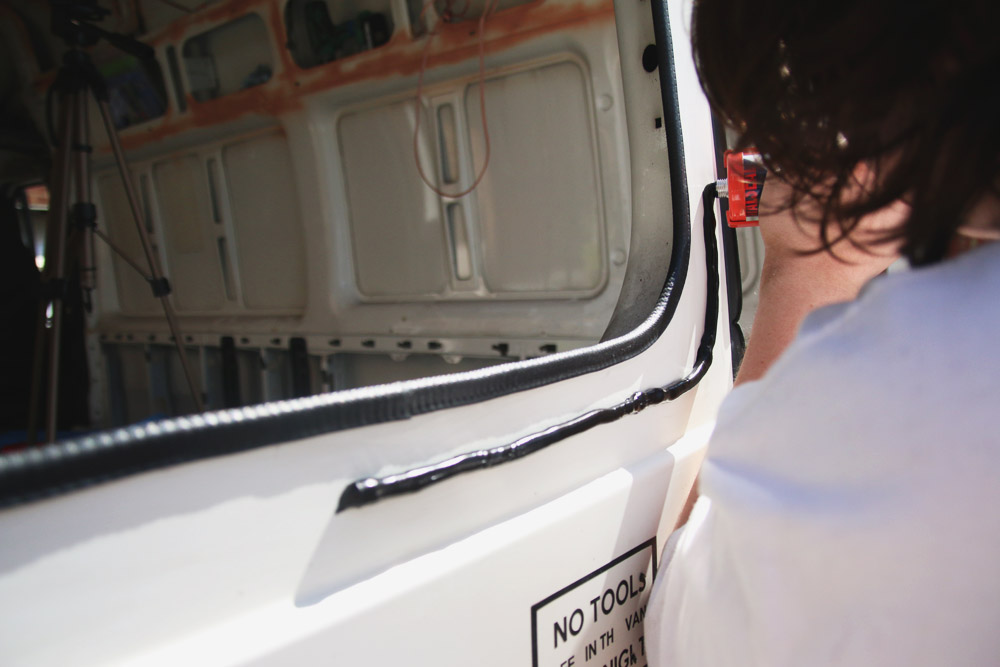
Once the metal was cut out, we used the u-profile edge trim to help seal the window and to make it neater (and safer) from the inside of the van. When we spoke to the guy that we bought it from, he recommended to start at the bottom of the window and work up and around, just to prevent any water from getting inside the seal, and to overlap it a tiny bit, just to be sure that it’s all sealed!
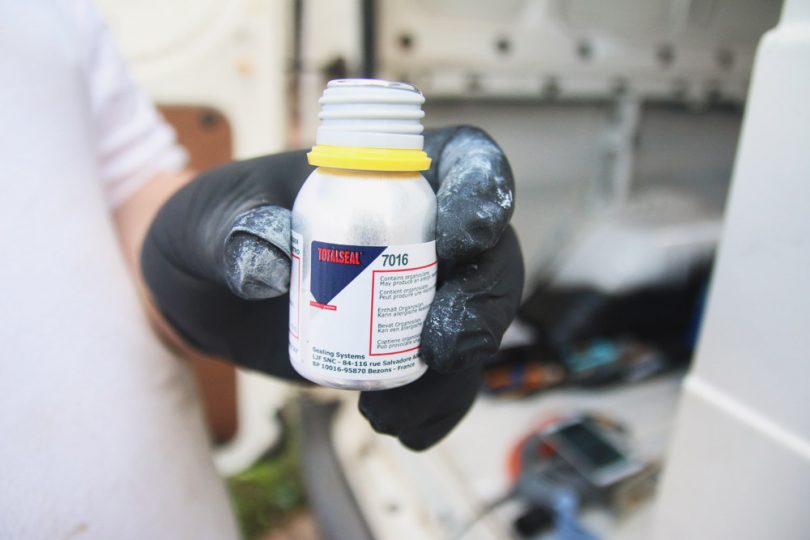
 Once the edge trim was on, we cleaned the outside of the van with some of the totalseal 7016 cleaner & activator to remove any dirt that was on the surface. We then cleaned the back of the glass with it too, just to remove any dirt and grease from our fingerprints.
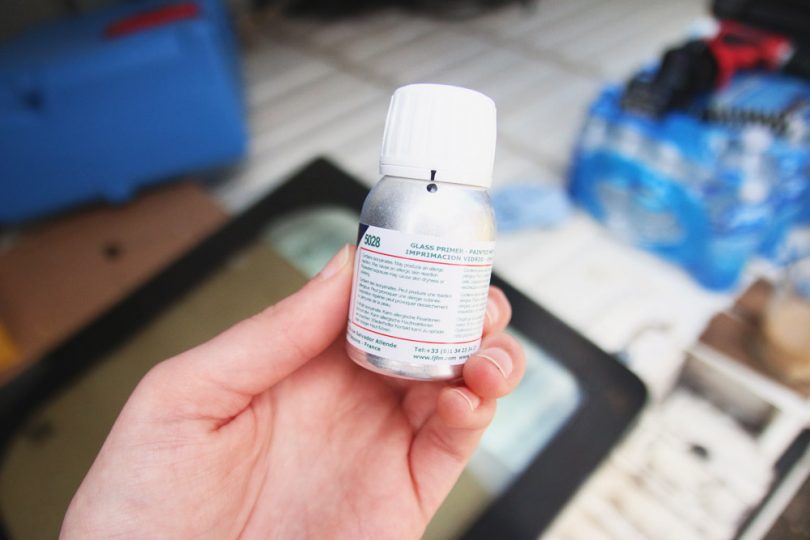
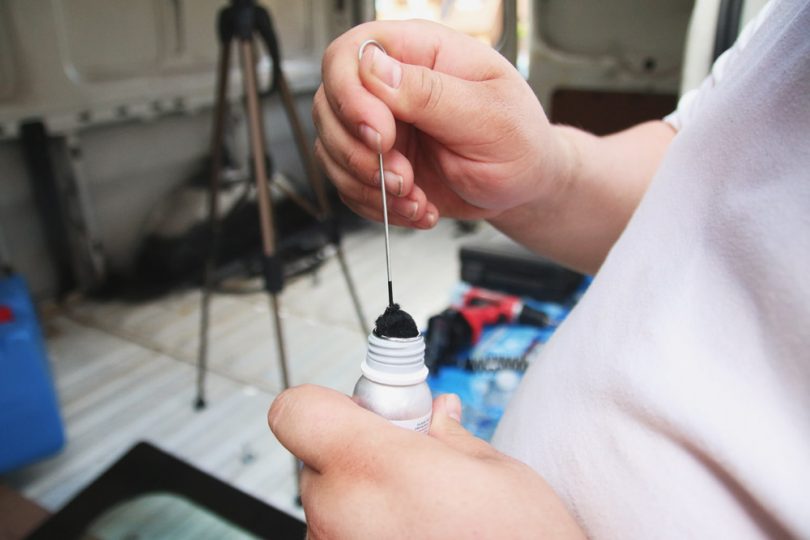
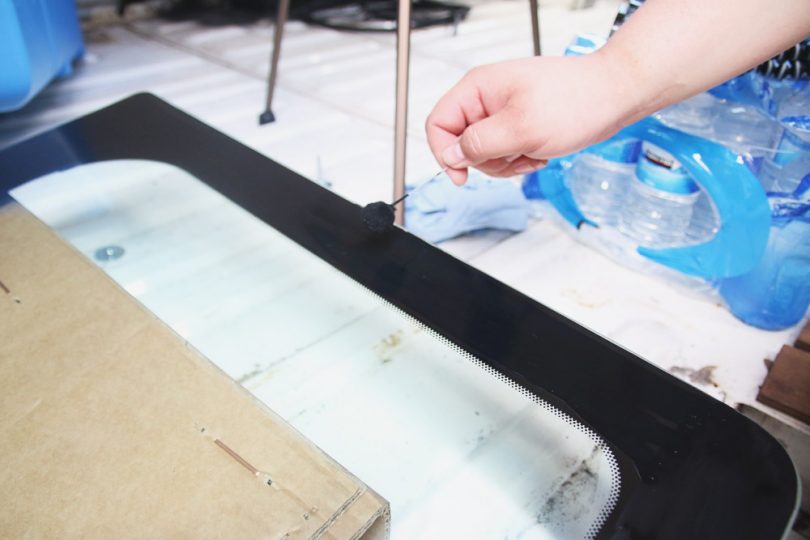
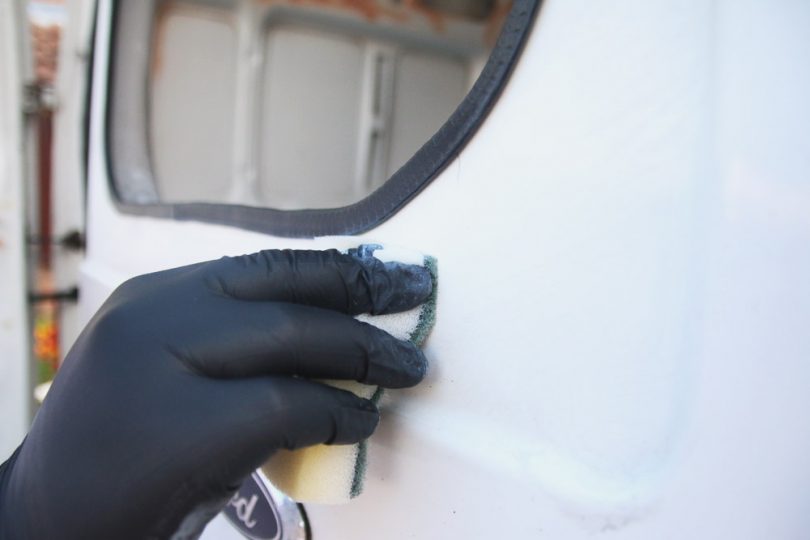
All of the totalseal products are designed to be used together, so we then used the totalseal 5028 primer and painted it around the glass panel where the adhesive would be used to aid with the adhesion and left it to dry for 15 minutes before applying the adhesive. You should also apply the primer to the van too for best adhesion (which we forgot to do).
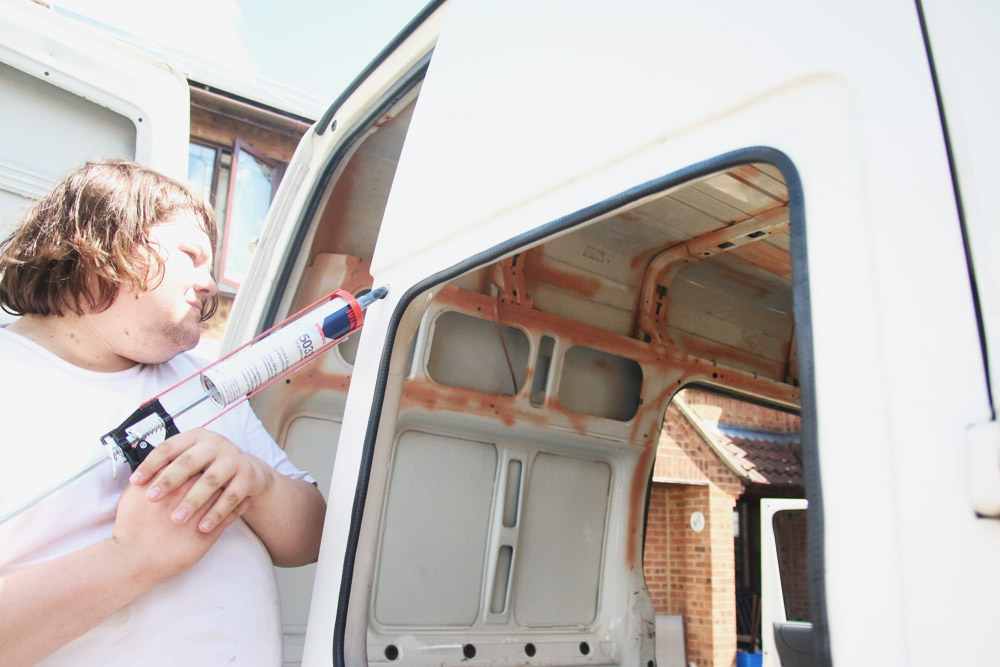
We found that the adhesive was like a very thick tar, which was almost impossible to use, but we found that heating the container up in some warm water to roughly room temperature helped to apply it. The nozzle comes precut with a ‘v’ shape into it so that not too much is used.
Apply a thin layer around the edge of the edge trim in as close to one motion as you can get, but not so close that it’ll spill over when the pressure of the glass is pushed onto it. Make sure there are no gaps, otherwise water will leak through. You don’t want to apply too much, otherwise it will overflow onto the glass pane, or out of the edge of the glass like what happened to us on the first window, which can cause leaks!
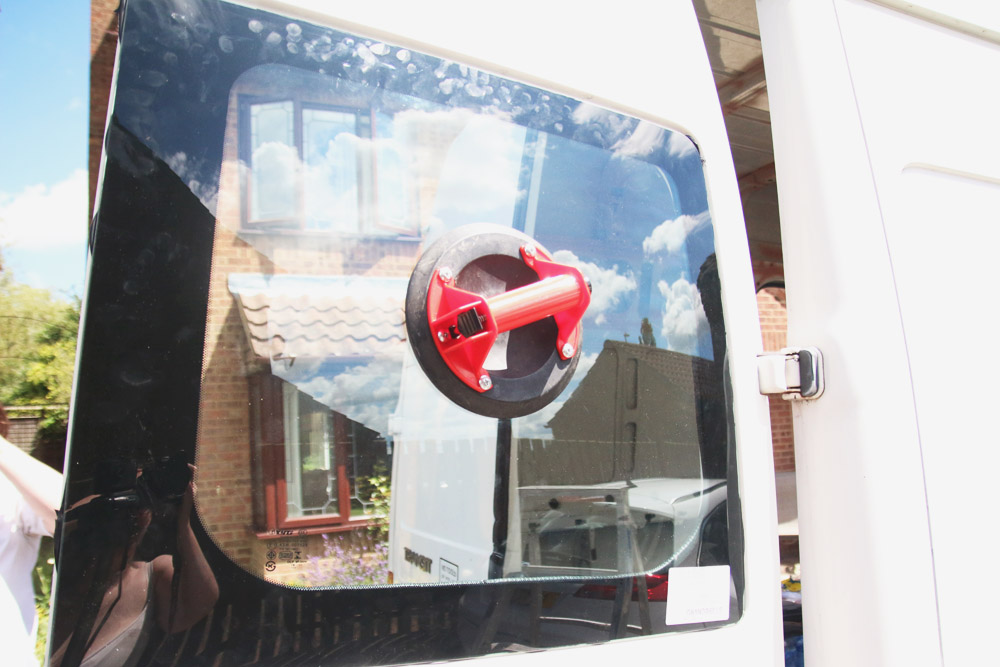
We then quickly placed the window into position with the glass suction lifter. Luckily my dad had one, but if you don’t have one handy, it’s pretty easy to just position it without the lifter. Make sure you place it a little higher at the top than the bottom and make sure it’s far over enough so that the two glass panels don’t hit against each other when you shut them! We put it right to the edge of the pane, but it was a close one! Be sure to be quick though, as the adhesive dries really quickly!

Once the window is in place, leave it to dry for a few hours. We left it overnight to dry up, then checked to make sure it was waterproof. Shane poured water all around the edges while I stood inside checking that no water came inside the van! And that’s pretty much it! It was such an easy job to do (probably easier than the rooflight) and only took a few hours to do both windows.
I think the whole project, including the windows and all of the supplies cost us roughly £150, with the windows obviously being the most expensive part.
Let us know what you think!
Don’t forget to follow us on instagram for daily updates – you can find us at @adventuresinacamper

2 Comments
Andrew Smart
November 6, 2018 at 11:55 amHi, do you have a link to the windows you used? I have an identical high roof transit and i’m looking to do the same thing, found some places but im unsure if they are compatible
April
November 6, 2018 at 7:16 pmHey, unfortunately we bought the windows over 2 years ago now so we don’t remember where we bought them from specifically – sorry!
– April