
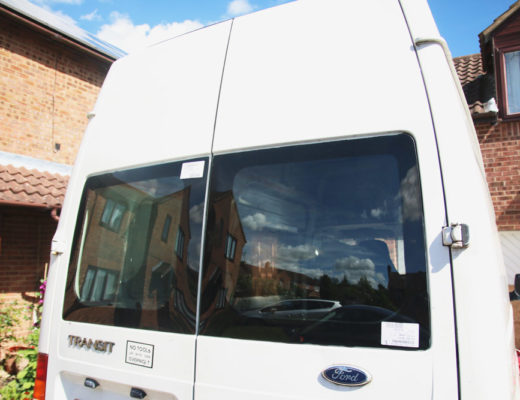
Installing the Vinyl Flooring
So we cut our windows out, carpet lined the walls and made the bed frame. The next thing to do was to install the flooring! We decided to go with vinyl flooring to keep weight down. I know a lot of DIY conversions use laminate flooring, but man that stuff is heavy, and for fuel economy, we don’t want to be lugging the equivalent of 4/5 boxes of laminate flooring around with us on our travels, using up our fuel supplies!
Some people also opt for planks of real wood. Some use reclaimed wood pallets, some use new wood. We opted for vinyl flooring. It’s easy to clean, soft under your feet and is more insulating (in our opinion at least). It just makes it feel more homely.
What you’ll need:
* Vinyl Flooring
* Stanley knife
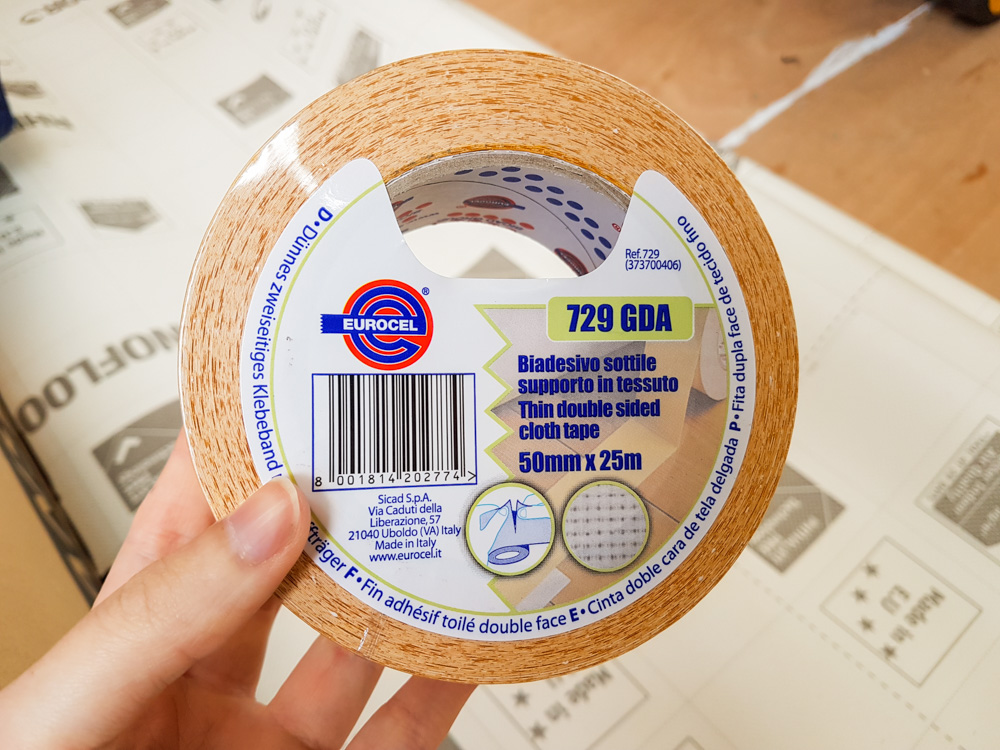
* Thin double sided cloth tape

We bought ours online from a flooring supplier (not sure which). We just looked around, ordered a few samples of ones that we liked the look of then picked our favourite and it came rolled up ready to use.
We decided to go for a regular wood effect to keep with the design of the van. As much as I’d have loved a dark walnut, it just wouldn’t have looked right (and probably would have shown up SO much dirt on our travels too), but we love the colour that we chose in the end.
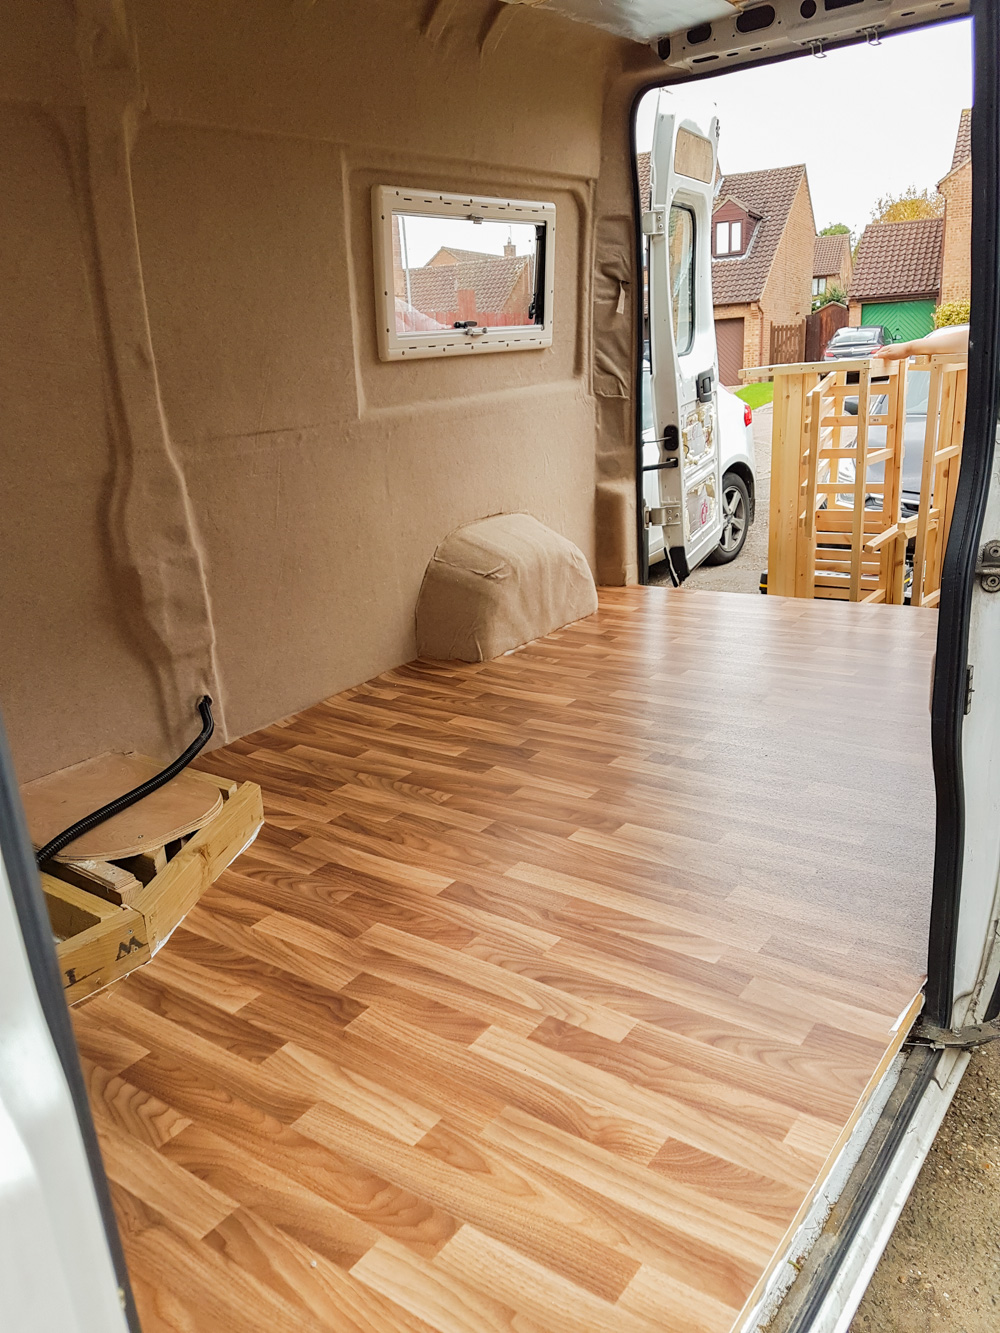
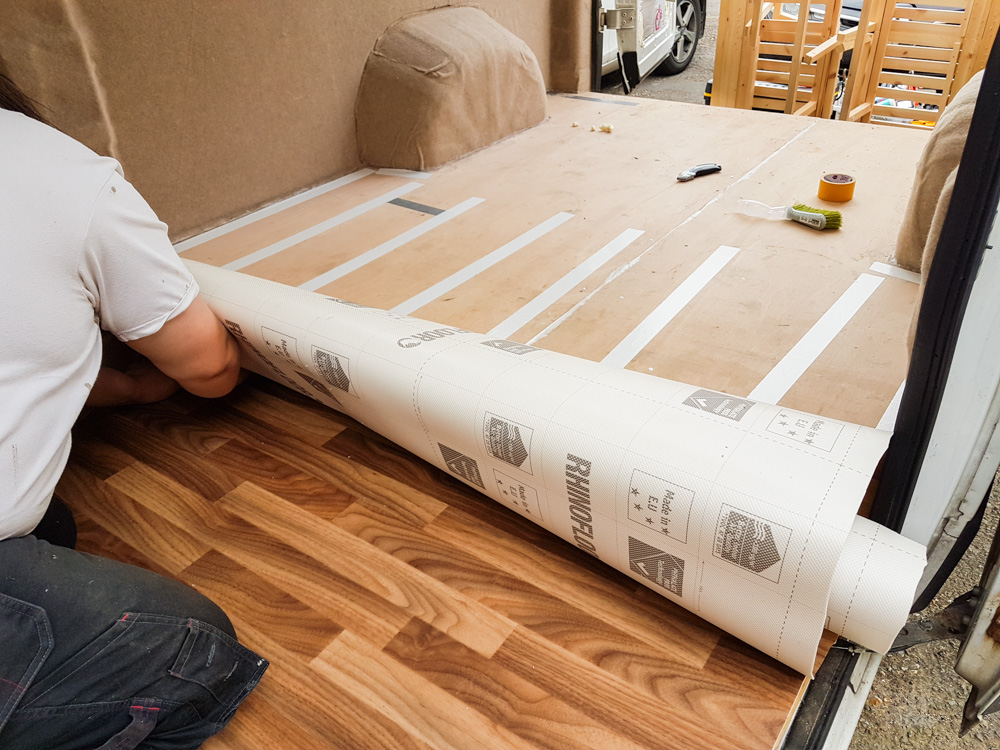
Check the Flooring and Position it in the van
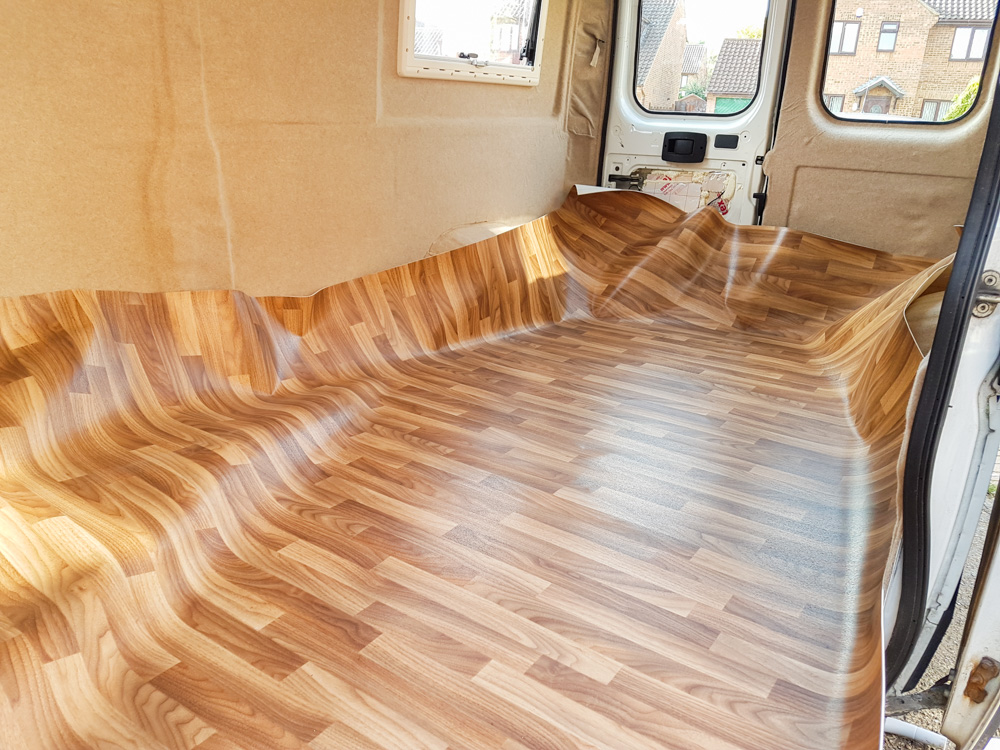
The first thing that we did was roll the vinyl flooring out across the driveway to make sure we definitely ordered enough (it had been a while), once that was done we moved it inside the van and positioned it so that it was equally spread across the length and width of the van.


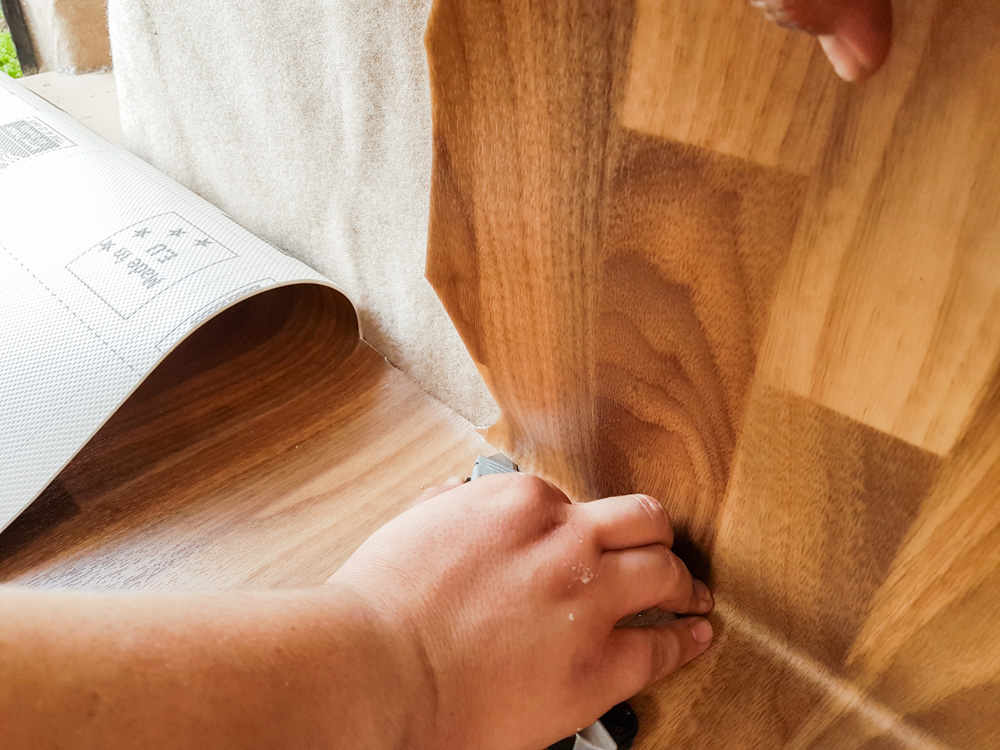
Cutting the Flooring
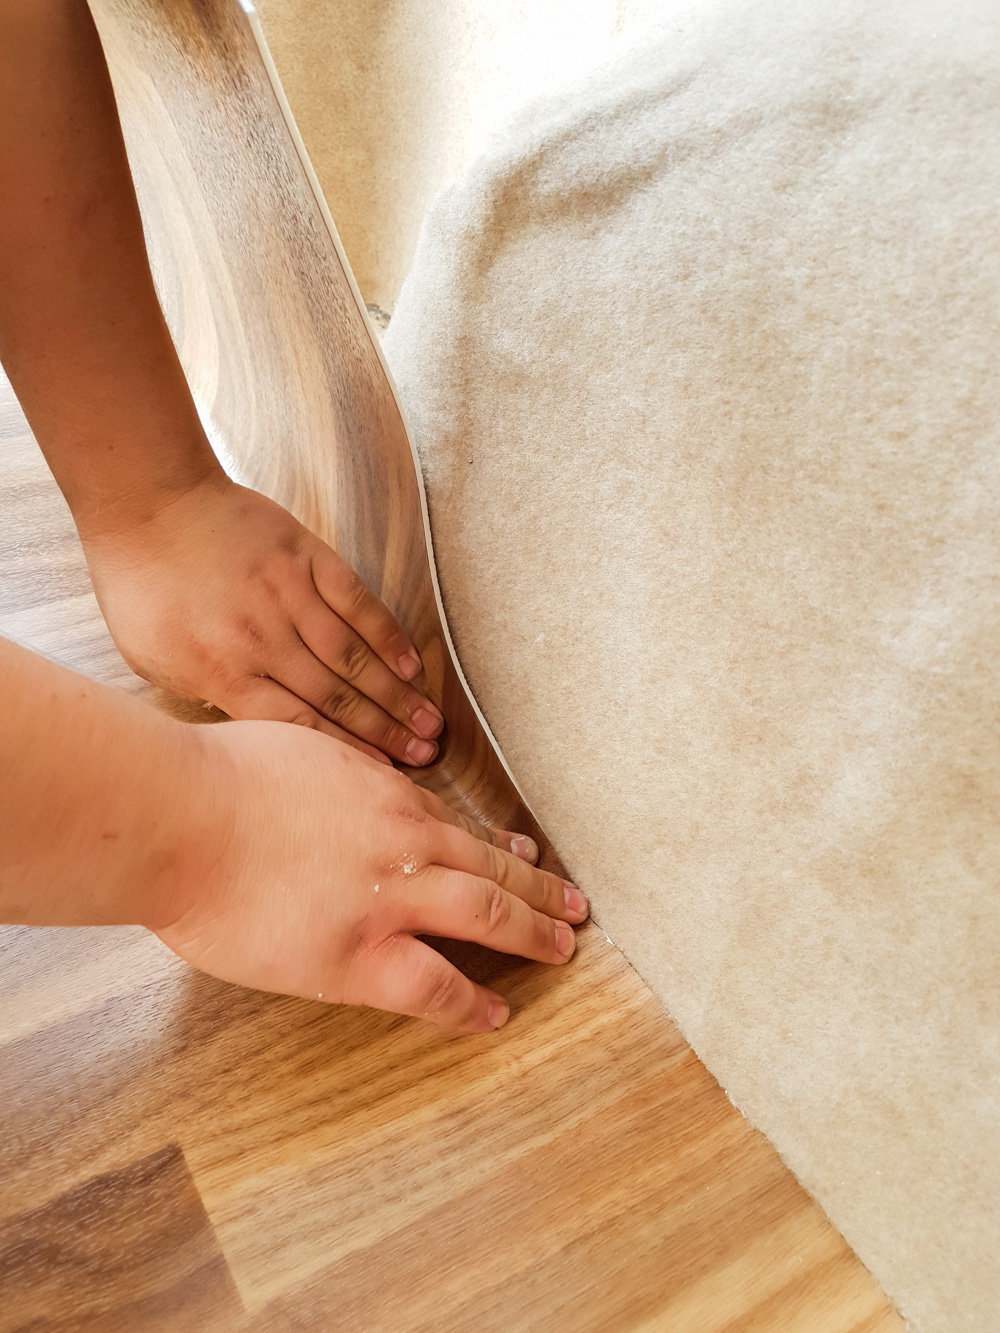
Laying and cutting the floor was the tricky part. We started at the back doors and worked our way along the sides to the front of the van. To make sure we got a straight cut, we always cut in smaller chunks, and always cut across and upwards so that we weren’t in danger of cutting off too much of the floor. For example, you can see we cut a slice down the flooring to where the flooring and the wall carpet meets then started cutting across.
We did rough cuts to begin with, making sure it all fit and didn’t move in the process, then after that had all been cut to size, we went back along the edges and tidied it all up. It’s not perfect and there are some bits that got a tiny chunk too much cut out of them, but we just cut another chunk to fit in place haha!
Securing the Flooring
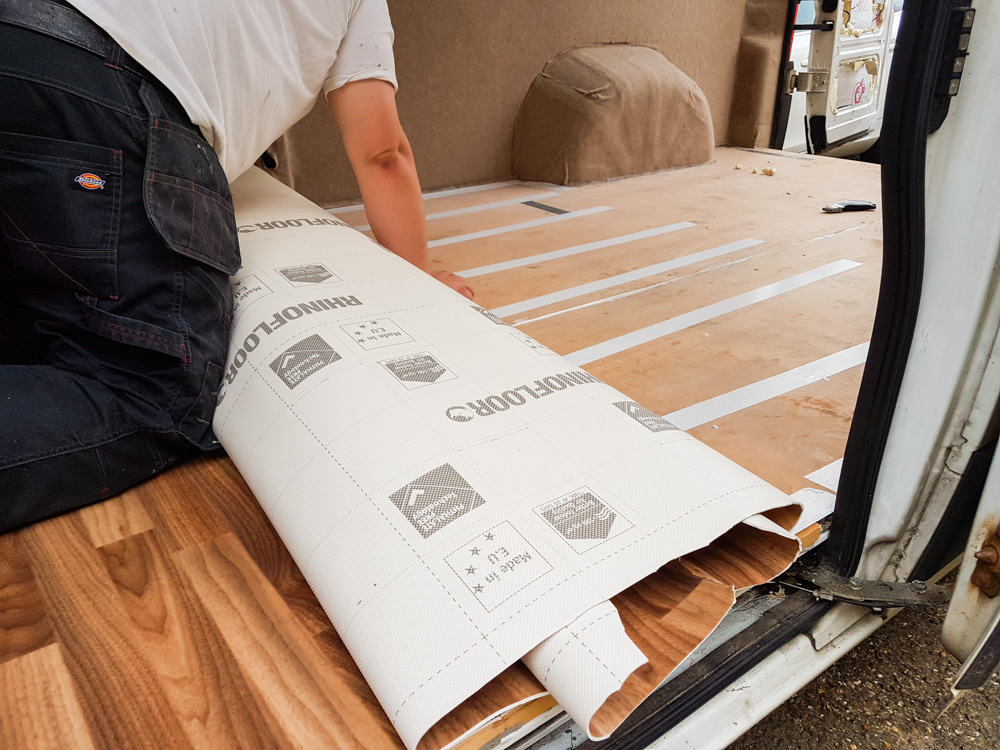
Once the vinyl flooring was cut to size, we rolled it back up to the top of the van and used thin double sided cloth tape to secure it to the floor. We just bought ours from screwfix and for the size of the van used about 2/3 rolls. The best thing about it is that it’s really adhesive and made for vinyl flooring, but also it’s super thin, so you can’t feel it underneath the flooring.
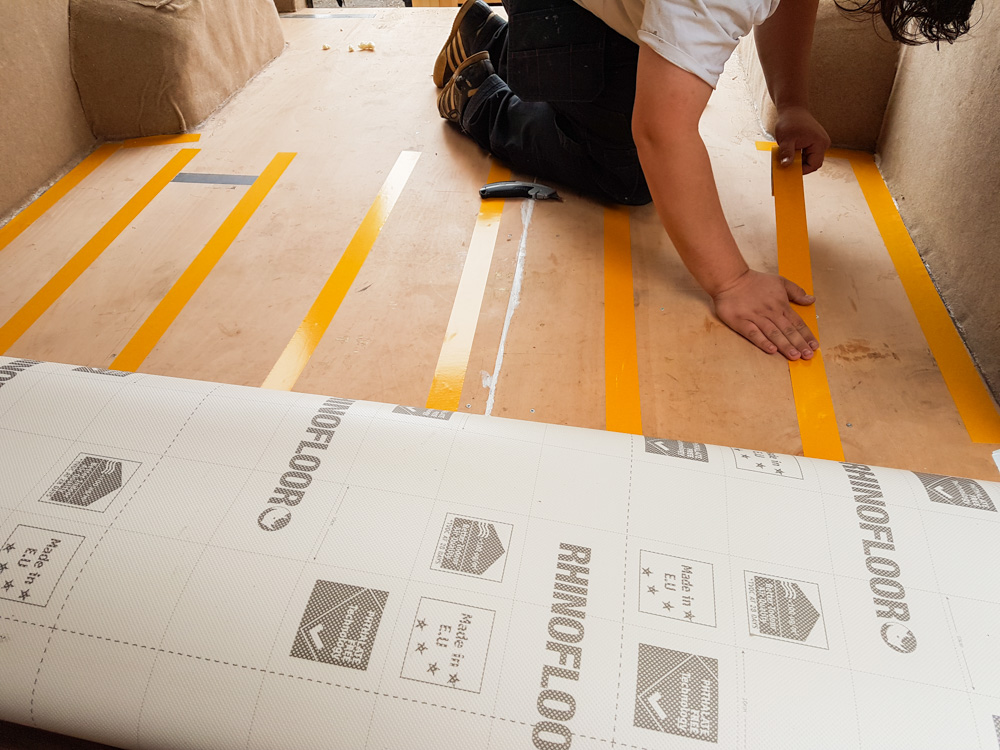
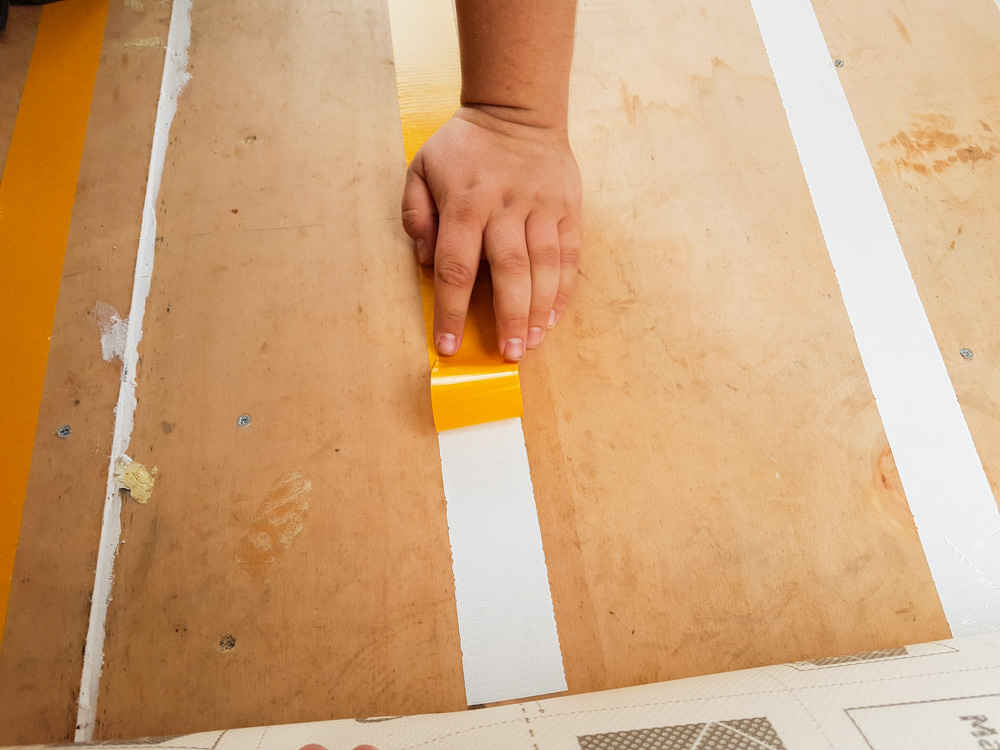
It’s so simple to use – just unroll the tape securing it to the floor in the position that you need it around the edges and the middle of the van, peel the top layer off, then roll the vinyl flooring back over the tape, making sure it’s nice and flat with no air bubbles, slowly working our way towards the back of the van, and putting extra tape in high footfall places, like the side and back doors where the flooring might have a higher chance of peeling away.
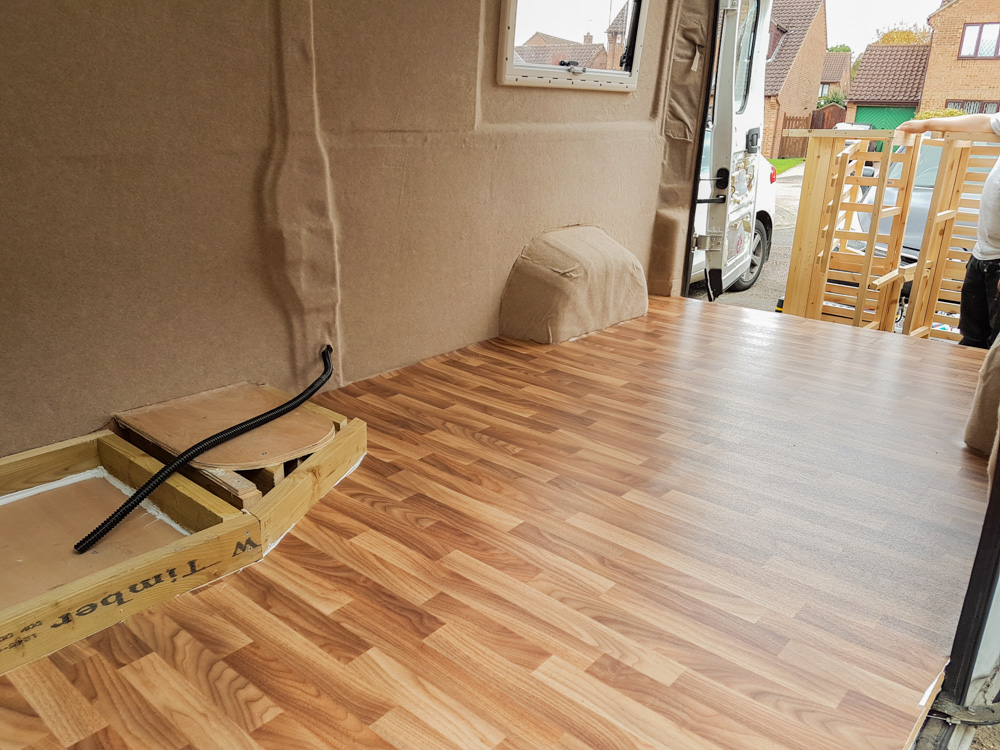
As of just yet, we haven’t finished off the edges – we’ve just left them how they were when we cut them, but considering most of the edges will be covered behind cabinets and the bed, it’s not too much of a big deal. We do want to put a metal strip across the side and back doors though, just for a little extra protection against wear and tear in the entryways.
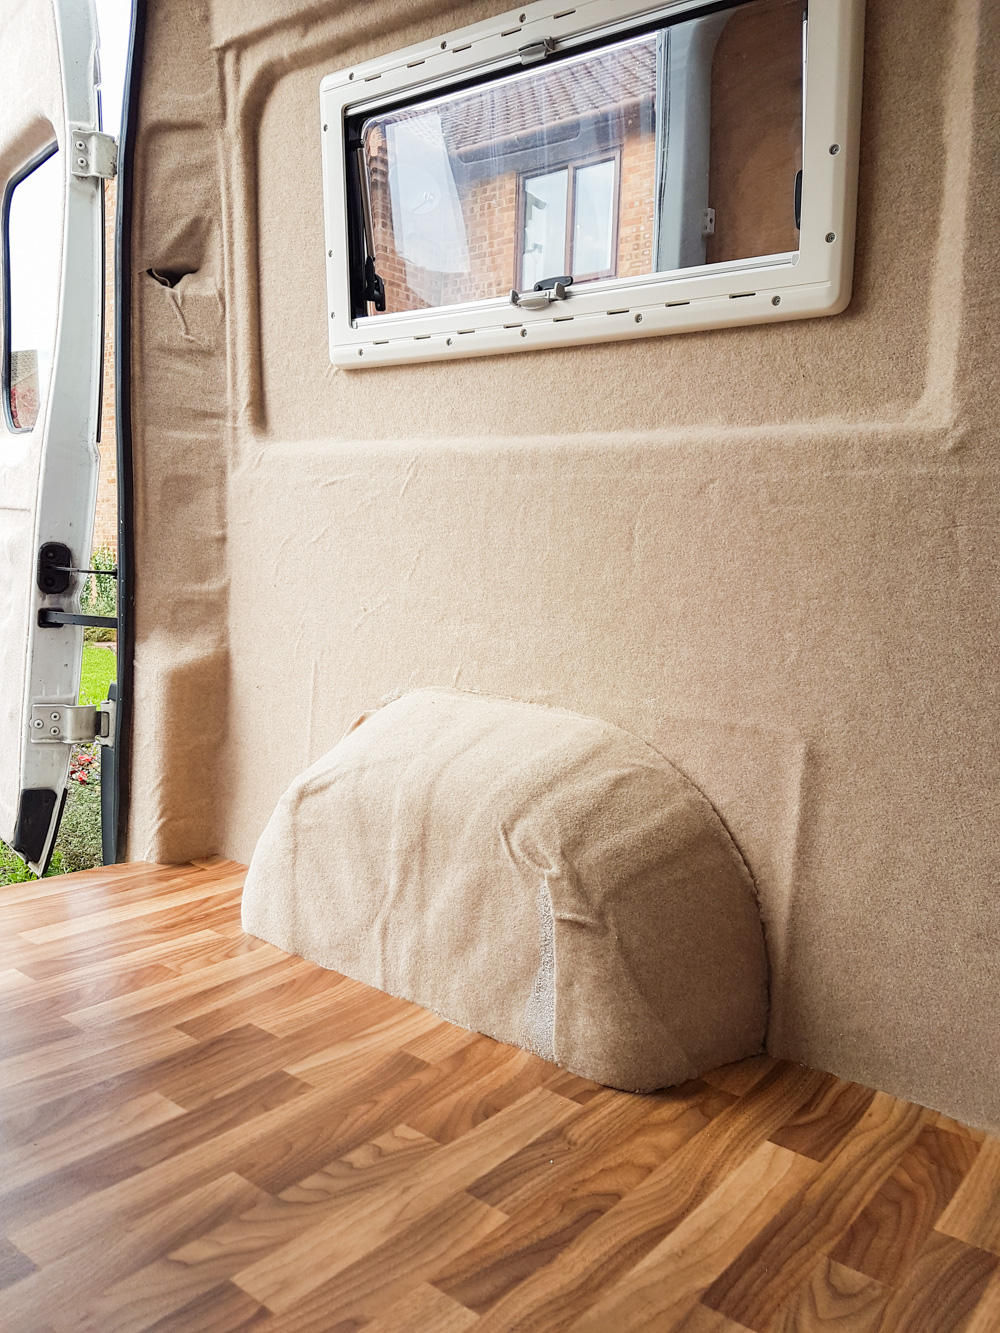
We love the look of it now that the flooring is in and it’s so much easier to clean!
Don’t forget to follow us on instagram for daily updates – you can find us at @adventuresinacamper
2 Comments
Dale Eltham
February 9, 2019 at 6:32 pmHow is the floor 12 months on? Curious to know how well that tape is performing. Love your work guys.
April
February 10, 2019 at 9:15 amThe floor is great! It’s coped well with dragging water and dirt in from outside and it’s easy to clean, but the tape over time and we think with all the heat and cold that it’s not held up so well as we had a bit of bubbling happen. But all of the kitchen and bed area holds the floor down anyway, so you honestly can’t tell once we got all of that on top of it. It’s been fine since!
April