
The Dolomites
The Dolomites was one of our favourite stops of the entire trip. Those huge towering mountains, the milky turquoise lakes and just all the views that we were constantly admiring. After a good night at our campsite getting everything cleaned up and clothes washed, we debated whether or not to visit Tre Cime di Lavaredo. I’d seen pictures online before and wanted to visit so bad, but as we started looking into it, we realised that the toll road to get to the carpark at the refuge was going to cost a whopping €45 for a campervan!
This put me off, but Shane knew I’d regret not going so we mustered up the last of our change and headed for the mountains. And honestly, I’m SO glad we did, cause it was the highlight of our trip for sure!



Getting to Tre Cime di Lavaredo
Now I’m not someone who enjoys driving on mountainous roads, so the road up there was terrifying (for me – honestly, if you’re not afraid of hills then you have nothing to worry about). It’s a very windy road that goes up to 2200m (7200ft), so I was a little worried about driving up to the Tre Cime di Lavaredo in a campervan.
Before we arrived, we read if you’re in a campervan/motorhome, then the best time to head up (or down) is first thing in the morning or the evening when it’s a lot quieter. The road has loads of no stopping signs, but that doesn’t stop tourists randomly pulling over to take a snap of the mountains, or the many many cyclists heading up there that are hard to overtake on the winding road.
It’s so easy to get to though. You just take the road in Misurina that’s signposted for Rifugio Auronzo. You’ll pass through the toll both, and then continue on the road up to the top. There’s plenty of parking for cars, and also a whole dedicated area near the bottom on a flat section for campervans and motorhomes. The parking is for a 24hr period, so you’re free to stay the night too, though the only facilities are squat style toilets.


Hiking the Tre Cime di Lavaredo
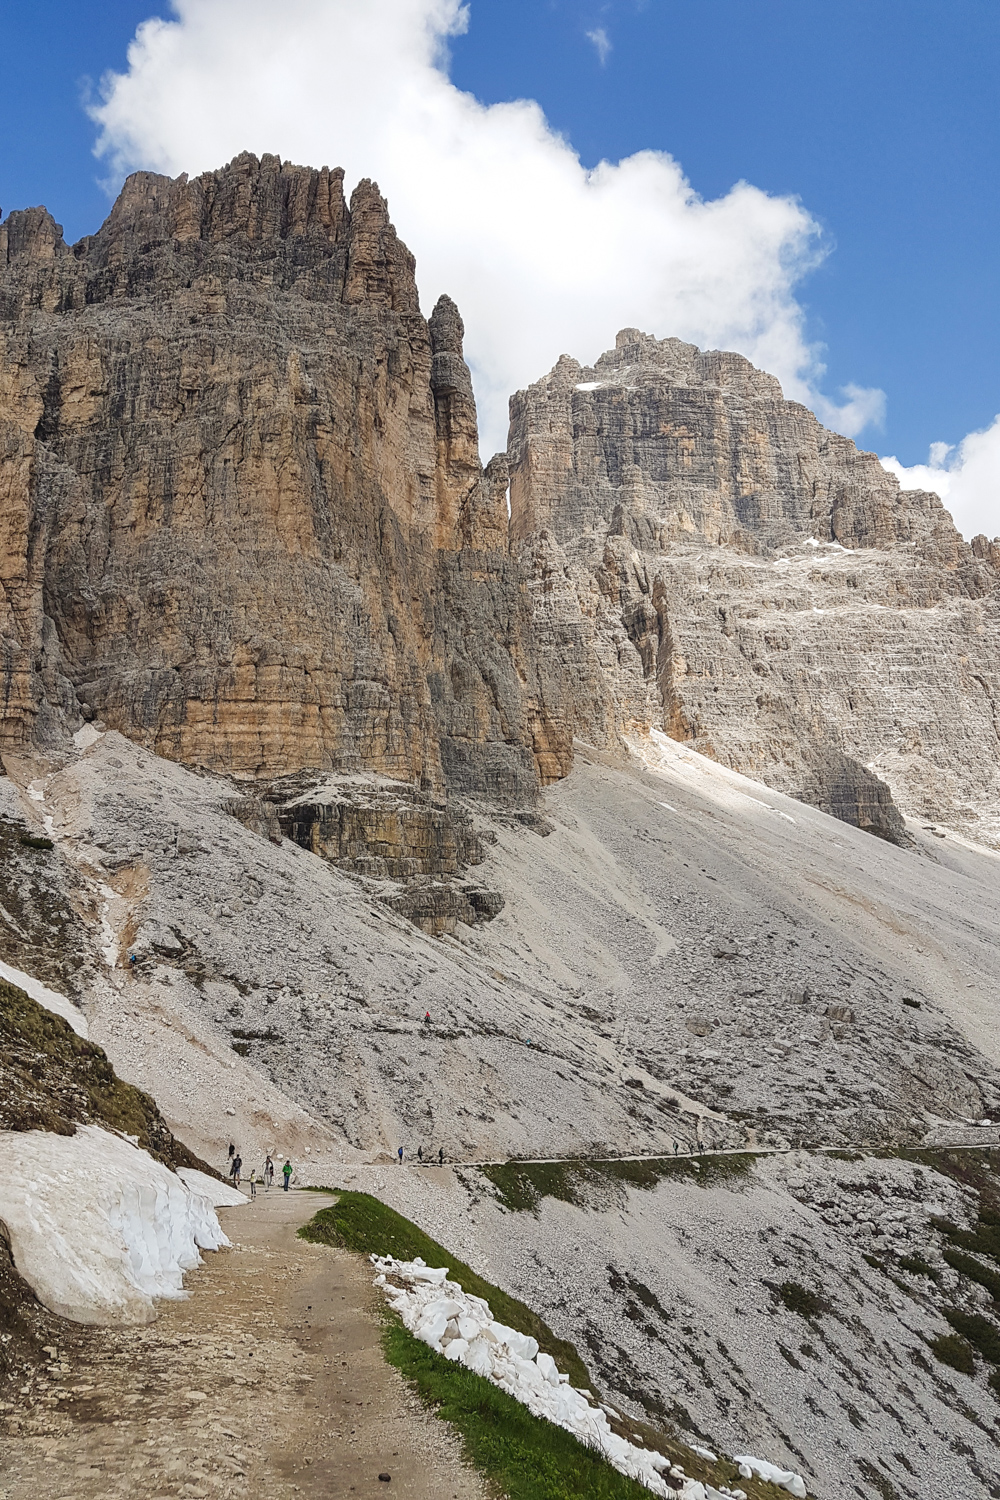
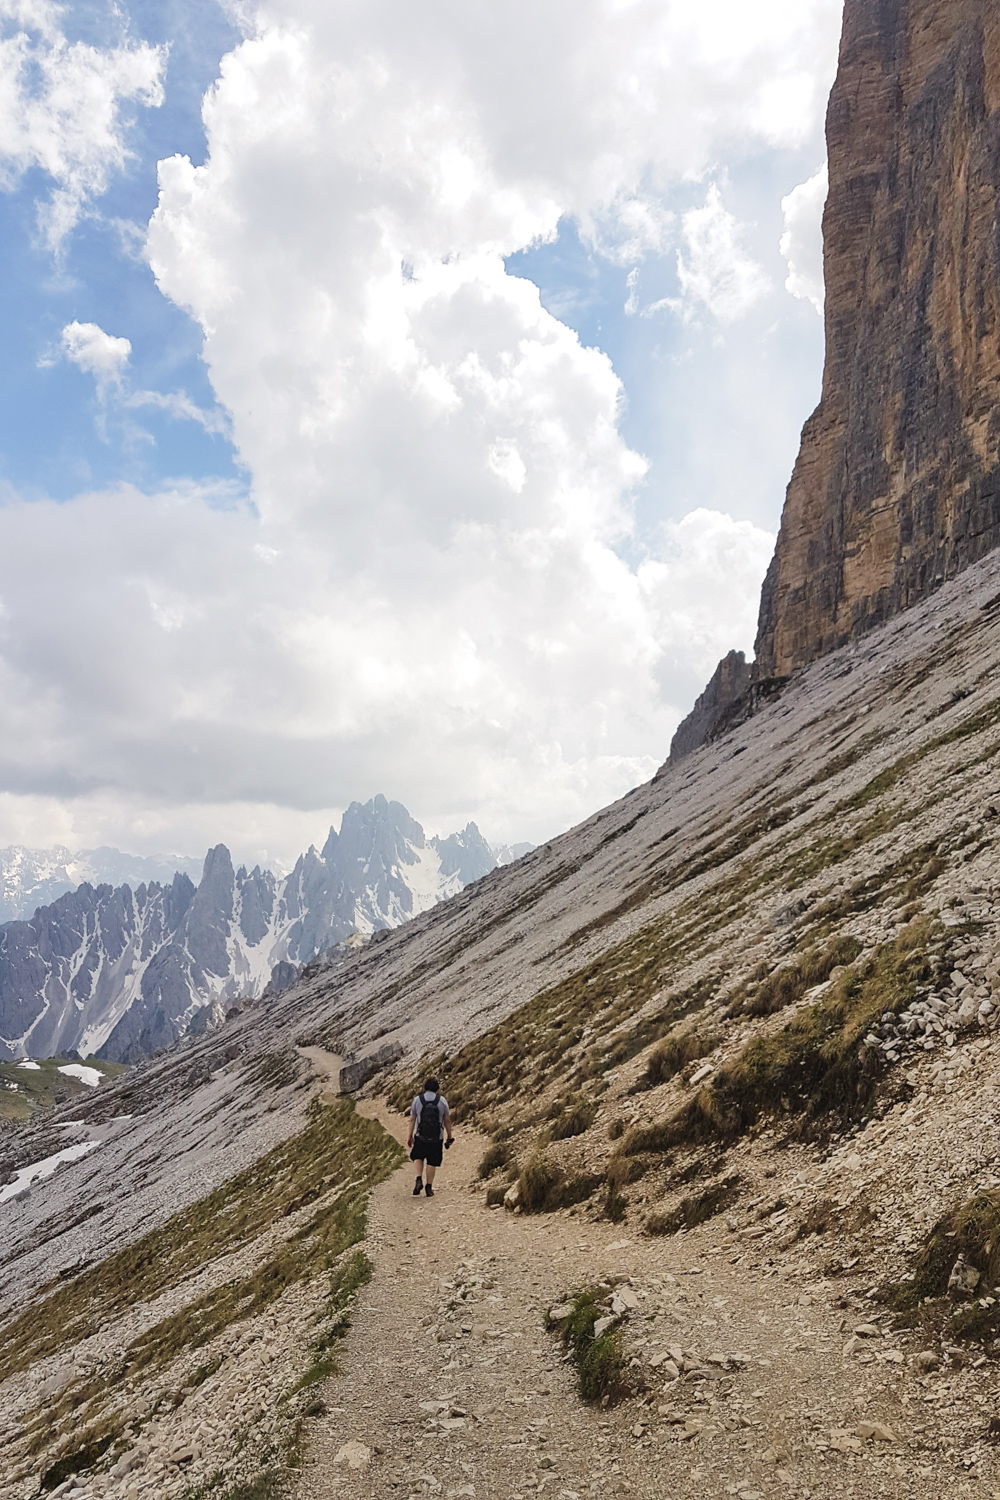
The circular trail around the three peaks is roughly 6 miles long (9.5km) with a total incline of around 300-400m. From Rifugio Auronzo, you walk the flat trail to Rifugio Lavaredo and then follow the sings for trail 101 to the top of the hill at the side of the end peak. The views from there are stunning into the valley below, and all the mountains surrounding the area.
From there, you follow the trail 101 signs to Rifugio Locatelli, where you’ll find the best views of the Tre Cimi. Once you arrive at Rifugio Locatelli, you head back down the trail until you come to a split in the path and head right along route 105. Follow this back to Rifugio Auronzo. It should take roughly 3-4hrs with a total evevation gain of roughly 400m – so not too hilly!
As we visited right at the beginning of the season, there was still huge amounts of snow still on the track. The beginning section had been cleared, but the latter part was still in the process of being ploughed while we were there, so we had a bit of a trek through snow on some parts of the trail. It actually got so bad on the other side of the track (towards Rifugio Locatelli) that we had to turn back and head back to the carpark, though others with hiking poles were still continuing fine.


Camping at Tre Cime di Lavaredo
So you’re not allowed to stay in tents at Tre Cime di Lavaredo, as I guess that’s what the refugio’s (refuge centres) are for, but you are allowed to stay in the dedicated car park for campervans/motorhomes at the car park of Refugio Auronzo. We honestly had the best night here, and I think it’ll be hard to beat parking up here for the night and looking out of the windows to those stunning views.
We had clear blue skies all day, until the evening when as it started getting dark a thick fog quickly rolled in. It was so interesting to watch, but by the time we’d woken up again the next morning, it was gone and the sun was shining again!
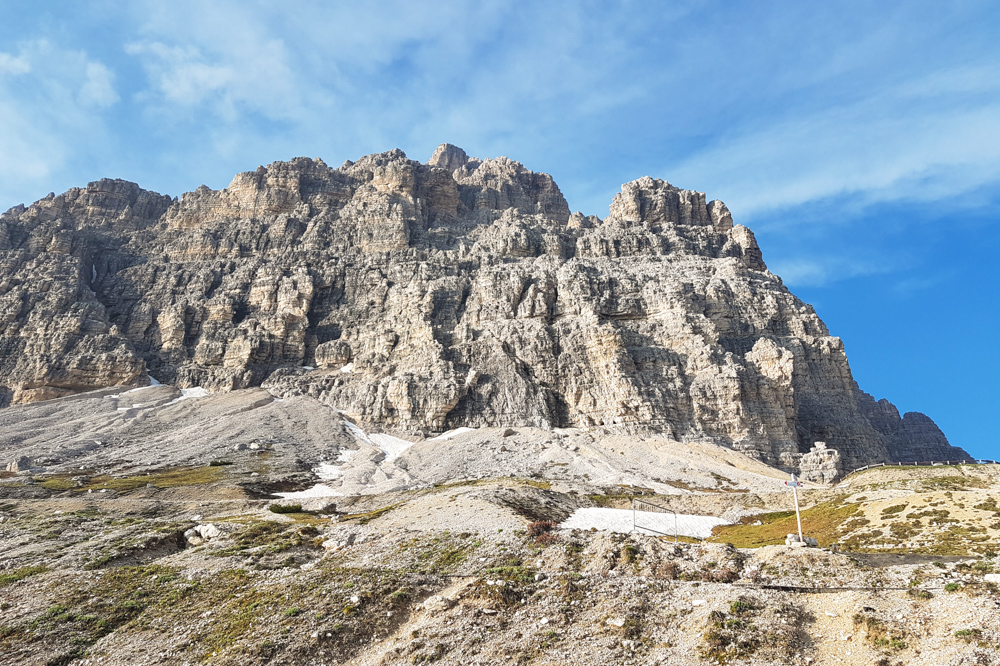

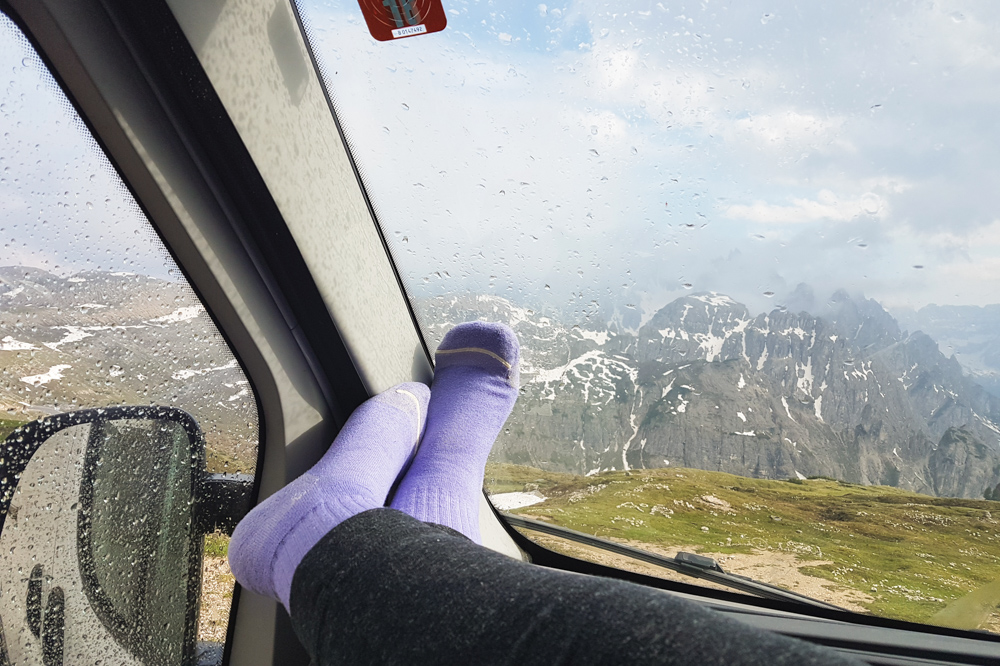
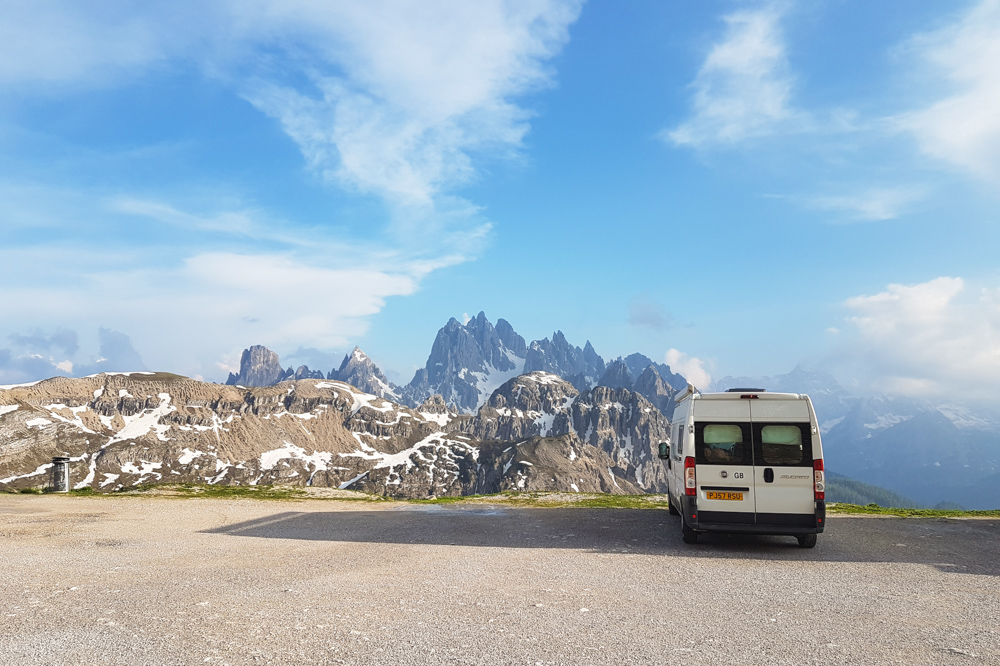
We just sat there in the van for hours looking out of the windows (not even joking – we had no idea so much time had passed haha). I honestly couldn’t get over them!
Obviously, the toll road is super expensive, but for 24hrs parking and views like that I think it’s definitely worth it! It did get quite cold up there and we used our Propex heater for the first time ever, so be sure to take plenty of blankets and thermals with you if you plan on staying the night. I think our thermometer recorded a low of 14ºc (on 1st June) which was actually nice and refreshing compared to the 25ºc plus we’d been having until then.
The mountain is closed between September and the end of May (check online for specific dates each year) and for us we were super lucky that it had only just opened up (on the 25th May 2018), 5 days before we arrived so it was still pretty quiet. We definitely recommend a stay here if you’re in the area!


3 Comments
Victoria
September 28, 2018 at 9:37 amThose views are just incredible! We visited Cortina earlier this year which was nice, but I’d love to see it like you guys did. We’re planning on starting a van conversion in the NY and I’m SO excited, especially when reading about all the amazing trips you’ve taken. I can’t wait to be able to do the same ?
April
October 5, 2018 at 10:36 amCortina looks so nice! It’s such a different side to Italy than the south that everyone is used to. Ooh, I love hearing all about van conversions haha – do you have a specific van type that you’re looking at yet?
xo April
Victoria
October 8, 2018 at 3:09 pmWe’re pretty set on getting a Ford transit swb as we don’t want anything too big or pricey – but just hope it’d be big enough!