
One of the first things that we did after ripping out the plywood was to install the windows. We started with the rooflights first. We actually bought two, but after installing the first one and re-measuring the van, we decided that we didn’t need the second one.
We decided to go for the Fiamma Roof Vent 50x50cm as we wanted something that was big enough to let in enough light. It comes in 3 different sizes (28x28cm, 40x40cm and 50x50cm – we went for the 50×50), with two blinds – a blackout and a mosquito net, it opens on all four sides with secure locking handles and comes in either white, or crystal. We chose the crystal for maximum light.
The supplies
* Fiamma Roof Vent 50x50cm
* 18 x 44 x 2400mm planed wood, cut to size (roughly 50cm lengths) *See below comments at end of post
* Sika Sikaflex Ebt+ Adhesive, Sealant & Filler in white *affiliate link
* 12 x 4.8mm wood screws
* Alcohol cleaner & sponges
* Jigsaw with metal blade

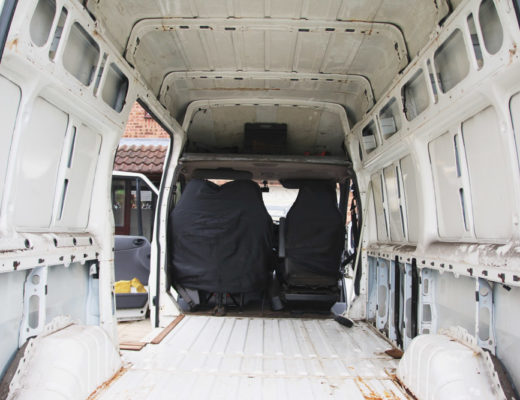
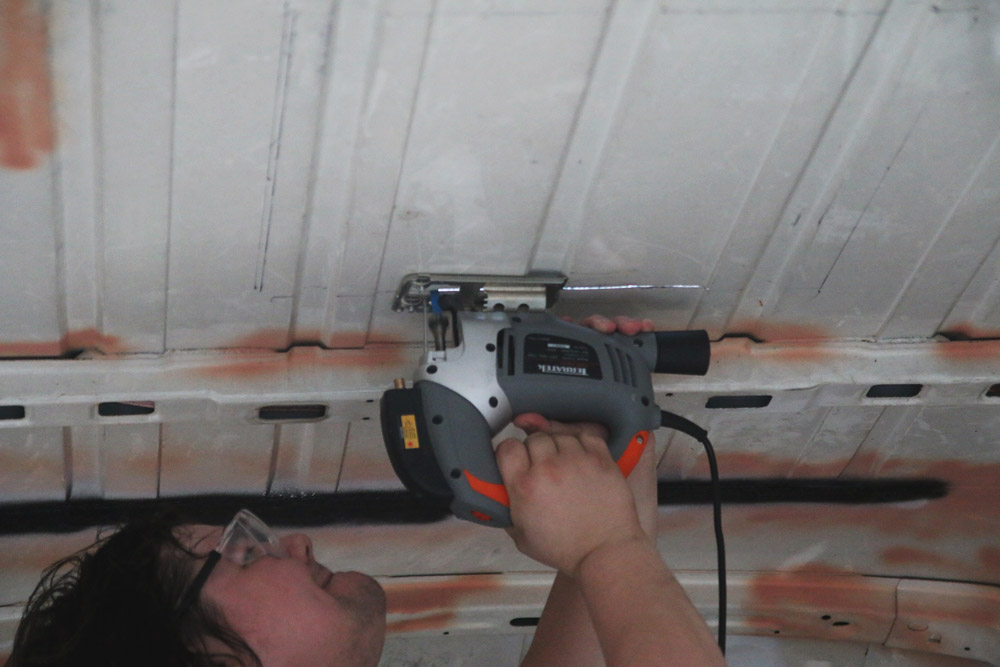 The first step was to measure out the inside of the van where the rooflight was to go, which was measured to 50x50cm. We measured to make sure it was central within the roof-struts, then used a piece of the wood to mark it ready for cutting. Shane then used the jigsaw and cut along the lines until the central part was removed.
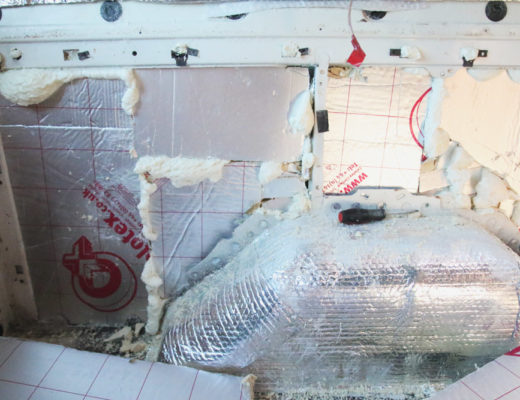
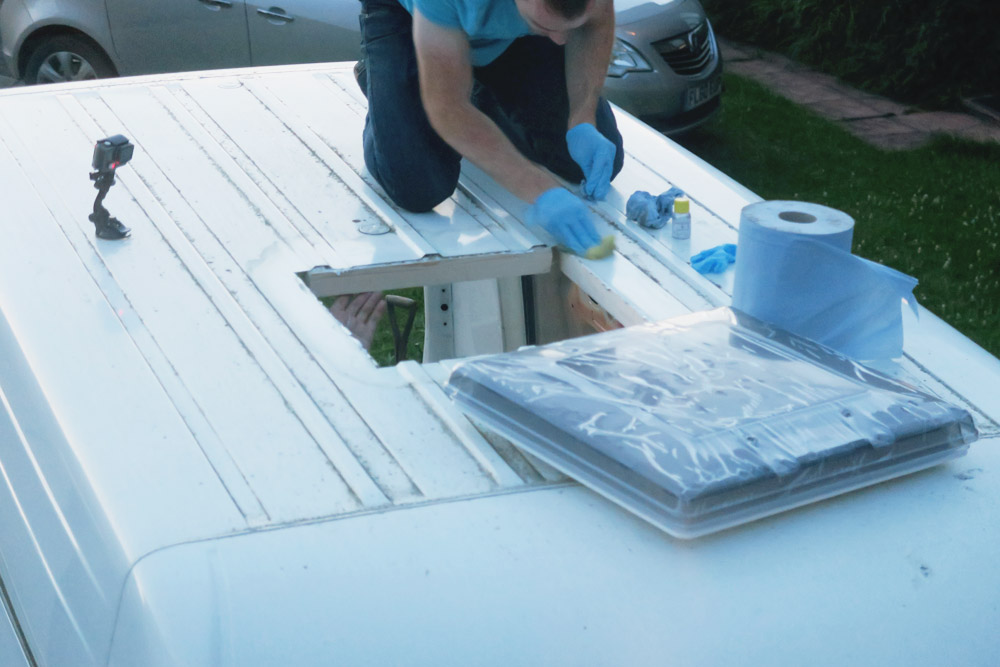 We then cleaned around the outside of the hole with alcohol cleaner on the outside of the van to get rid of any oils, dirt and grease that had gotten up there – it was dirty! Make sure you do this first, as we glued the batons of wood to the roof before thinking about cleaning it, and they then kept falling off while the area above was being cleaned!
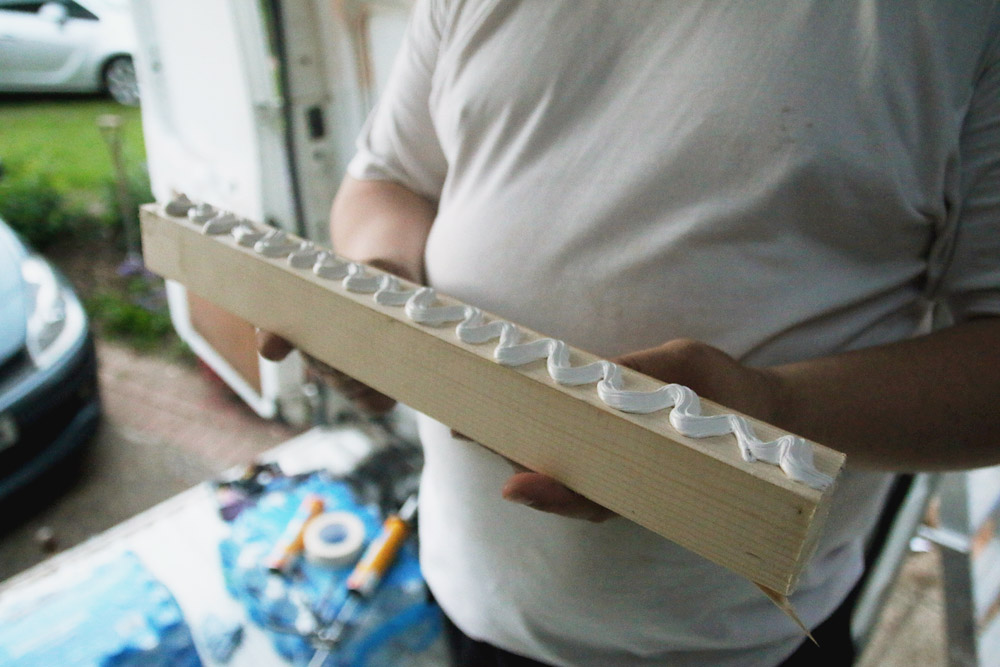
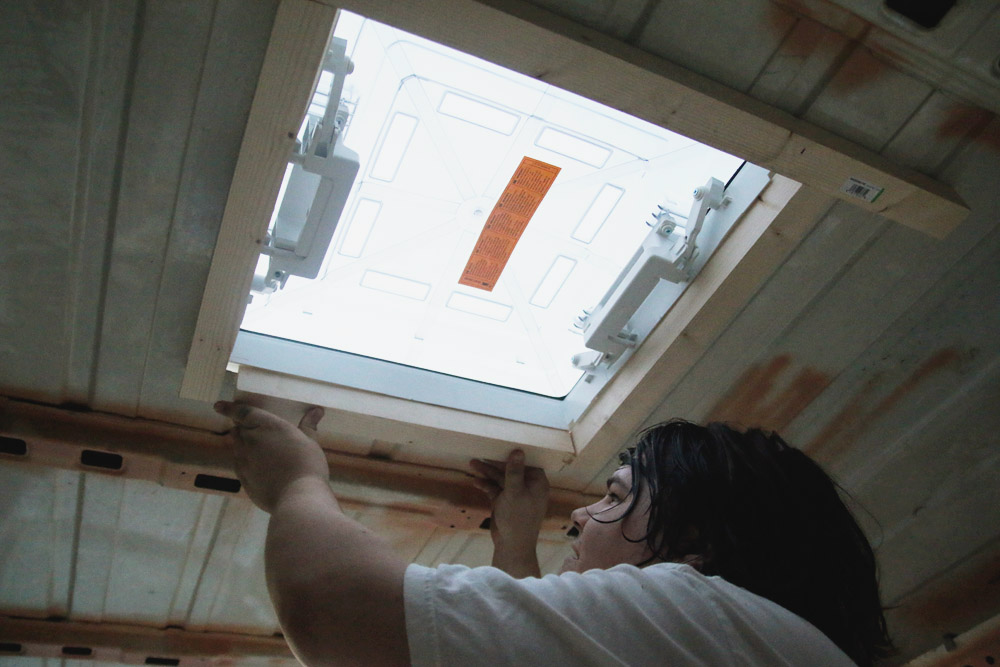
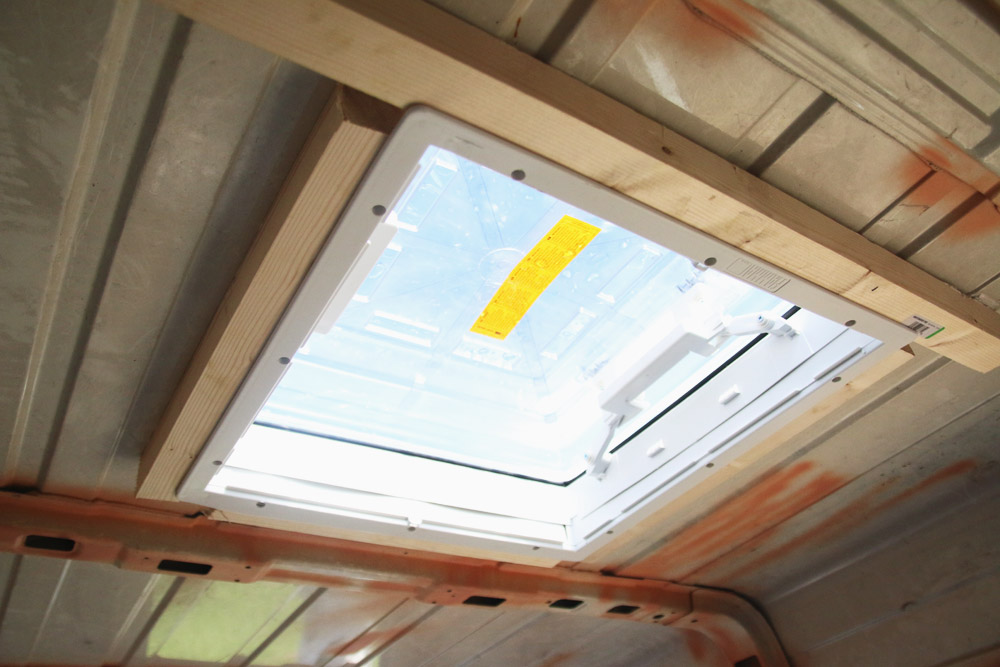
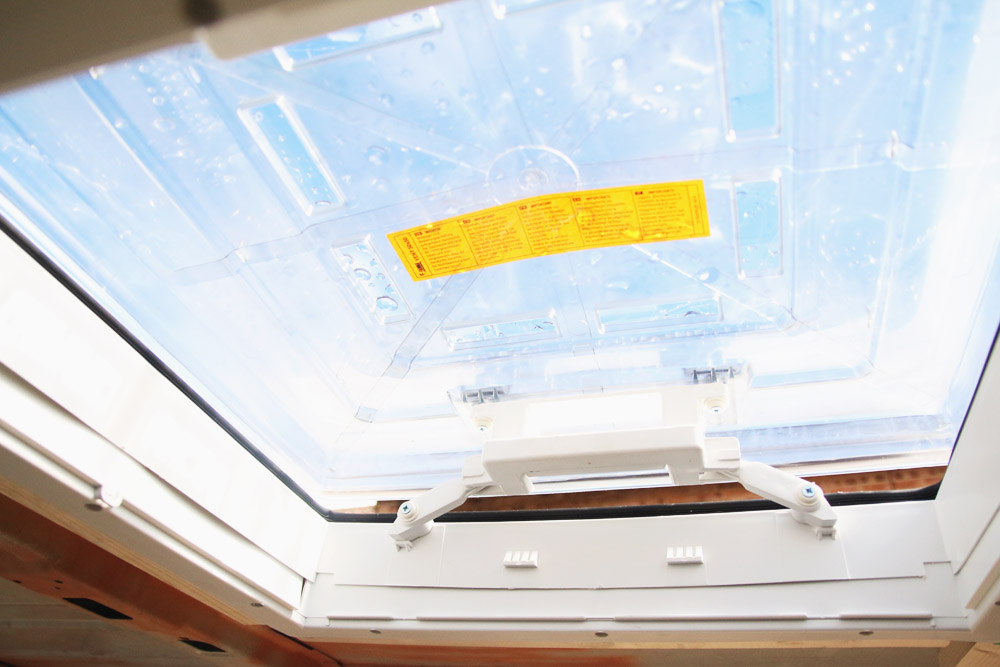
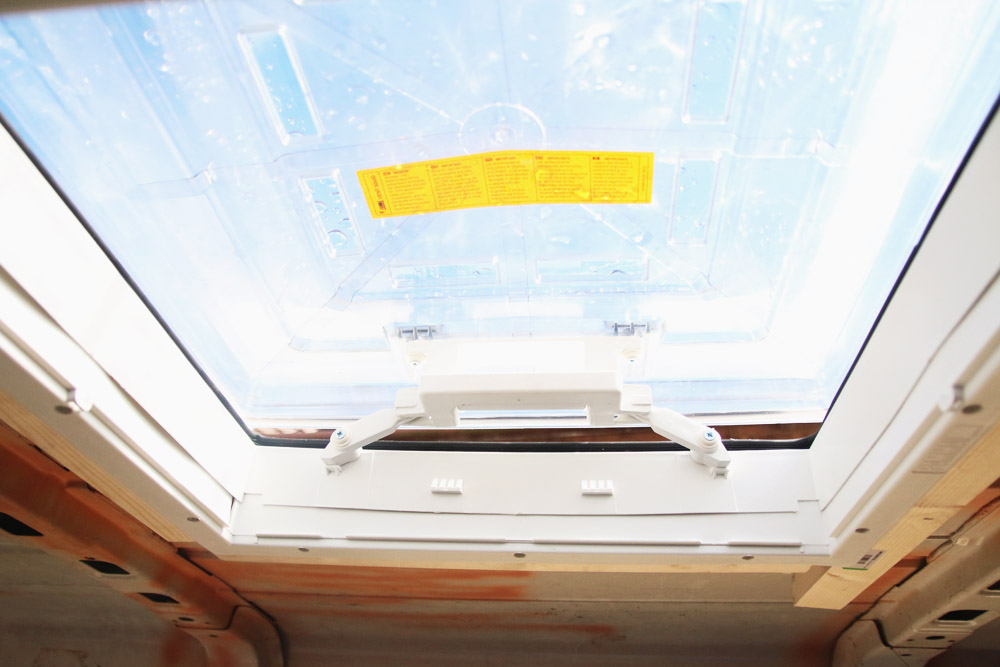
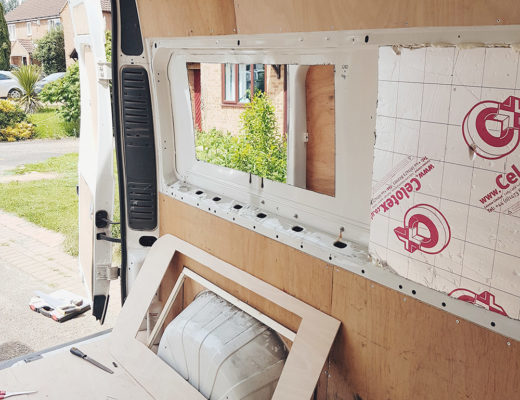
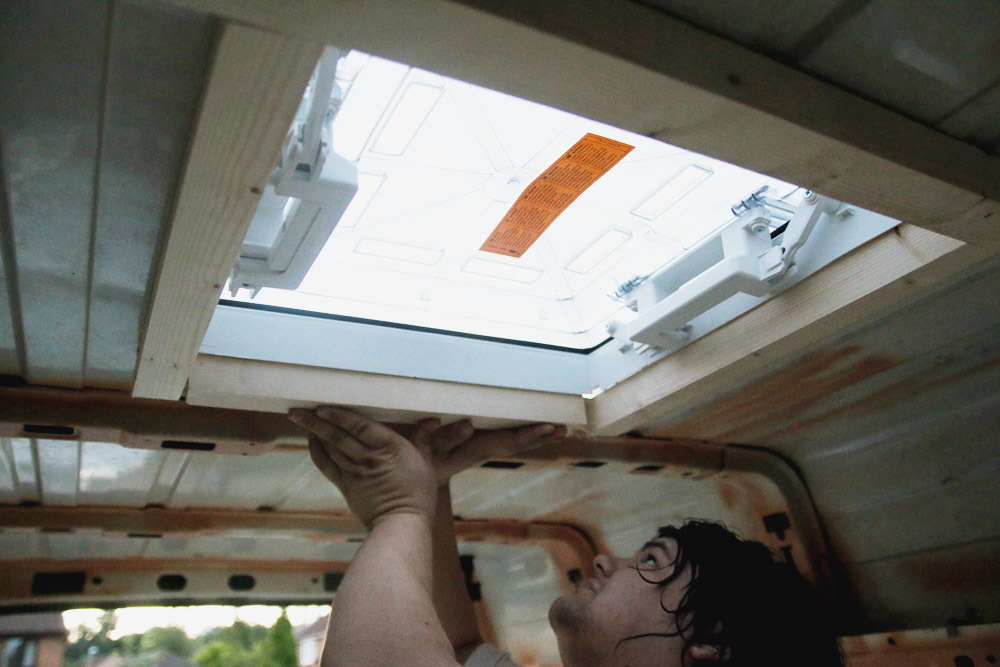 The windows are designed to be fitted to a roof with a depth of 25-70mm, so because our van has a single skin roof of a thickness of about 1mm we had to pad it out with wood so that we could secure the windows in place. Apply the adhesive to the wood evenly and glue it to the inside of the van roof. It may need to be clamped while the rooflight is being prepared.
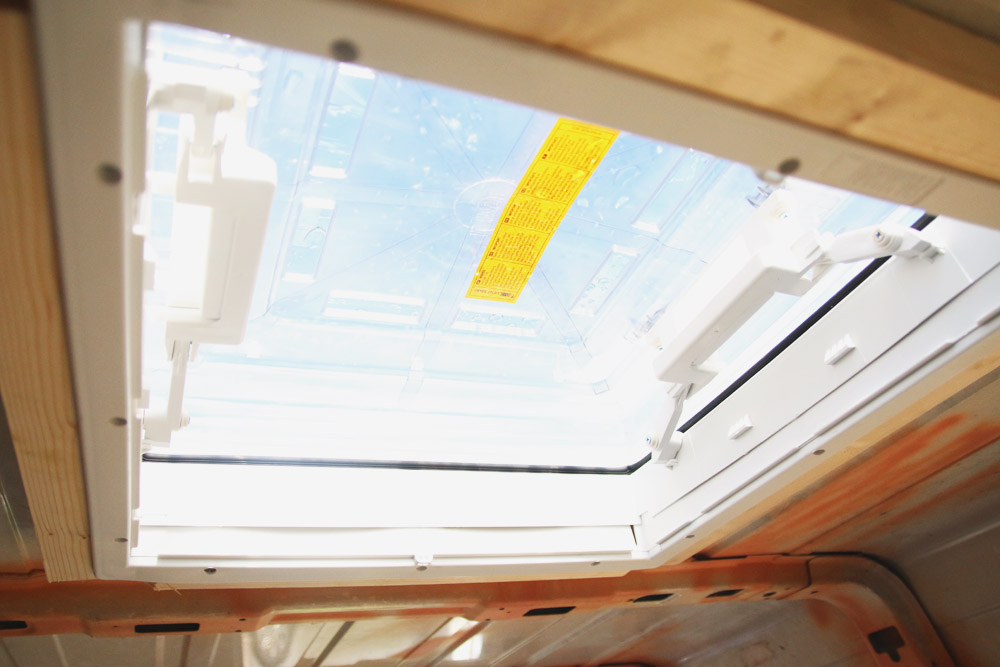
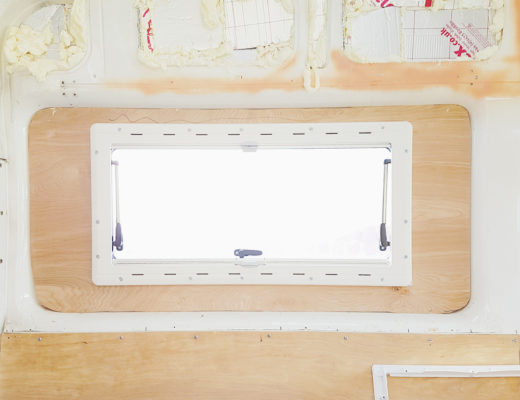
 We then put a layer of sealant on the inside frame of the window and slotted it into the space from outside, then inserted the inside frame inside the van and screwed it in place.
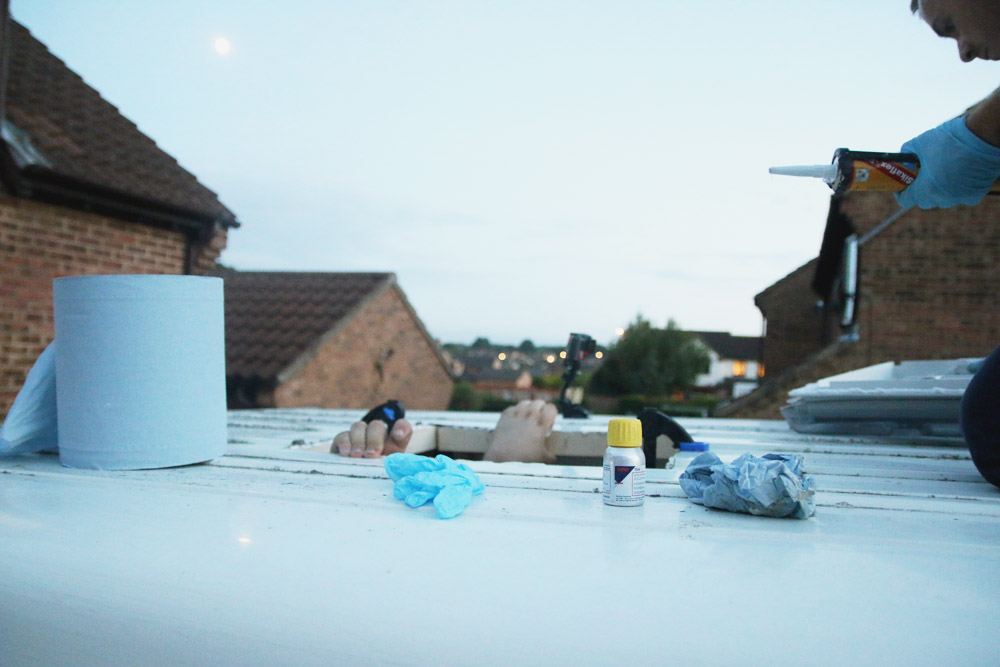
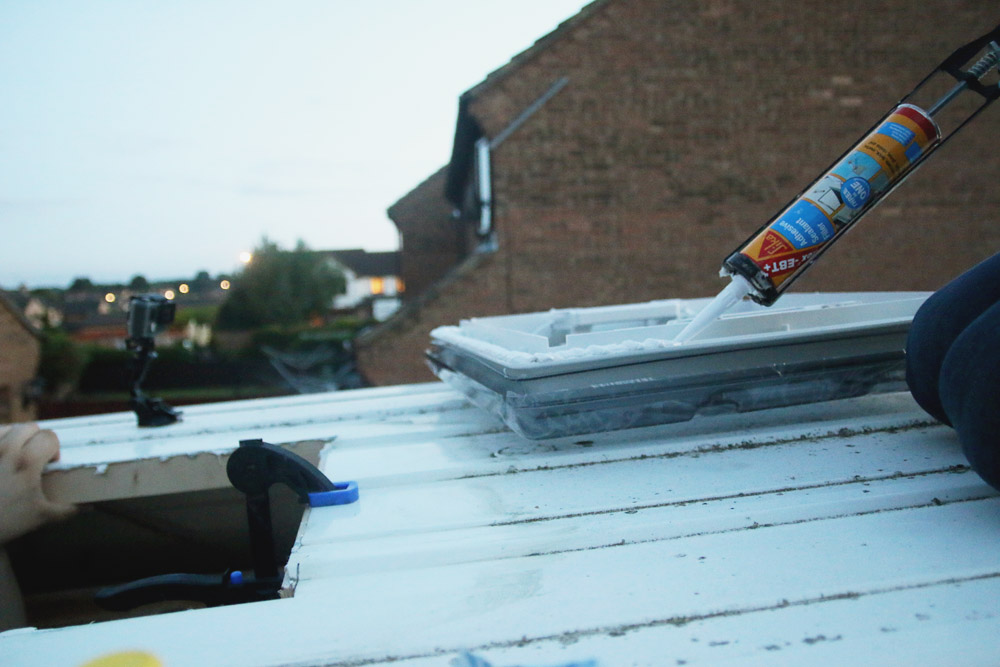
Once all that was done, we used the sealant to fill in and go around the edges of the outside of the roof to make sure that it’s watertight and then screw in the inside frame with the blind and mosquito net. The next day, we got the hose out and checked that it was watertight – which it was!
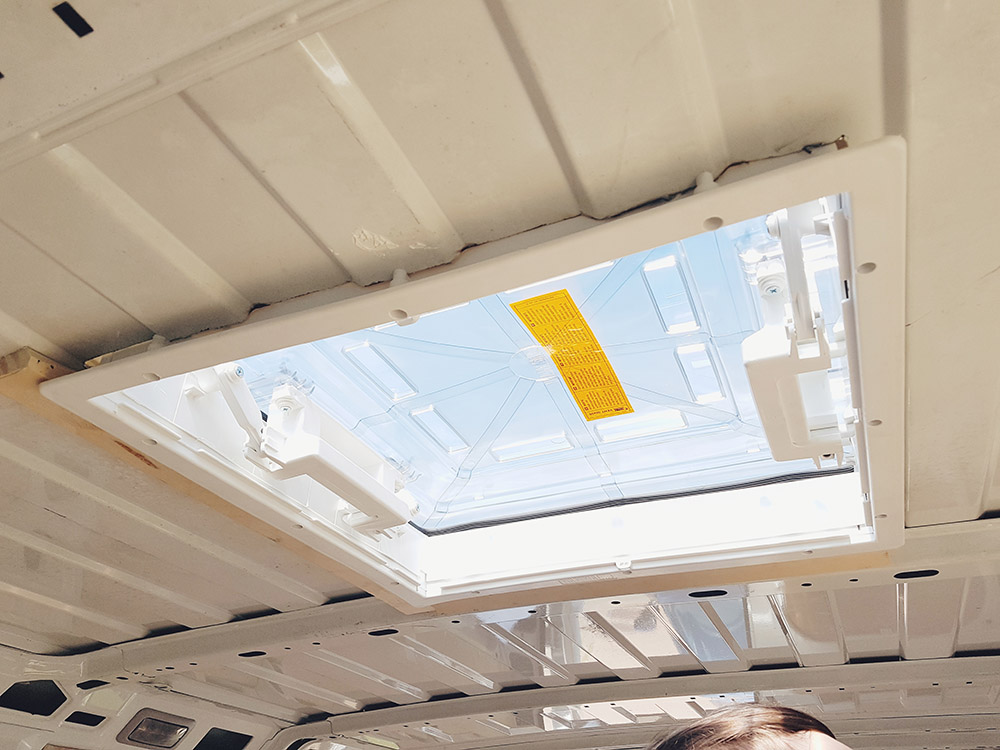
We’re really pleased with how it turned out and already it made it so much lighter in there just by having it. It was actually really easy to install, though I’d say it’s a two person job because you really need someone on the roof of the van cleaning/sealing etc while one person is securing the batons and inside window inside the van, but it could be done with only one person.
** EDIT ** – In our first van we used 44x44mm thick wood, which when we attached both the top and the bottom parts of the roof vent, it left the visible connection lines as seen in the above photos as it was too thick. When we installed them the second time around, we used 18x44mm wood instead, which gives it a cleaner finish as the top part of the roof vent now sits flush with the bottom (as you can see in the below photo) so we’ve changed the instructions to match this.
9 Comments
Peter Davies
August 19, 2016 at 11:30 pmAre you not updating anymore – very useful posts and pics. Interested to see what you’ve done next and progress.
April
August 24, 2016 at 8:56 pmYes! We’ve got a new post planned, but we just need to write it up – it’s so hard finding the time! I’m glad you’re liking it so far though.
April
Dave
April 28, 2017 at 2:15 pmHi! I’m thinking of one of these for my van conversion. I can see in the specification for this vent that it’s 8.5cm above roof line when closed but no mention of the height when opened. (Popped up, not flipped on one side) Can you help with this?
Also, how did it turn out with just the single vent? Are you happy or would two have been better fir airflow?
April
May 5, 2017 at 8:37 pmHi Dave,
Unfortunately, the van has been in storage since we got back from our trip, so we haven’t been able to measure the height of the opened window yet. Roughly, it opens by around 2-3 inches if that’s any help?
We’ve got the single vent at the front, and so far it’s been fine. But we haven’t fully finished the van yet and it hasn’t been really warm yet to test it out. I guess you could always go for 2 smaller vents if you’re worried about airflow?
Thanks for stopping by! Sorry we couldn’t be of much help!
April
Laura
January 17, 2018 at 8:20 amHi there, great blog.
I am looking to buy a roof vent and the supplier I am buying from has asked which thickness vent I need – either 25-42 MM or 43-60MM. I have 2010 Ford Transit. Are you able to help me choose which one I need?
Thanks and hope you’ve had lots of adventures in your converted camper 🙂
Tim Pustka
April 10, 2018 at 12:54 pmHi April, I am SO glad that you have taken time to write this blog. I am about to install the very same Fiamma 50×50 roof vent but am panicing now about the roof vent whistling or being draughty when driving. How did you find it? I like so much about the 50×50 (like amount of light, ventilation without rain coming in, built in blinds) but I wonder now if I should go for the 40×40 ‘part time’ vent instead?
Have you found the 50×50 vent to be noisy / draughty when driving please? Is it tolerable?
Thank you, Tim
April
April 16, 2018 at 10:22 pmHi Tim,
We haven’t found the vent too noisy at all while driving. Most of the noise from the vent (for the little amount of noise we hear) comes from the blind rattling most of the time. It’s definitely great for light and ventilation, and we have the two + a fan assisted one for the bathroom and we’d definitely recommend the 50×50.
Les Moul
October 30, 2018 at 12:23 pmHi, just a consideration if you decide to fit TWO roof vents…if your van roof has a “stepped” profile like the one shown, you will effectively trap in one, two or more channels between the two vents where water will fill and could over time lead to a leak into the van.
cade johnson
February 13, 2020 at 10:13 pmThis was exactly the information I was looking for. Previous owner of my van cut a hole and installed this style vent incorrectly (only screwing it on with sheet metal screws from the outside). This will be the way I replace it. Thanks.