
I know the last post was us explaining that our camper is dead, but I just had a few photos that I wanted to post before I get on to posting about the new van. I love being able to look back on the blog (and instagram), and see the progress we made, so I thought I’d pop in to post them quickly.
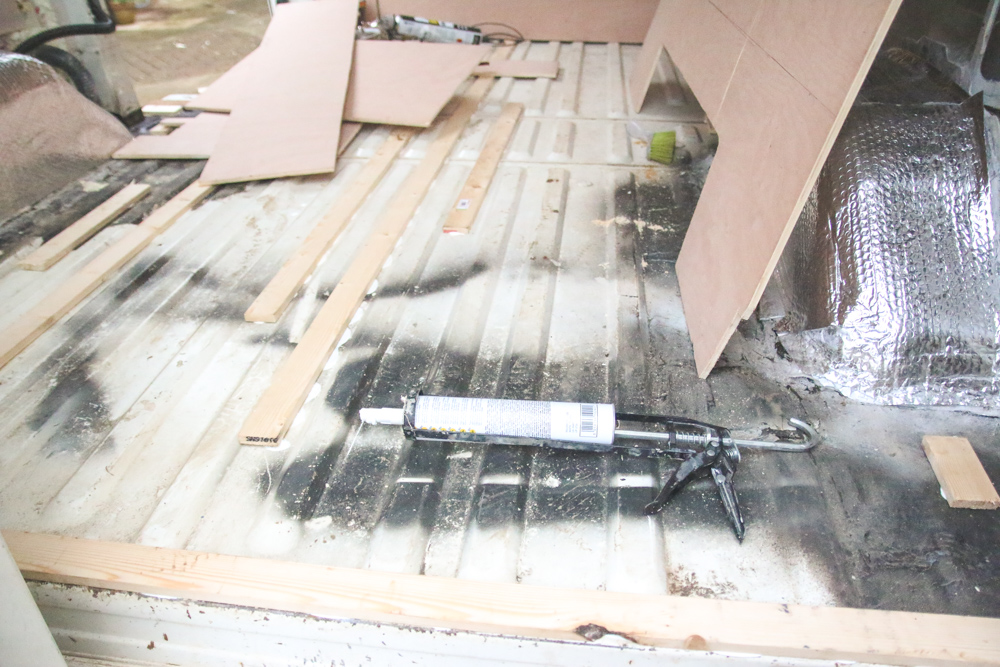
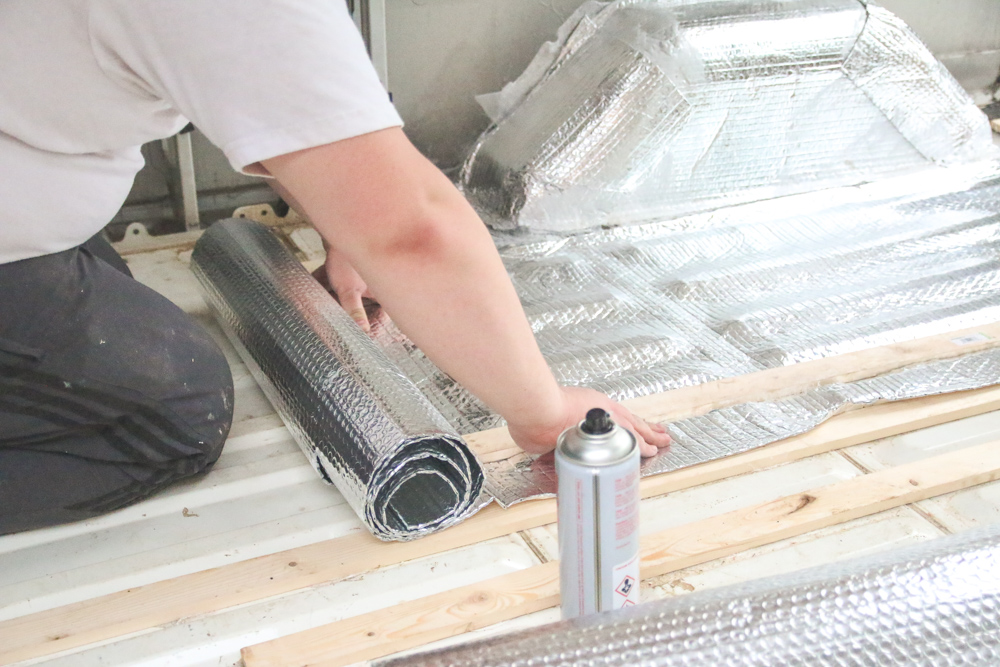
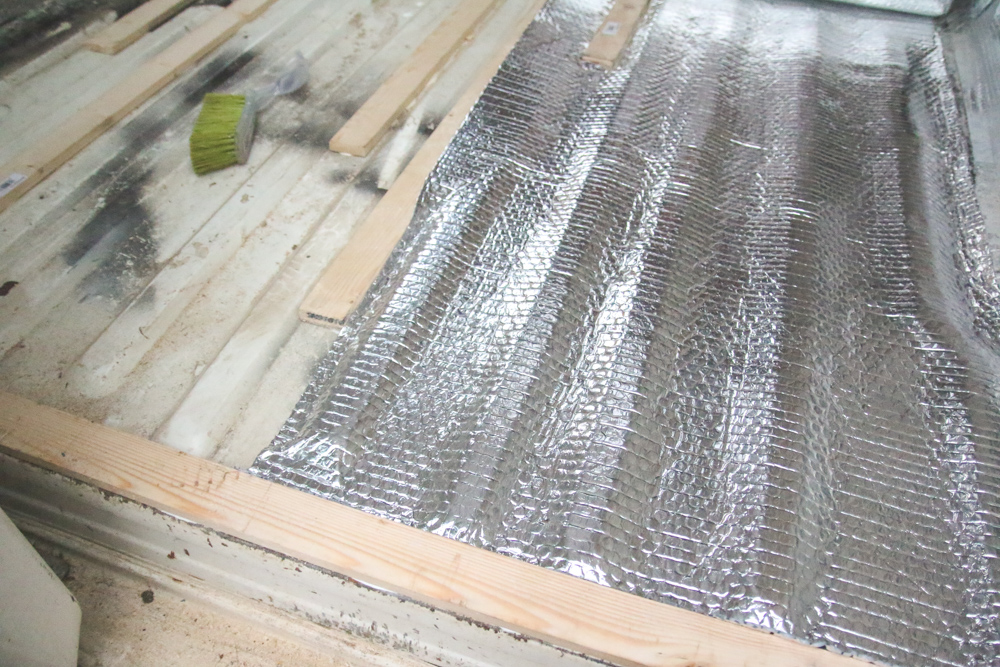
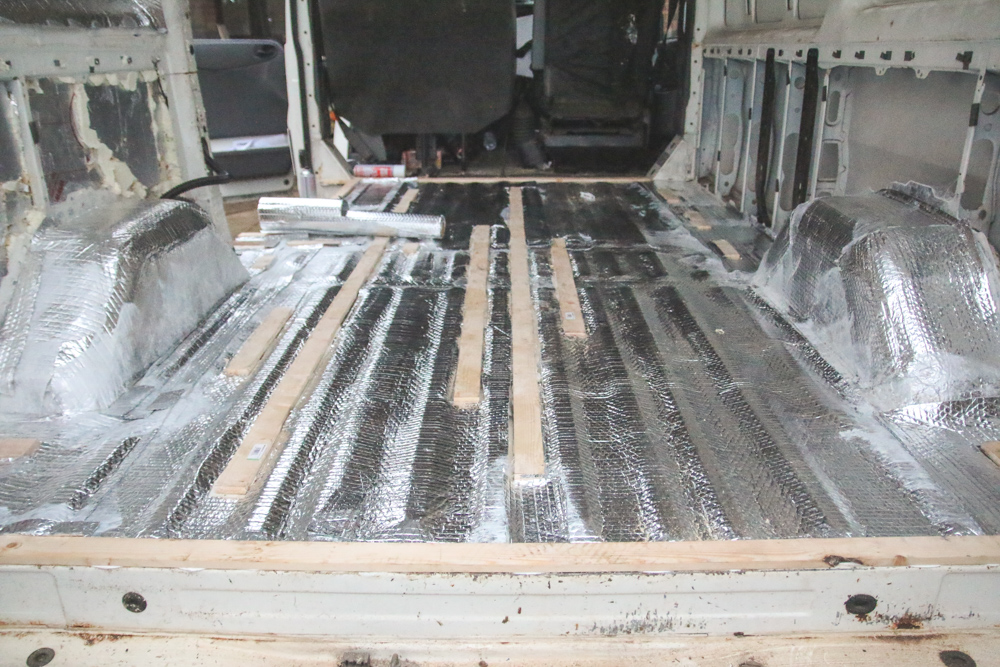
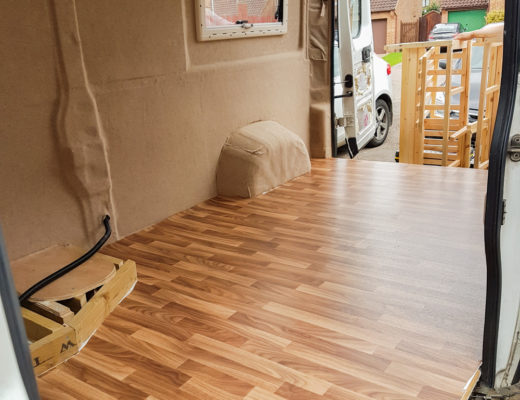
So we managed to get the wood panels installed on the floor and get it insulated and boarded up before our trip to The Netherlands. Shane glued the wooden batons down to the floor, then installed the insulation over the top. Once that was finished, he put some underfloor lining in then some wood boards to make the floor which were screwed into the wooden batons.
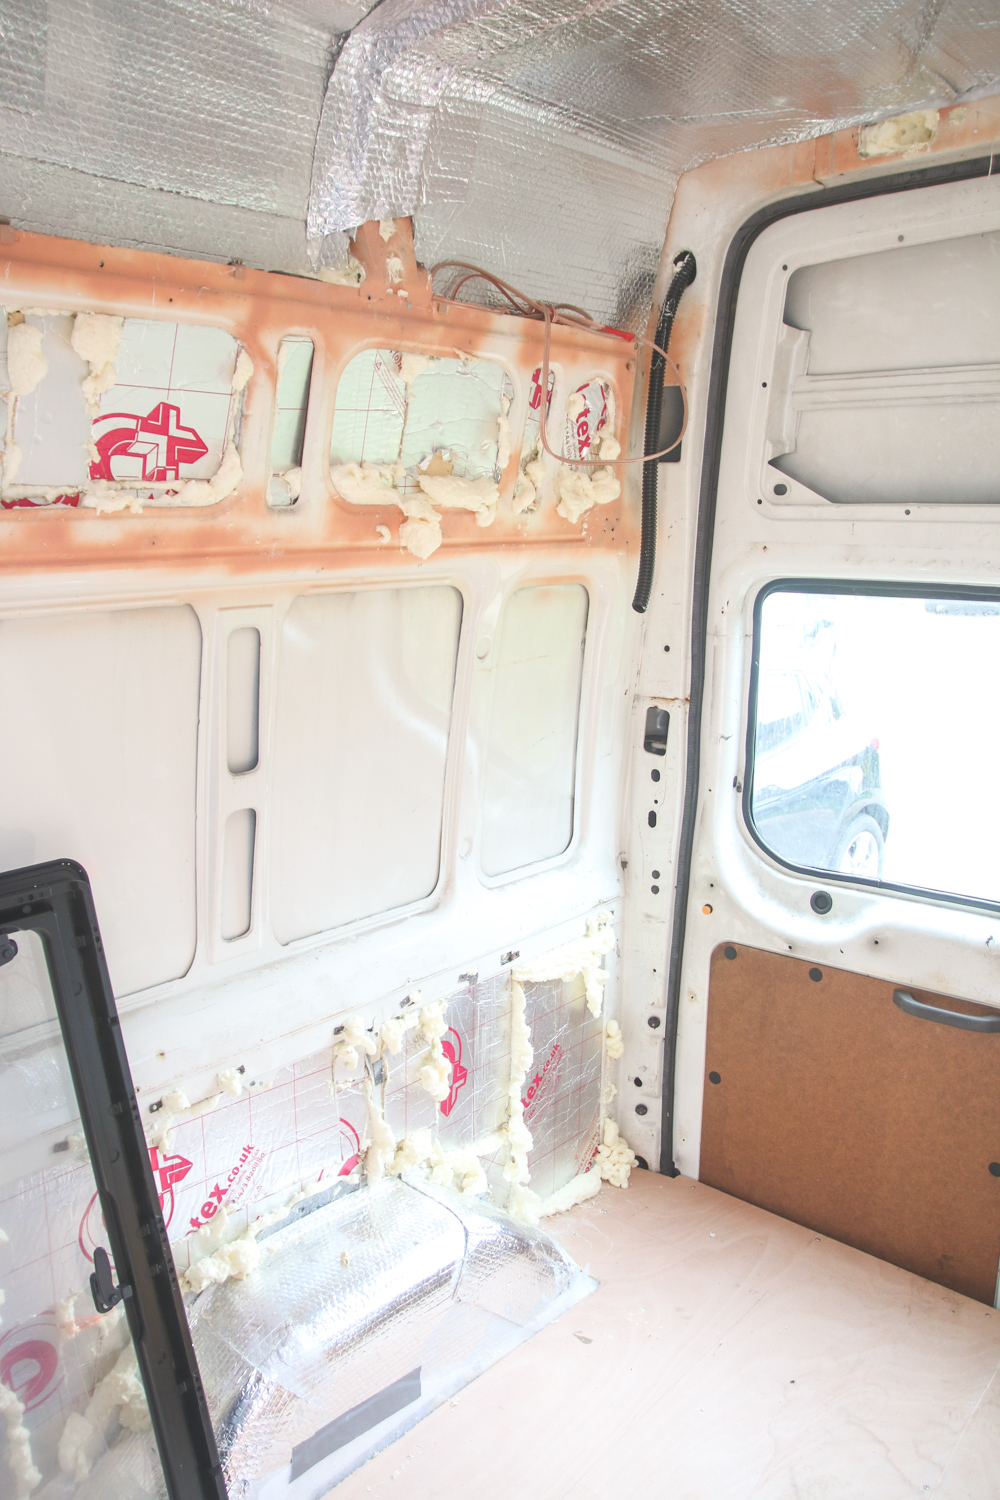
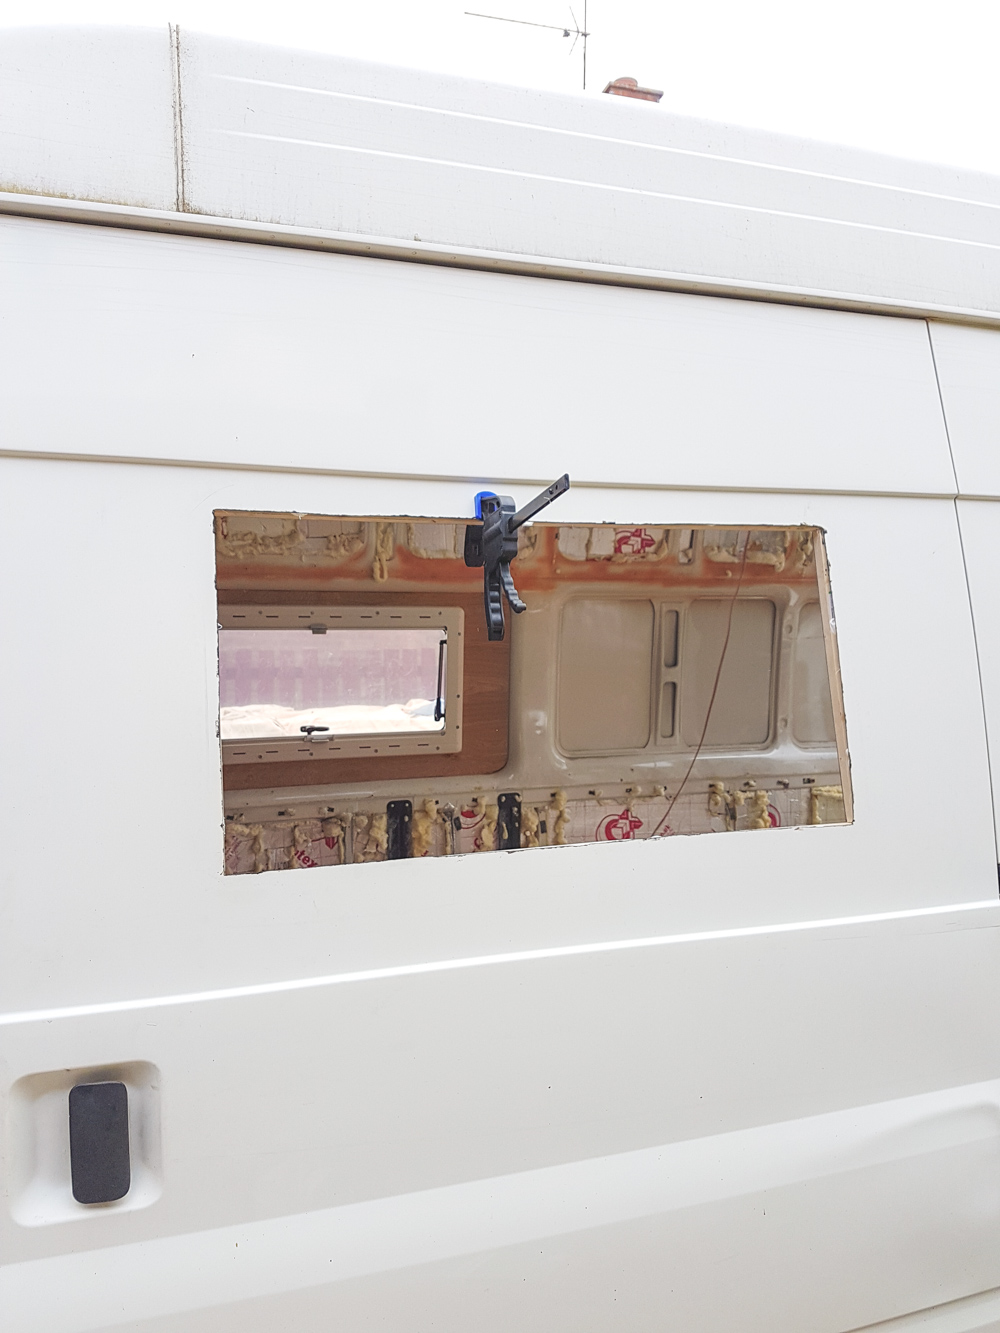
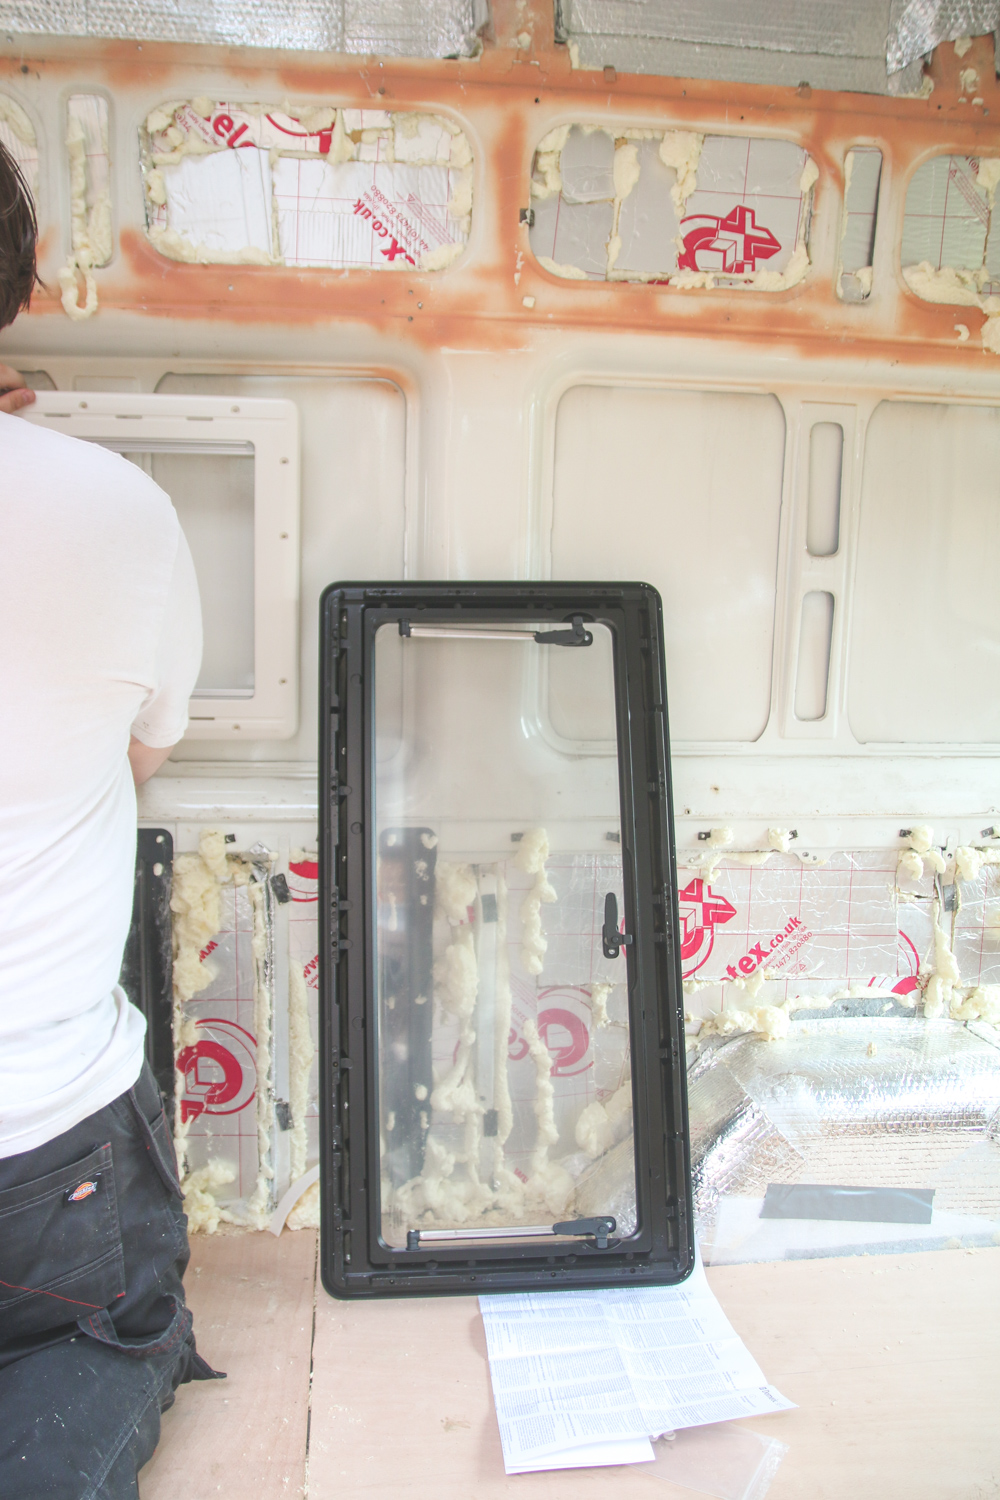
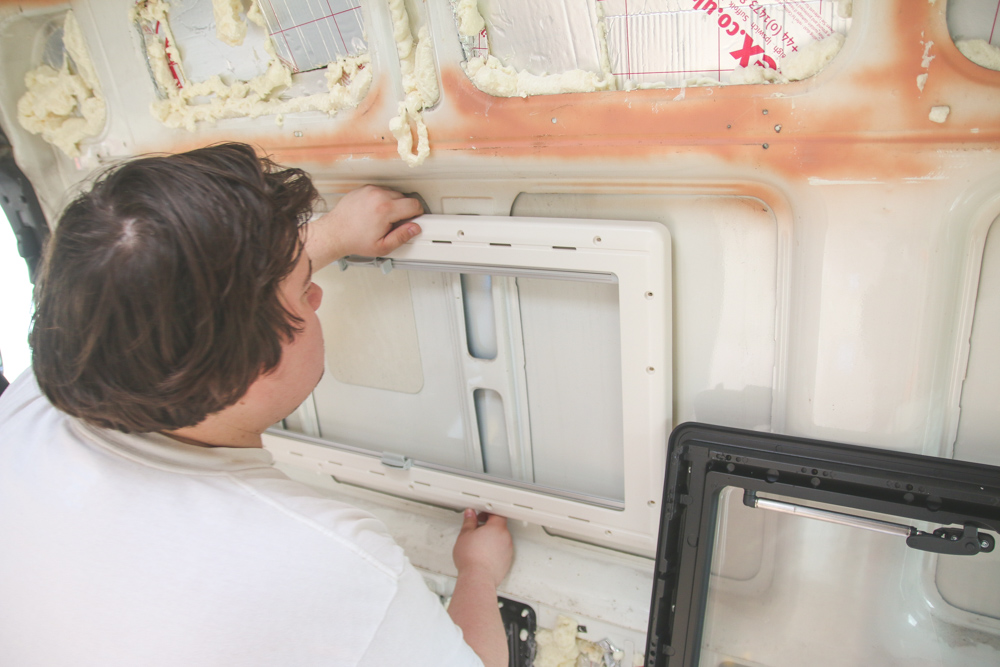
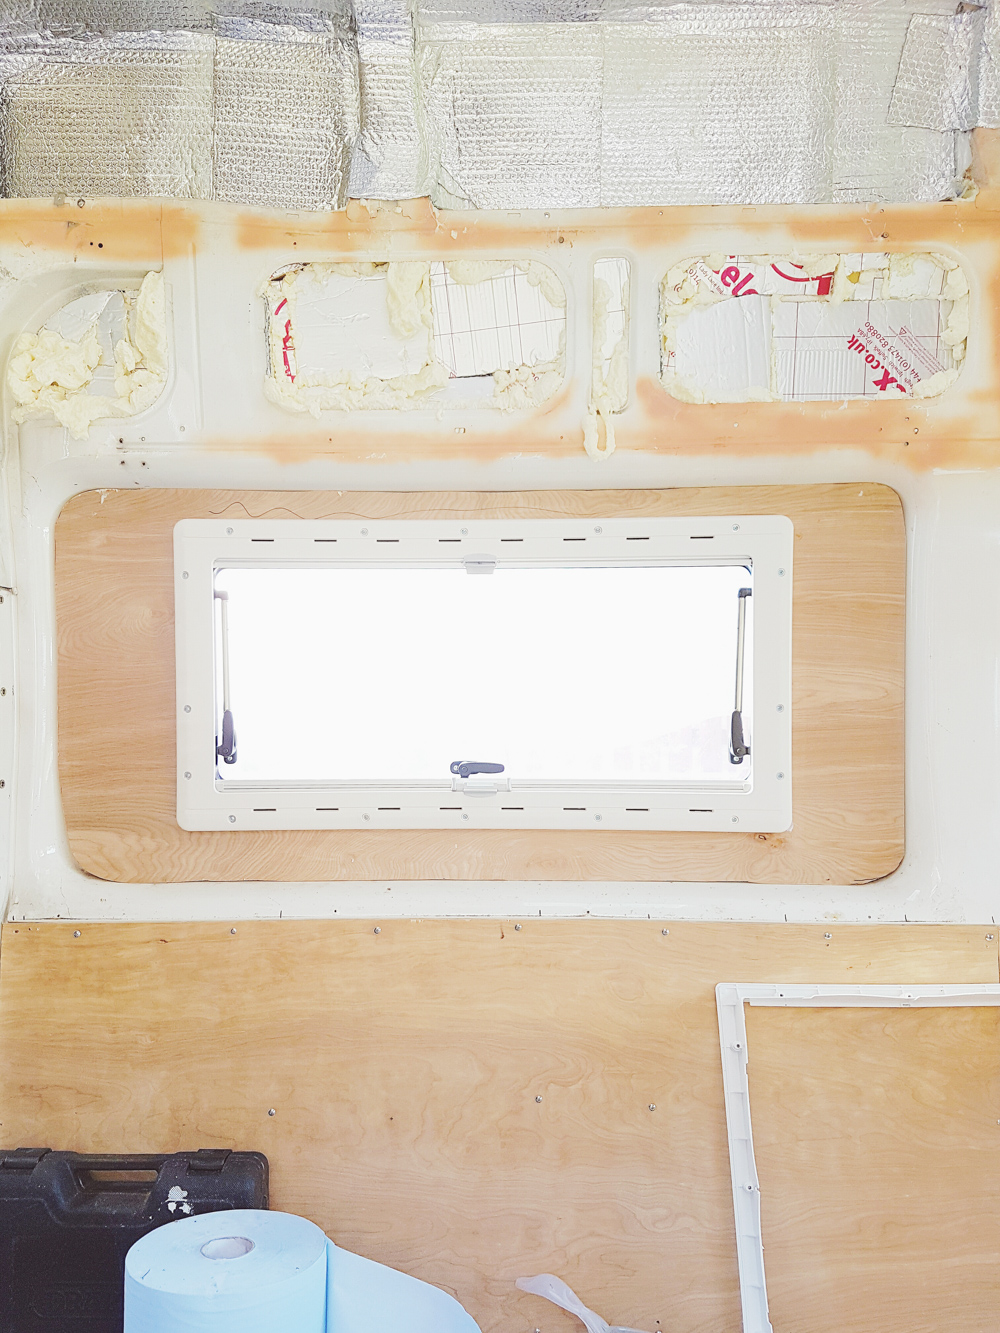
After the floor was installed Shane installed 2 of the side windows. We bought three (2 large ones and 1 smaller one for the kitchen area). Honestly, I’m not entirely sure how he did it as I wasn’t there at the time, but when we install them in the new van, I’ll be able to do a detailed post on it. As far as I can tell, they were a lot easier than the rear bonded windows.
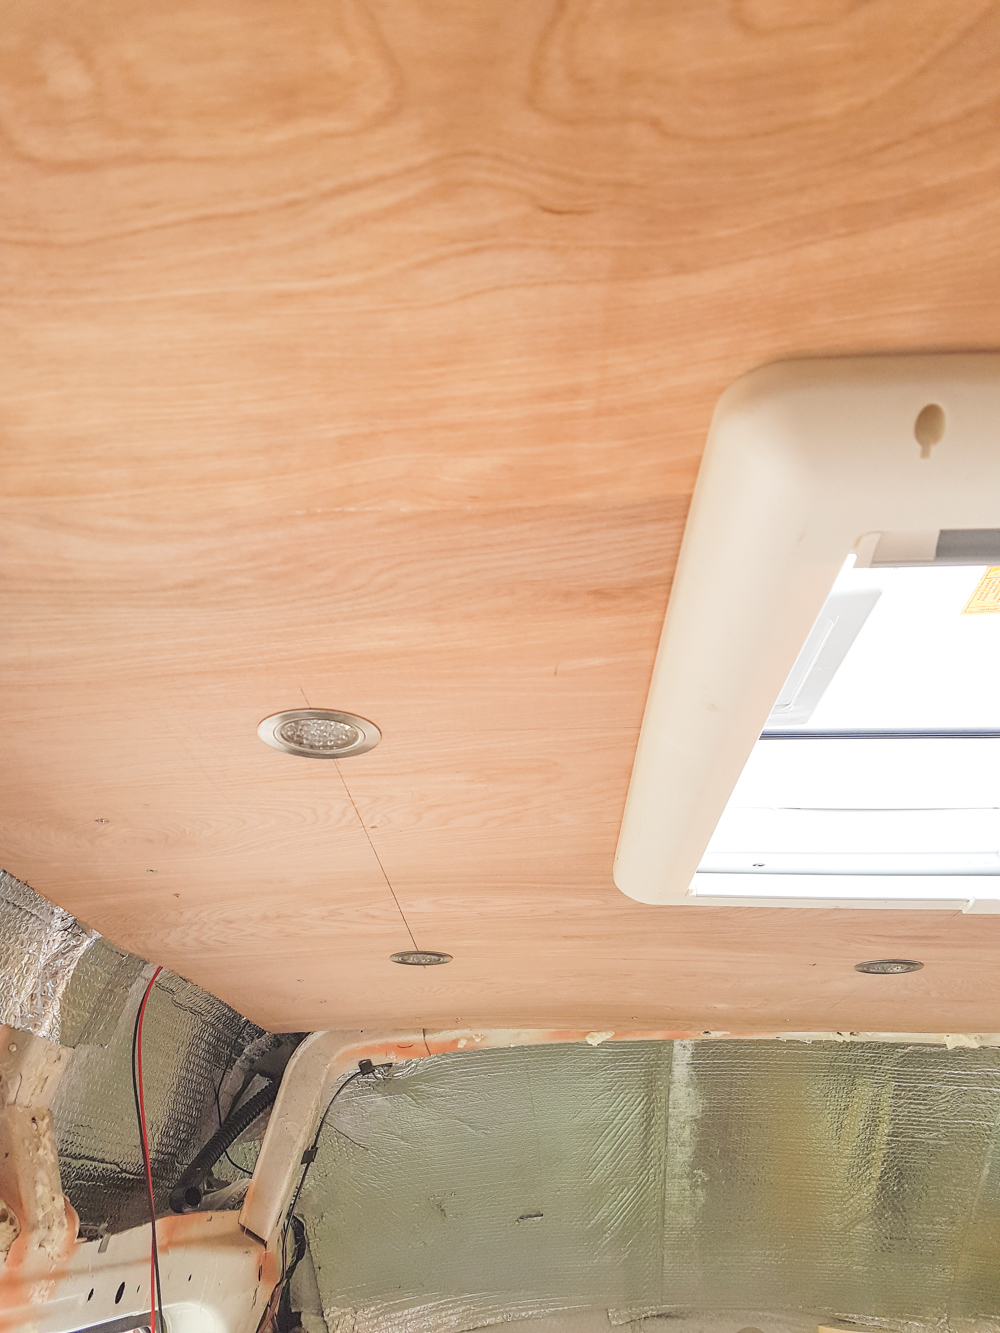
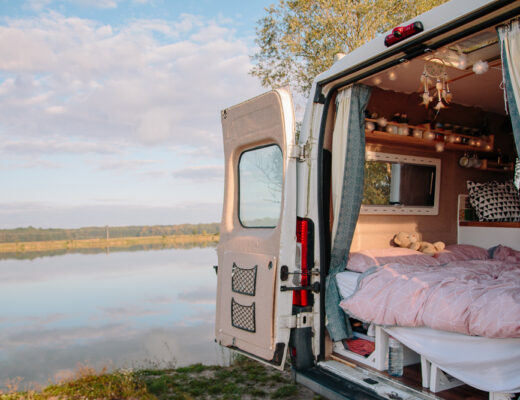
The night before we went on the trip, Shane also installed some lights for us. They weren’t plugged in to any mains or anything, just a battery that shane hooked them up to, but they came in so handy instead of having to use torches and lanterns in the evenings!
The ceiling was installed pretty much similar to the floor as far as I know, but again, I’ll be able to do a more in depth blog post with the new van.
Well that’s it. On to the next van now!
No Comments