
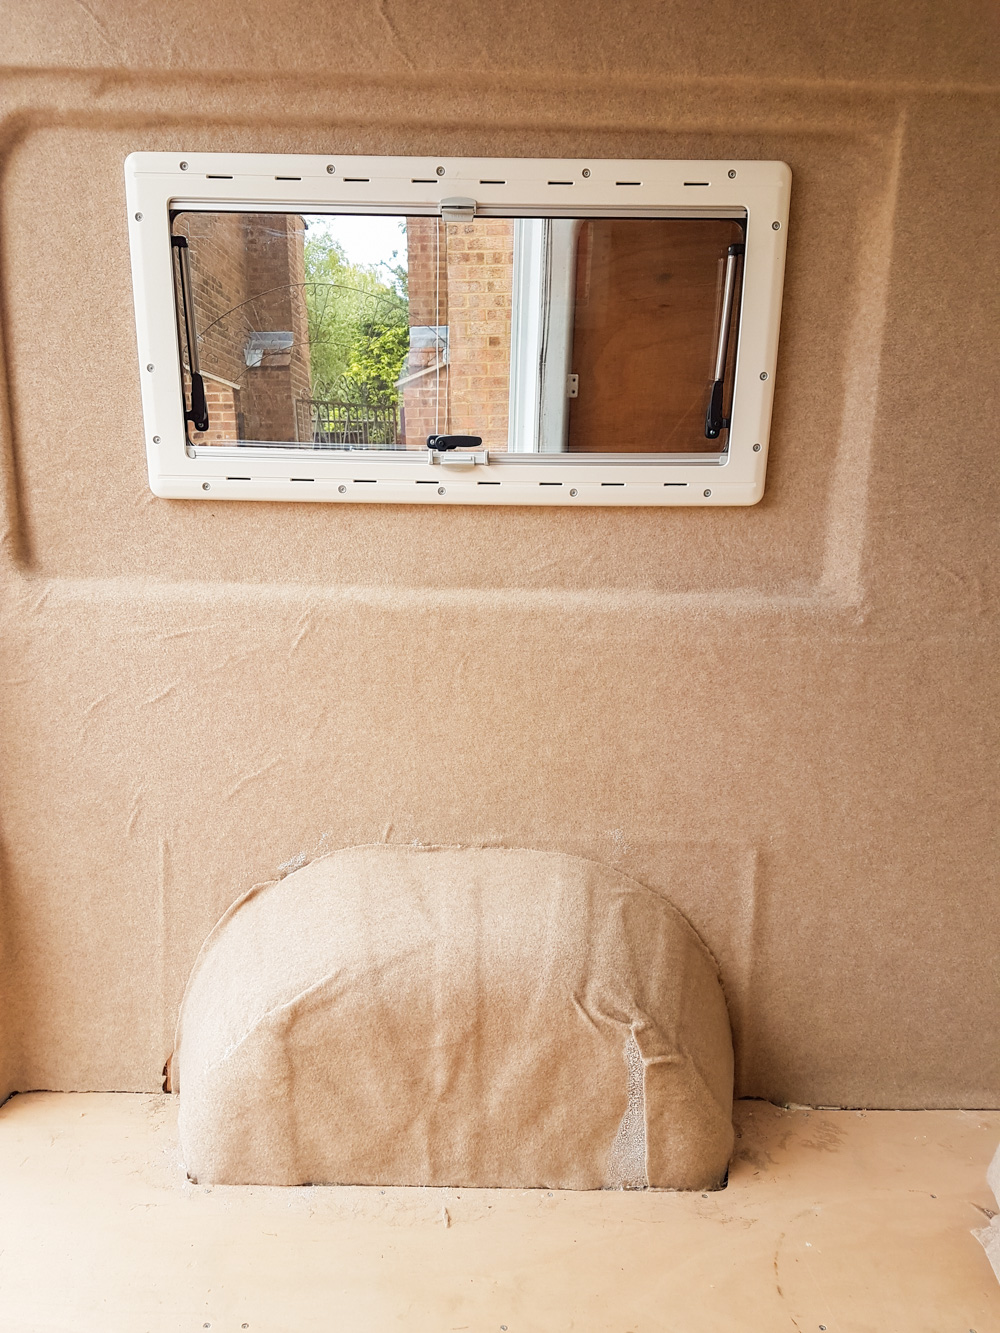
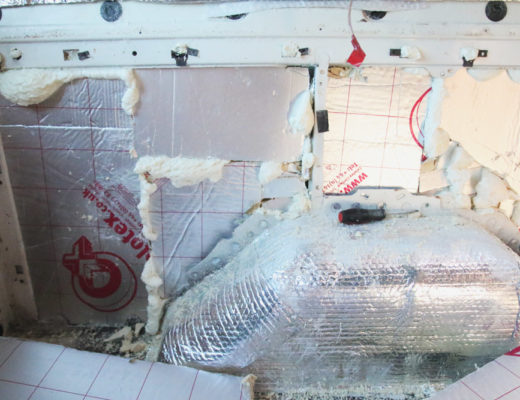
We decided that rather than paneling the van walls with wood, we would carpet it to get a better finish and make it seem warmer. It looks a lot cleaner, has a nicer finish and also helps to further insulate the van and reduce condensation build up while cooking and sleeping. We used the Kiravans Easyliner 4 way stretch carpet in Wheat to get a nice warm but light look to the van.
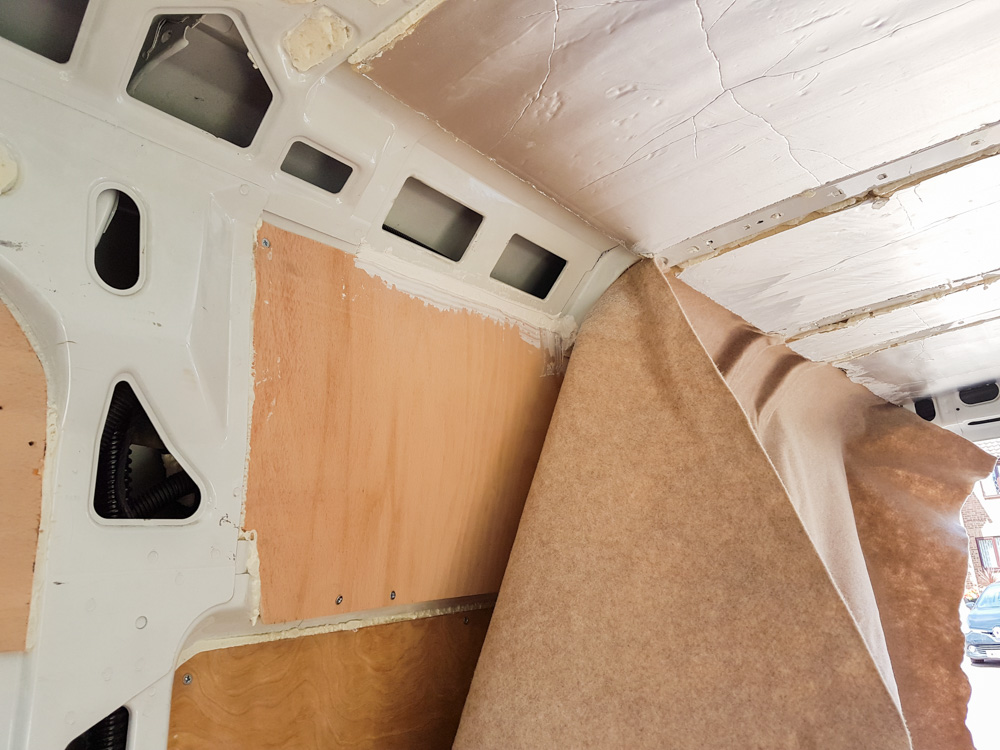
After insulating the walls with insulation board and foam in the smaller gaps, we boarded the walls back up with plywood for a nice finish. It’s recommended to insulate the walls and ply-line the walls before carpeting, to prevent the condensation building up and making the carpet soggy. It also helps to keep the van warm in the colder months and cooler during the summer months.
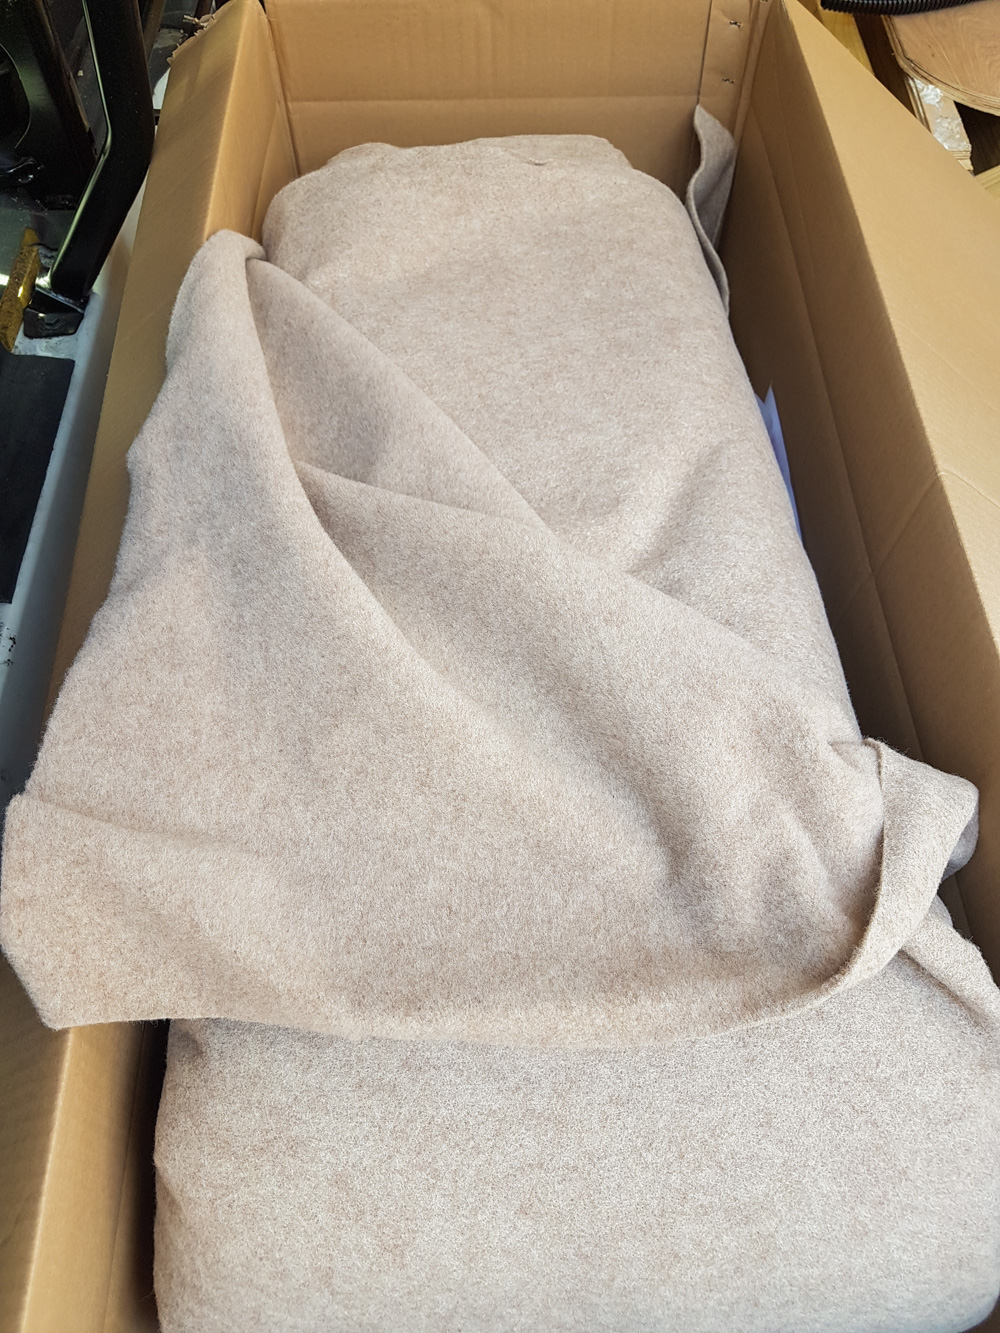
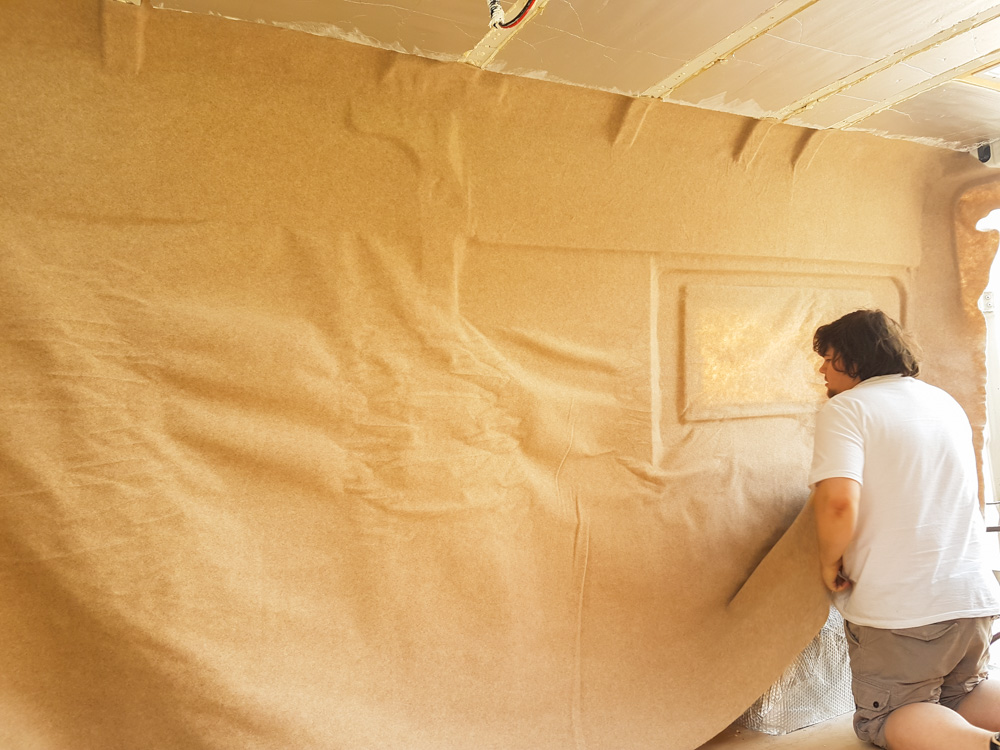
We bought a huge sheet of carpet that we could cut to the size we needed. As we wanted the best finish with no joins, we carpeted each wall with one piece of carpet which gave a nicer finish. It was definitely not an easy job to do alone, so two people is recommended so that one can glue and pull the carpet to the right places, and the other person can hold and lift the carpet as it’s actually quite heavy.
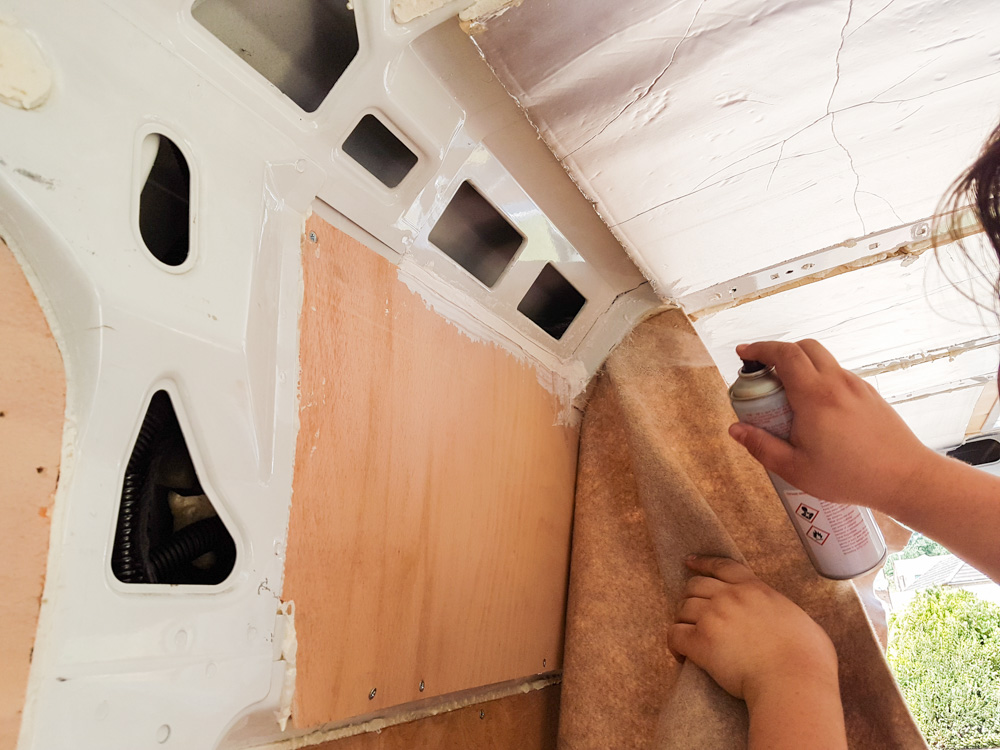
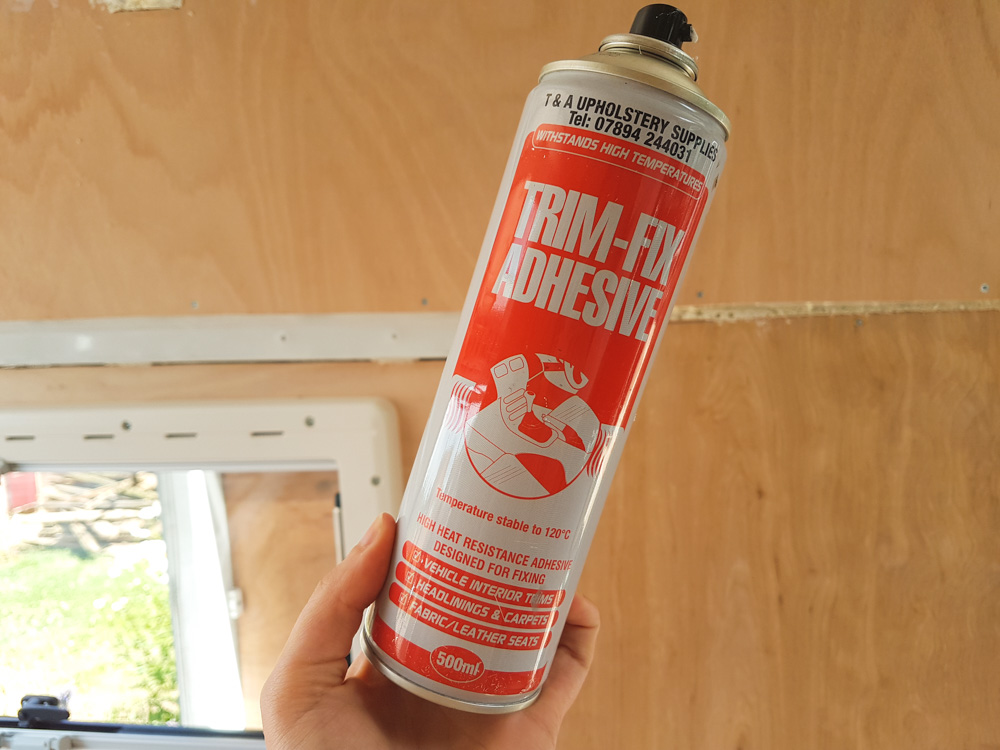
We used this Trim-Fix Adhesive* to glue the carpet to the walls. It’s recommended to get a high heat resistant glue for carpet and upholstery, otherwise you risk the carpet peeling from the walls in higher heat. The one that we bought was a spray kind, stable to 120ºc by T&A Upholstery Supplies. You simply spray the glue onto the wood panels and the back of the carpet, then quickly pull the carpet tight across the wood before it dries.
There are paint on versions too, where you ‘paint’ the glue onto the wall, press the carpet up against it, take it off and leave it to set for 5 minutes, then secure the fabric back on to the wall permanently, but this just seemed so much of a hassle to do for us so we chose the spray version instead.
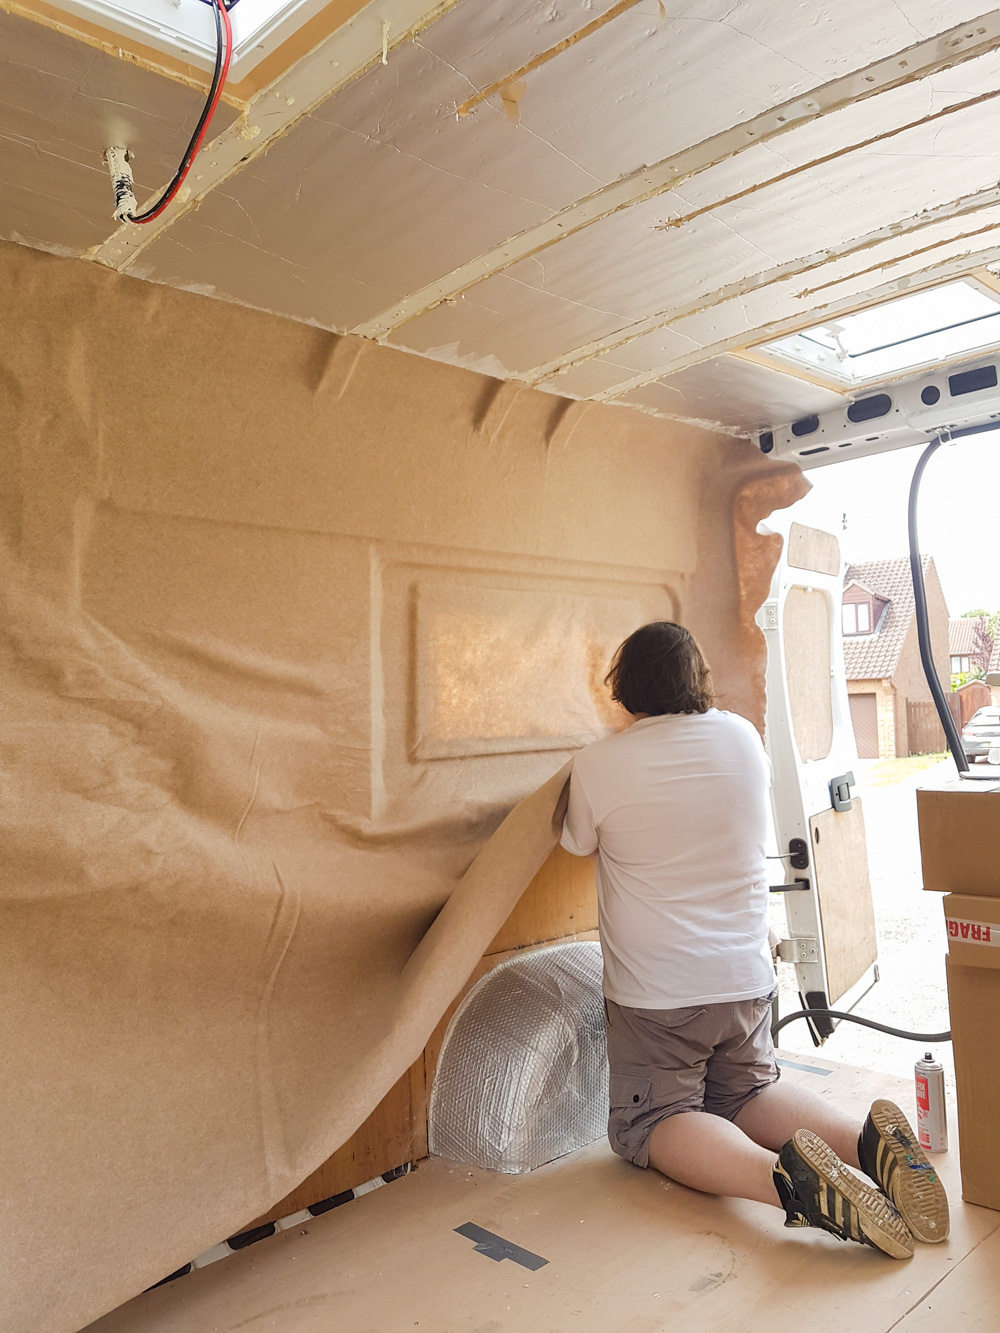
We started by spraying the top corner by the rear door, and working across the van to keep most of the carpet out of our way, then we went back to the door and worked across and down until it was all glued on. It was a little harder around the window areas, mostly because we have a few different levels, but we got around it eventually.
There are a couple creases, but we tried to get them to be in places that would be hidden by cupboards etc, so they won’t be seen once the van is finished. It was easy to pull the carpet off the walls again to correct it for a few minutes after spraying, but it does go off pretty quickly!
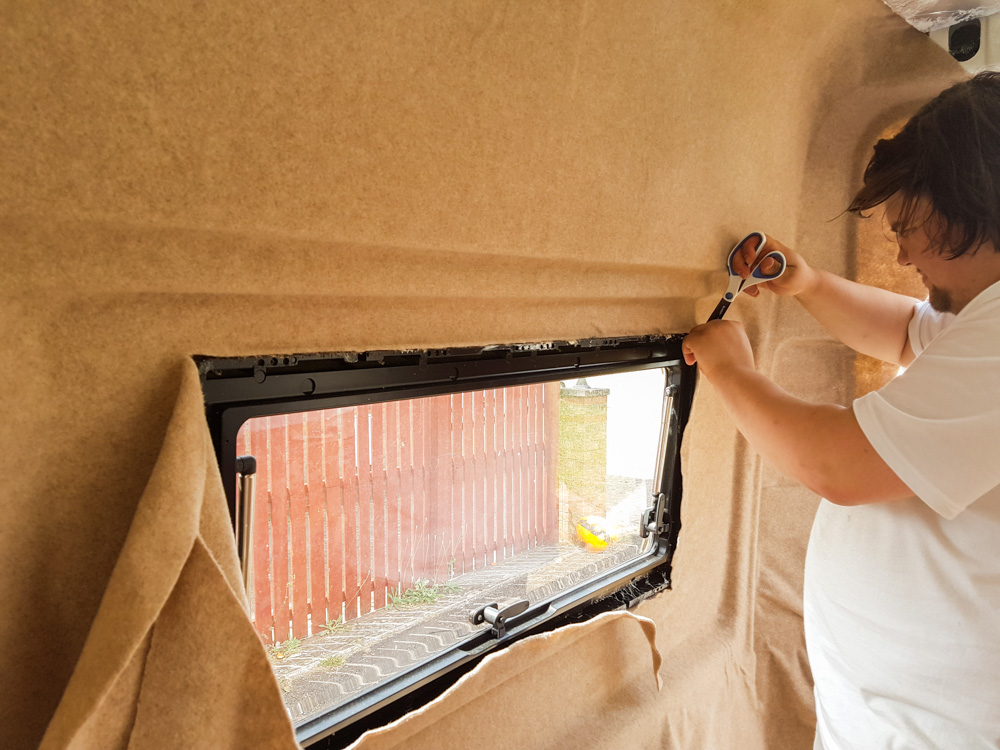
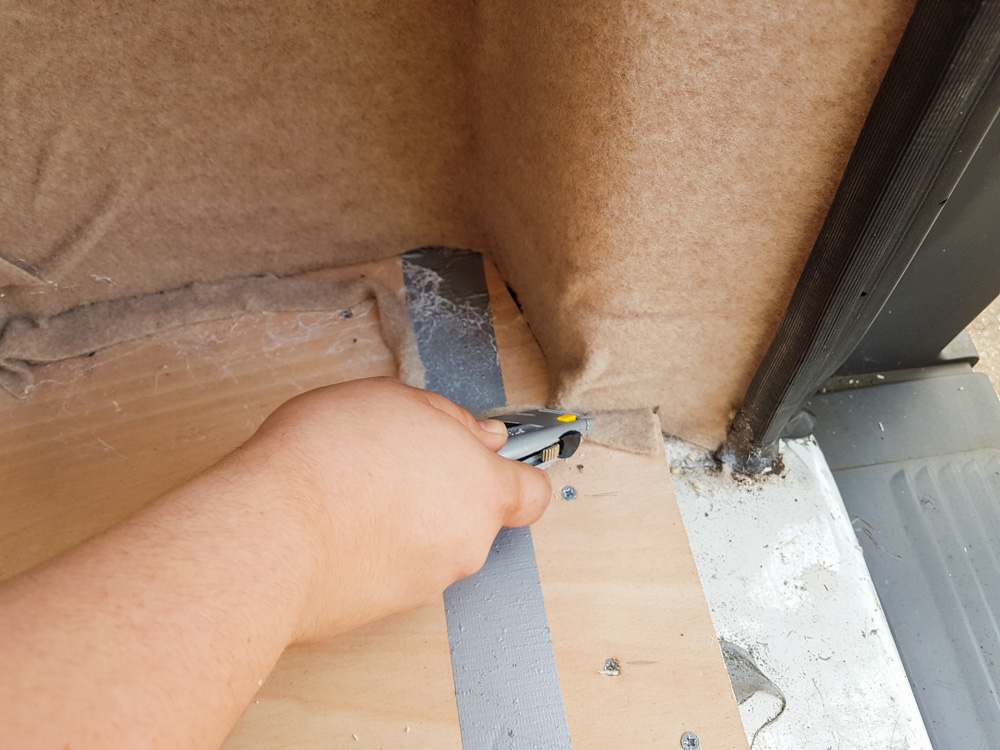
Once all the carpet was on the walls, we simply ran around the edges with a sharp stanley knife to get rid of any excess fabric along the bottom and around the wheel arches. The wheel arches were done with a separate piece of fabric, as it was impossible to fabric those in with the one piece.
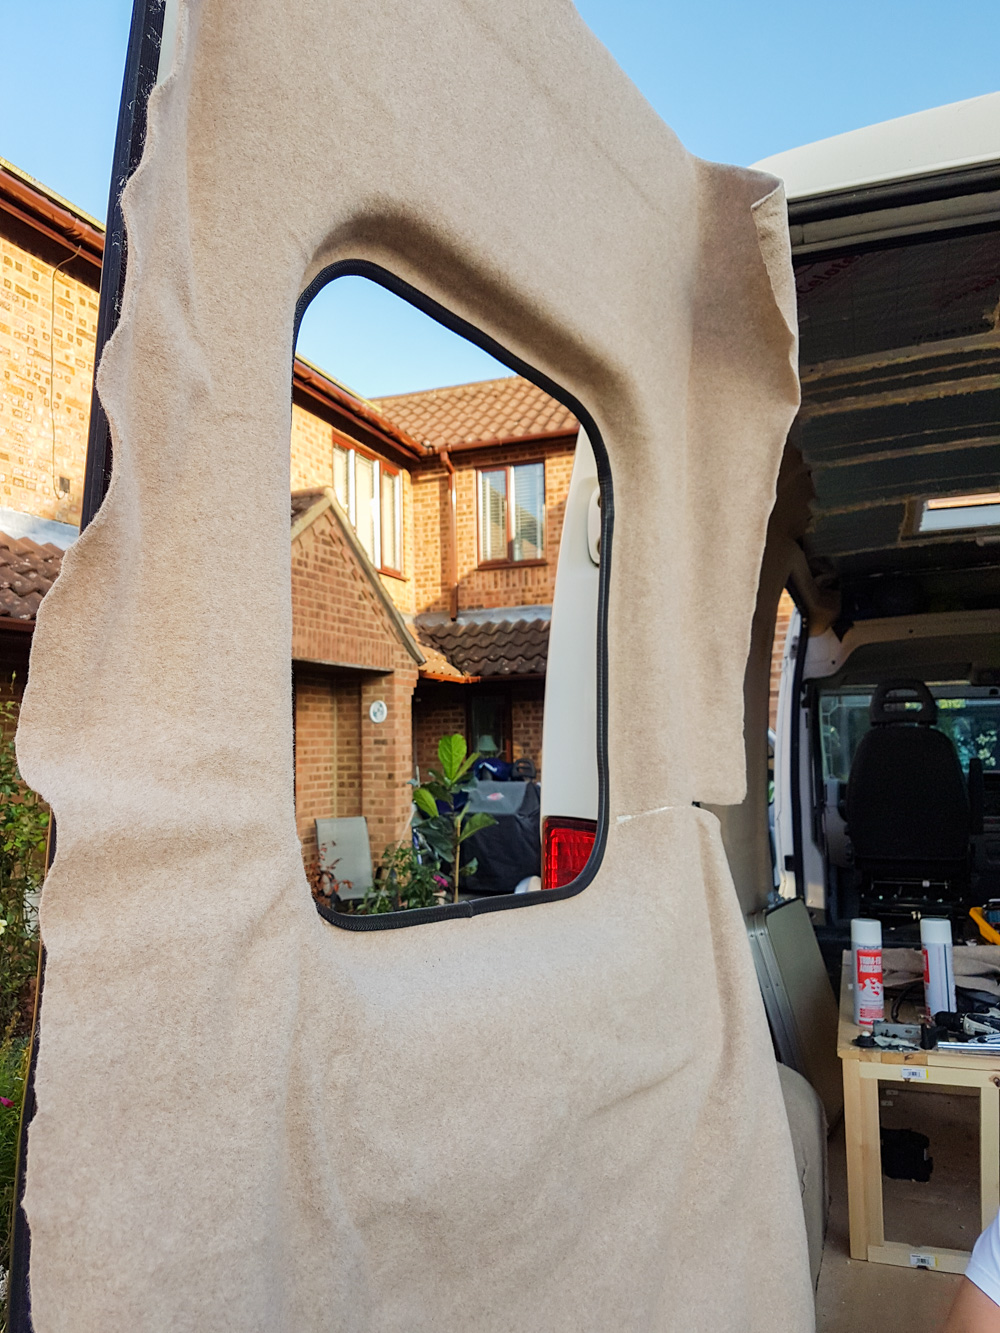
We decided this time around to cut the windows out at the same time as carpeting the doors, to try get a nicer finish, hence the missing window.


The doors were pretty much the same as the rest of the van, though with all the corners and rounded edges, we did find it a little trickier, and did have to make a few cuts where there was excessive folding, but you can barely see it.
As we need access to the number plate bulbs, we took off the plywood from the bottom section, wrapped them in carpet and we’re securing them back on probably with velcro to keep the seamless look (we did this with both, so they match). That way if we or a garage ever needs to change the bulb, it’s simple to get to without ruining our lovely carpet.
Overall, it took a few hours with us both working on it, and we love the finished result. It looks a lot more welcoming inside and helps it to look more finished!
Don’t forget to follow us on instagram for daily updates – you can find us at @adventuresinacamper
*This post contains an affiliate link

8 Comments
tony
November 20, 2017 at 12:26 pmbest to take your time.less mistakes and gives you time out for any changes you forsee.
tony
November 20, 2017 at 12:29 pmallso looking good
Sunil
December 12, 2017 at 12:10 pmYou both are so amazing couple, love your life and am jealous of it because I got one s**** partner who doesnt like your idea/style of moving around the world……. so am in sh**** for life with such a woman…… 🙁 have a great day mates…..
Filip
January 10, 2018 at 6:42 pmDump her mate… (above)
Lynn
July 29, 2018 at 4:46 pmGreat idea with the walls. My German Shepherd Dog sheds year round and blues their undercoat twice a year . We would end up with hair walls in no time. ?
Laura
August 17, 2018 at 7:30 amThank you so much for posting this we’ve just bought a camper due to get it next week and lining ours with burlap coffee sacks and had absolutely no idea on where to start ? this is a MASSIVE help ?
Lea
November 3, 2018 at 2:00 pmHi! We are planning to use carpet lining for our van too, your post is a huge help!
Could you maybe tell me how many glue spray did you use for the whole process ?
Thank you in advance, have a nice adventure!
April
November 6, 2018 at 7:13 pmI’m glad it’s helped you! Sadly, we didn’t keep count of how many we used – we also used it for a few other things like securing the ceiling material etc, so I’m not too sure specifically! Sorry!
– April